Chicken Curry Soup

I based this soup on the Curried Udon Soup in the Birthday 2014 issue of BBC Good Food.  I LOVE curry and don’t cook with it as often as I should. This is a wonderfully warming, light soup which is surprisingly filling and satisfying thanks to the chicken, shirataki noodles and tons of veggies.

I find that shirataki noodles are really great for soup because they don’t get mushy or disintegrate like regular pasta noodles and they reheat perfectly. I cook them separate initially to get rid of the moisture and incorporate a bit of sesame and curry flavor into them. I like this brand the most. If you’ve never cooked with them don’t worry-they’re easy. I’ll explain fully below.

Yummy? check

Healthy? check

Easy to make? check

image

Chicken Curry Soup

Ingredients:

  • 1 tbsp vegetable oil
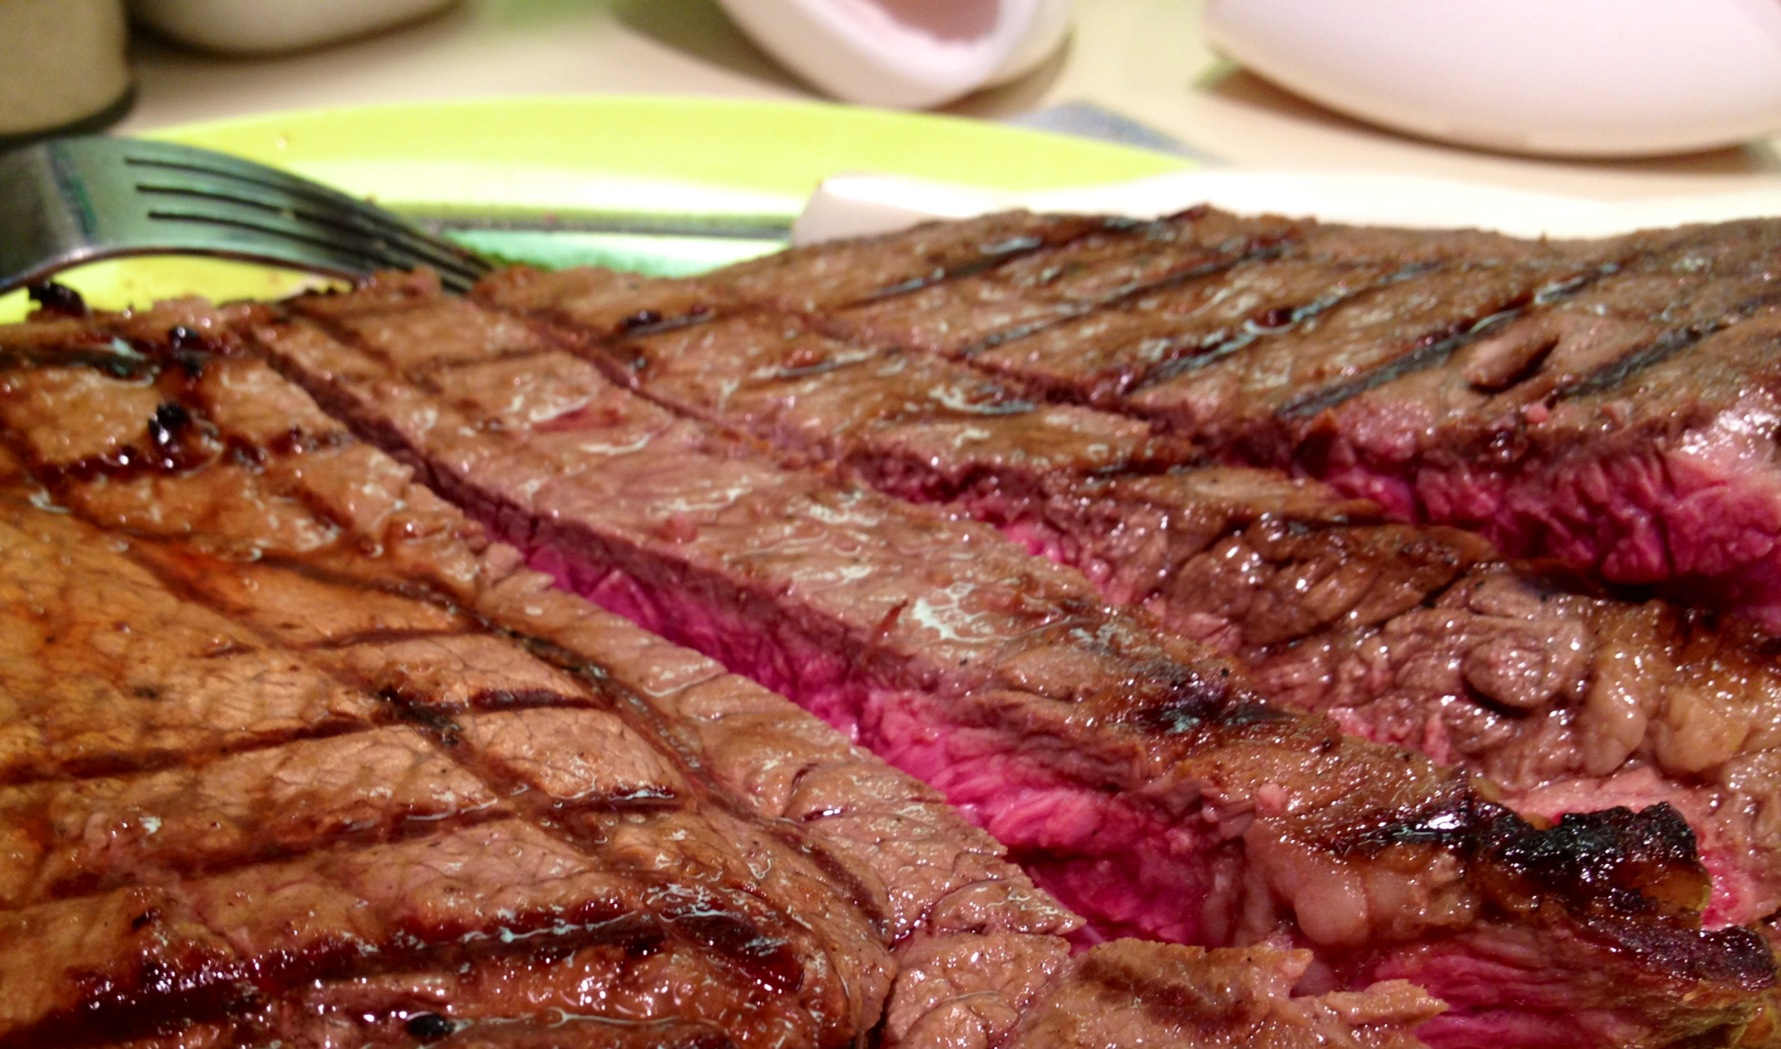
  • 1 lb boneless skinless chicken breast, cut into 1/2 inch cubes
  • 1 small yellow onion, chopped small
  • 1 cup fat free low sodium chicken broth
  • 2 tbsp plus 1/2 tsp yellow curry* separated
  • 1/2 tsp sesame oil
  • 2 8oz packages Tofu Shirataki spaghetti noodles, drained, rinsed and drained again
  • 1 13.5 oz can light coconut milk
  • 1 tbsp honey
  • 2 tbsp low-sodium soy sauce
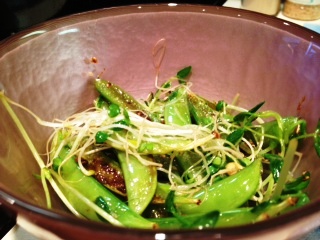
  • 1 16oz package frozen stir-fry veggies (I used Trader Joe’s)

Instructions:

  1. In a dutch oven or large pot heat the oil over medium heat. Add the chicken and cook almost completely. Add the onion and cook for a minute. Add the 2 tbsp curry powder and stir. Add the coconut milk, a bit at a time, stirring. Add the chicken broth, honey and soy sauce. Bring to a boil and cook for 5 minutes.
  2. While the soup is cooking put the sesame oil in a pan over medium/high heat. When hot add the noodles and stir for a few minutes to evaporate some moisture.  Add the remaining curry powder and continue stirring and cooking until almost dry. Remove from heat.
  3. Add the vegetables and cover and cook for another 5 minutes.
  4. Place 1/4 of the noodles into the bottom of each bowl. Ladle 1/4 of the soup over the noodles.

Note: for left overs store the noodles separately from the soup. Add the noodles before reheating.

Regarding the preparation of the noodles: they are packaged in liquid. To prepare pour the noodles into a colander and shake off as much moisture as possible.  Rinse them with clean water and drain again.  At this point you can put them aside until they’re ready to use. I find that cooking them in a pan until they’re almost dry really makes a difference.

*I used the British Curry from Teeny Tiny Spice Company of Vermont.

Advertisement

Limoncello Chill

How is it possible that this past weekend was Memorial Day? Already? I remember last year Memorial Day weekend was cold and rainy. It was the opposite this year! Sunny and warm and lovely. And PERFECT for a frozen dessert at the end of the bbq.

This little frozen yummy is not too sweet, not too tart and just right in size. You can’t get easier to assemble either. Hope you add it to one of your menus for these warmer months-it’s delicious!!

image

Limoncello Chill

Ingredients:

  • 1/4 cup lemon curd
  • 4 tbsp limoncello
  • 1 & 1/2 cups frozen vanilla bean greek yogurt* divided
  • 3 lemon candy slices

*I used Healthy Choice brand-they come in 1/2 cup servings.

Instructions:

  1. Mix the limoncello and lemon curd together until fully blended. Set aside.
  2. 15 minuutes before serving remove the frozen yogurt from the freezer and allow it to thaw a bit. Stir to airate and combine.
  3. In each of 3 serving dishes or glasses: put a bit of the limoncello mix at the bottom. Add the frozen yogurt and then top with more lemon mixture.
  4. Top with the lemon candy.

Yield: 3 servings.

Casey loved licking the left overs out of the glass.

image

I adjusted Cooking Light’s recipe a lot here. I swapped frozen greek yogurt for ice cream and added more limoncello, omitted the cookies and added the candy. Better for you and more of a kick.

Enchilada Stuffed Shells

Enchiladas are one of my favorite things to make so I was intrigued when I read the title of this recipe–it sounds so good–and something a little different.  And they turned out delicious!! One thing I really like about this recipe is that you can really adjust the flavor of the filling to exactly what you want-spicy or mild, beef or turkey or vegetarian even. I opted for ground turkey as I had some on hand.

shell1

Enchilada Stuffed Shells

Ingredients:

  • 1 12 oz box jumbo pasta shells
  • 1 lb ground lean turkey
  • 2 10 oz cans enchilada sauce
  • 1 tsp dried minced onion
  • 1/2 tsp dried oregano
  • 1/2 tsp dried basil
  • 1 tsp cumin
  • 1/2 shallot
  • 1 clove garlic, smashed  to a pulp
  • chili powder to taste
  • coriander to taste
  • salsita sauce to taste
  • 1 16oz can fat-free refried beans
  • 2 cup freshly grated colby jack cheese

Instructions:

  1. Pre-heat the oven to 350.  Spray an 11×7 baking dish with non-stick spray and spread half of one of the cans of enchilada sauce on the bottom of the pan. Set aside. 
  2. Cook pasta shells as per box instructions. Rinse with cold water to stop cooking and set aside.
  3. In a large skillet over medium-high heat cook turkey. Drain excess fat, reduce heat to medium-low and stir in the onion, shallot and all of the spices.  When combined add one can of the enchilada sauce and the refried beans. Stir until thoroughly combined. Set aside.
  4. Using a tea or tablespoon fill each cooked pasta shell with the turkey mixture.  Place the filled shells filling side up next to each other in the baking dish until the dish is filled. It’s ok to smush them in a bit-they should be tightly set in the pan. You may have a few shells left over. Pour the remaining enchilada sauce over the top of the shells.
  5. Cover the pan with a sheet of foil and bake for 20 minutes. remove the foil, sprinkle with cheese, and return to oven for 10 more minutes.
  6. Serve either plain or with any toppings you’d like-sour cream, scallions etc..

This made about 20 shells but that # will depend on how much you fill the shells and how many you can stick into the pan.

I printed this recipe out years ago.  I don’t know who’s it is.

Sugar Snap Peas & Sprouts

Sometimes the most difficult part of a meal is choosing the side dish. Often I know that I want something tasty but not too involved and perhaps something versatile that can be changed up every now and again while using the same basic recipe.  I give you Sugar Snap Peas & Sprouts-which is exactly that. A tasty, fast-cooking, minimal prep, delicious side that is easy to put different spins on. Perhaps silvered almonds, perhaps hoisin sauce, perhaps add cooked brown rice for more of a fried rice feeling without the guilt. Either way it’s a winner.

swap2

Sugar Snap Peas & Sprouts

Ingredients:

  • 1 tbsp dark sesame oil
  • 1 tbsp freshly grated ginger
  • 2 garlic cloves, minced
  • 1/2 lb sugar snap peas
  • 1 tbsp sesame seeds
  • 1/3 cup sprouts (I used a combo of chick pea, lentil and bean sprouts)
  • 2 tbsp low sodium soy sauce

Instructions:

  1. Heat sesame oil in a large pan over medium-high heat
  2. Add ginger and garlic and saute about 2 minutes until fragrant
  3. Add the sesame seeds and cook for another minute
  4. Add the sugar snap peas and saute for about 3 minutes then add the sprouts and soy sauce and continue to cook another minute or 2 until the peas are crisp-tender.
  5. Serve immediately.

Recipe adapted from Mary Ellen at http://mecookingcreations.blogspot.com/

Thanks again to Sarah @ http://tasteofhomecooking.blogspot.com/ for hosting this month’s swap.

Baked French Toast

I  haven’t posted anything new (aside of the 1 year blogiversary) because I had a lovely vacation and birthday in New Hampshire with family.  The hotel where we stayed has full kitchens in the units so we do some cooking while we’re there.  I made a taco dinner one night  with this delicious slow cooker taco beef, along with cilantro lime rice, zingy corn salsa and yummy cookies

I chose to make this Baked French Toast one morning for breakfast. There were 6 of us there and we only had one small piece left over.

It was easy to make-I just brought the ingredients and a baking dish with me. It was a fast assembly and easy cooking-perfect for a crowd and not a lot of work.

break1

Baked French Toast

Ingredients:

  • 1/2 cup granulated sugar
  • 1 tbsp ground cinnamon
  • 16 slices white bread (1lb or 650gram loaf such as Pepperidge Farm)
  • 1 stick unsalted butter, softened
  • 3 cups whole milk
  • 6 large eggs
  • 1/4 tsp table salt

Instructions:

  1. Pre-heat oven to 450. In a small bowl whisk the cinnamon and sugar together and set aside. On 1 or 2 baking sheets (you’ll have to lay the bread slices flat. If you have 2 baking sheets use them, if not you’ll just use 1 twice) with foil. Spread about 1tsp of butter onto one side of each slice of bread.  Place non-buttered side down on the baking sheet until all are buttered. Sprinkle each with 1tsp of the cinnamon sugar.  Put the tray(s) into the oven and bake until the bread is golden and the cinnamon sugar is a bit crusty–about 8-11 minutes. Watch the bread carefully.  When the bread is finished cooking reduce the oven temp to 375 and set the bread aside to cool a bit. Set the extra cinnamon sugar aside for later.
  2. Butter a 9×13 baking dish well. Cut 2 slices of bread in half horizontally and set aside. Lay half of the bread in one row and half in another row the length of the dish, overlapping each other.  Finish the last piece in each with one of the halves and snuggle the other 2 halves under the bread on the other end of the row.  They will look like those rows of cards that fall onto each other (see photo above).
  3. In a bowl whisk the milk, salt and eggs together and pour evenly over the bread. Let it sit for 15 minutes minimum (or overnight).
  4. Use the remaining cinnamon sugar from step 1 and sprinkle it over the bread before you put the dish in the oven. Bake for about 30 minutes until slightly puffy and golden. Press gently from one side to the other to make sure that no liquid will press out of the bread.
  5. Serve immediately with syrup or powdered sugar or anything else you’d like.

break2

Adapted from Smitten Kitchen.

Note: the next time I make this I will use less custard to keep the bottom layer more crispy.

Happy First Blogiversary to SFTK!!!

WOW! I can’t believe it’s been a year since I started this blog. Looking back I’ve made some really great dishes (and some not great that will never be posted here), made a lot of great blogiverse friends, learned a ton and had a great time!!

I hope year 2 for Sparks From the Kitchen will be just as great, if not better Thanks to everyone who has liked, posted, commented, tasted, shared and visited this blog.  That’s part of the fun!!


Baked Chicken Bites (with 2 Dipping Sauces)

Last week I had one large chicken breast left over after making the Red Dragon Chicken Salad so I made up some baked nuggets. They were delicious! Crispy on the outside, tender and juicy on the inside and just the right amount of taste from the  marinade.  I also made 2 yummy dipping sauces because who wants to eat them plain? No one that’s who. So here we go.

chix

Baked Chicken Bites

Ingredients:

  • 1 large chicken breast, fat trimmed, cut into 2 bite pieces
  • 1 large garlic clove, smashed
  • 1/5 cup light italian dressing
  • 1 cup Panko
  • salt and pepper

Instructions:

  1. Place chicken, garlic and dressing in a ziplock bag and let it marinate at least 30 minutes.
  2. Pre-heat the oven to 425 degrees. Line a baking sheet with parchment paper and set aside.
  3. Place panko in a shallow dish.  Roll each piece of chicken through the panko until coated and then place it on the baking sheet.
  4. Bake for approximately 25 minutes or until cooked thoroughly.
  5. Serve immediately.

I don’t know how the photo came out so anemic looking-the chicken really was nice and golden brown.  That’s why I’m not a photographer.

Here’s the recipe for the Pistachio Pesto Greek Cream Cheese Sauce

Here’s the recipe for the Dijon, Honey and Greek Cream Cheese Sauce

Baked Yukon Gold Poatatoes

In my opinion Yukon Gold potatoes are the best for baking because they’re so creamy and nutty tasting.  It couldn’t be easier to bake them either. I love cheddar cheese on these too.  Such a simple topping but it adds a nice extra bit of flavor.

yukon

Baked Yukon Gold Potatoes

Ingredients:

  • 2 medium Yukon Gold potatoes, scrubbed and dried and poked with a fork all over
  • vegetable oil
  • a few small pats of butter
  • 1/4 cup freshly grated sharp cheddar cheese (not pre-grated)

Instructions:

  1. Pre-heat oven to 400.
  2. Line a small baking dish large enough to hold both potatoes with foil.
  3. Rub the oil all over the potatoes and place them into the dish.
  4. Bake for about 1 hour or until fork tender.
  5. Remove, cut many times down into the potato and stick in the butter pieces and some cheddar cheese and then push it back together a bit so it melts in there.  Oh hell, sprinkle a little extra cheese on top too if you want to.
  6. Plate and serve.

I served these with One Great Steak and Roasted Green Beans

One Great Steak

What a simple and delicious steak!!  I made a super tasty quick throw-together marinade and then served with wonderful Yukon Gold Baked Potatoes and crisp roasted green beans. Easy peasy!

Note: I cooked this on my stove-top Le Creuset grill pan but you could also use an outdoor grill or press-just adjust the cooking time accordingly.

june 3 dinner

One Great Steak

Ingredients:

  • 1.5 lb top sirloin about 1 inch thick
  • 2-3 tbsp low-sodium soy sauce
  • 1-1.5 tbsp olive oil
  • 1 clove garlic put through a press or smashed to a paste
  • 1.5-2 tsp freshly grated ginger

Instructions:

  1. Put meat and other ingredients into a zip-lock bag and marinate for 30 minutes to 24 hours in the refrigerator.
  2. When ready to cook  pre-heat the grill pan to medium/medium-high. When sufficiently hot place steak on pan. 
  3. Cook for approximately 8 minutes on each side for medium rare and leave it alone while it’s cooking. You can also use a meat thermometer.
  4. When the meat is cooked remove it from the grill pan and place it on a plate, cover it with foil, and let it rest 10 minutes.
  5. Slice across the grain and serve.

Note: you may want to season the steak with salt and pepper too but I left it out due to the saltyness of the soy sauce.

Serves 4 approx.

steak

Hush Puppies with Maple Butter

Husband and I have been eating and drinking at Brother Jimmy’s BBQ for years and years. First there was 1 in Manhattan, then 2, then 3, then one at  Yankee Stadium (woot woot go Yankees!) and now there’s one in Puerto Rico (will visit that one in April) and on St. Maarten (will also visit that one in April). We spent countless hours at the bar watching football on chilly fall and winter afternoons, laughing with friends, enjoying each other’s company and Husband and I were introduced to each other at one by a very good friend. In other words-for nearly 13 years it’s held a special place in our hearts.  They serve southern BBQ food. They have skee-ball. They have some drinks served in goldfish bowls.  It’s a happy enough place that people bring their kids for lunch on the weekends and everyone enjoys themselves.

Imagine my surprise when I saw that they have a cookbook out!! I bought it for Husband for Christmas and made one of his favorites, Hush Puppies, for Super Bowl Sunday.  They’re so good. They’re easy to make!  They’re perfect for football or hockey or staying in and reading. And the butter-YUM!!  If you don’t know they’re about the size of golf balls-enough for a few bites.

hush

Hush Puppies

Ingredients

  • 2 large eggs
  • 1 tbsp baking powder
  • 2 cups buttermilk
  • 5 tbsp vegetable oil
  • 3/4 cup diced Spanish onion
  • 2 cups cornmeal
  • 2&3/4 cups all purpose flour
  • 1/4 cup sugar
  • 3/4 tsp kosher salt
  • 1/2 tsp cayenne pepper
  • 1&1/2 tsp granulated onion
  • about 5 cups canola oil for deep frying

Instructions

  1. Heat 6 inches of oil to 325F in a heavy-bottomed stock pot. While the oil is heating lightly heat the eggs in a large bowl. Whisk in the baking powder, add the buttermilk and mix well. Add the oil and onion.
  2. Im a separate bowl combine the cornmeal, flour, sugar, salt, cayenne and granulated onion. Add the dry ingredinets itno the bowl with the wet ingredients, mix to incorporate but don’t over-mix. Refrigerate until ready to use.
  3. Carefully drop round heaping tablespoons of the batter, one at time, into the hot oil being sure not to over-crowd them. Cook until golden brown, 3-5 minutes.
  4. Using a spider or metal slotted spoon remove them from th oil to a wire rack to cool.
  5. Serve warm with maple butter.

Note: this recipe makes about 24 hush puppies which is a lot as they’re heavy. I made the full amount of batter, cooked half and froze the other half for use later.

Maple Butter

Ingredients

  • 1 cup (2 sticks) unsalted butter at room temperature
  • 1/4 cup maple syrup

Instructions

  1. In a large bowl beat together the butter and maple syrup until incorporated. Set it aside at room temperature. 

Note : the maple butter needs to be at room temperature to serve. You can also feeze it too and it’s great on other things like pancakes, cornbread etc…

Previous Older Entries