Pepperoni Roll-Ups

I hosted Christmas Eve again this year and, for dinner, served this Bolognese with some fun pasta and a gorgeous green salad. For appetizers I kept it simple-some hummus, crackers, cheese, olives etc… I wanted to serve something warm also though.  These pepperoni roll-ups fit the bill perfectly. Super easy to make and even more delicious! I followed the recipe but I think next time I will halve everything and make double the amount at half of the size.

I think you could probably make these ahead of time and leave them in the fridge until you’re ready to bake them.
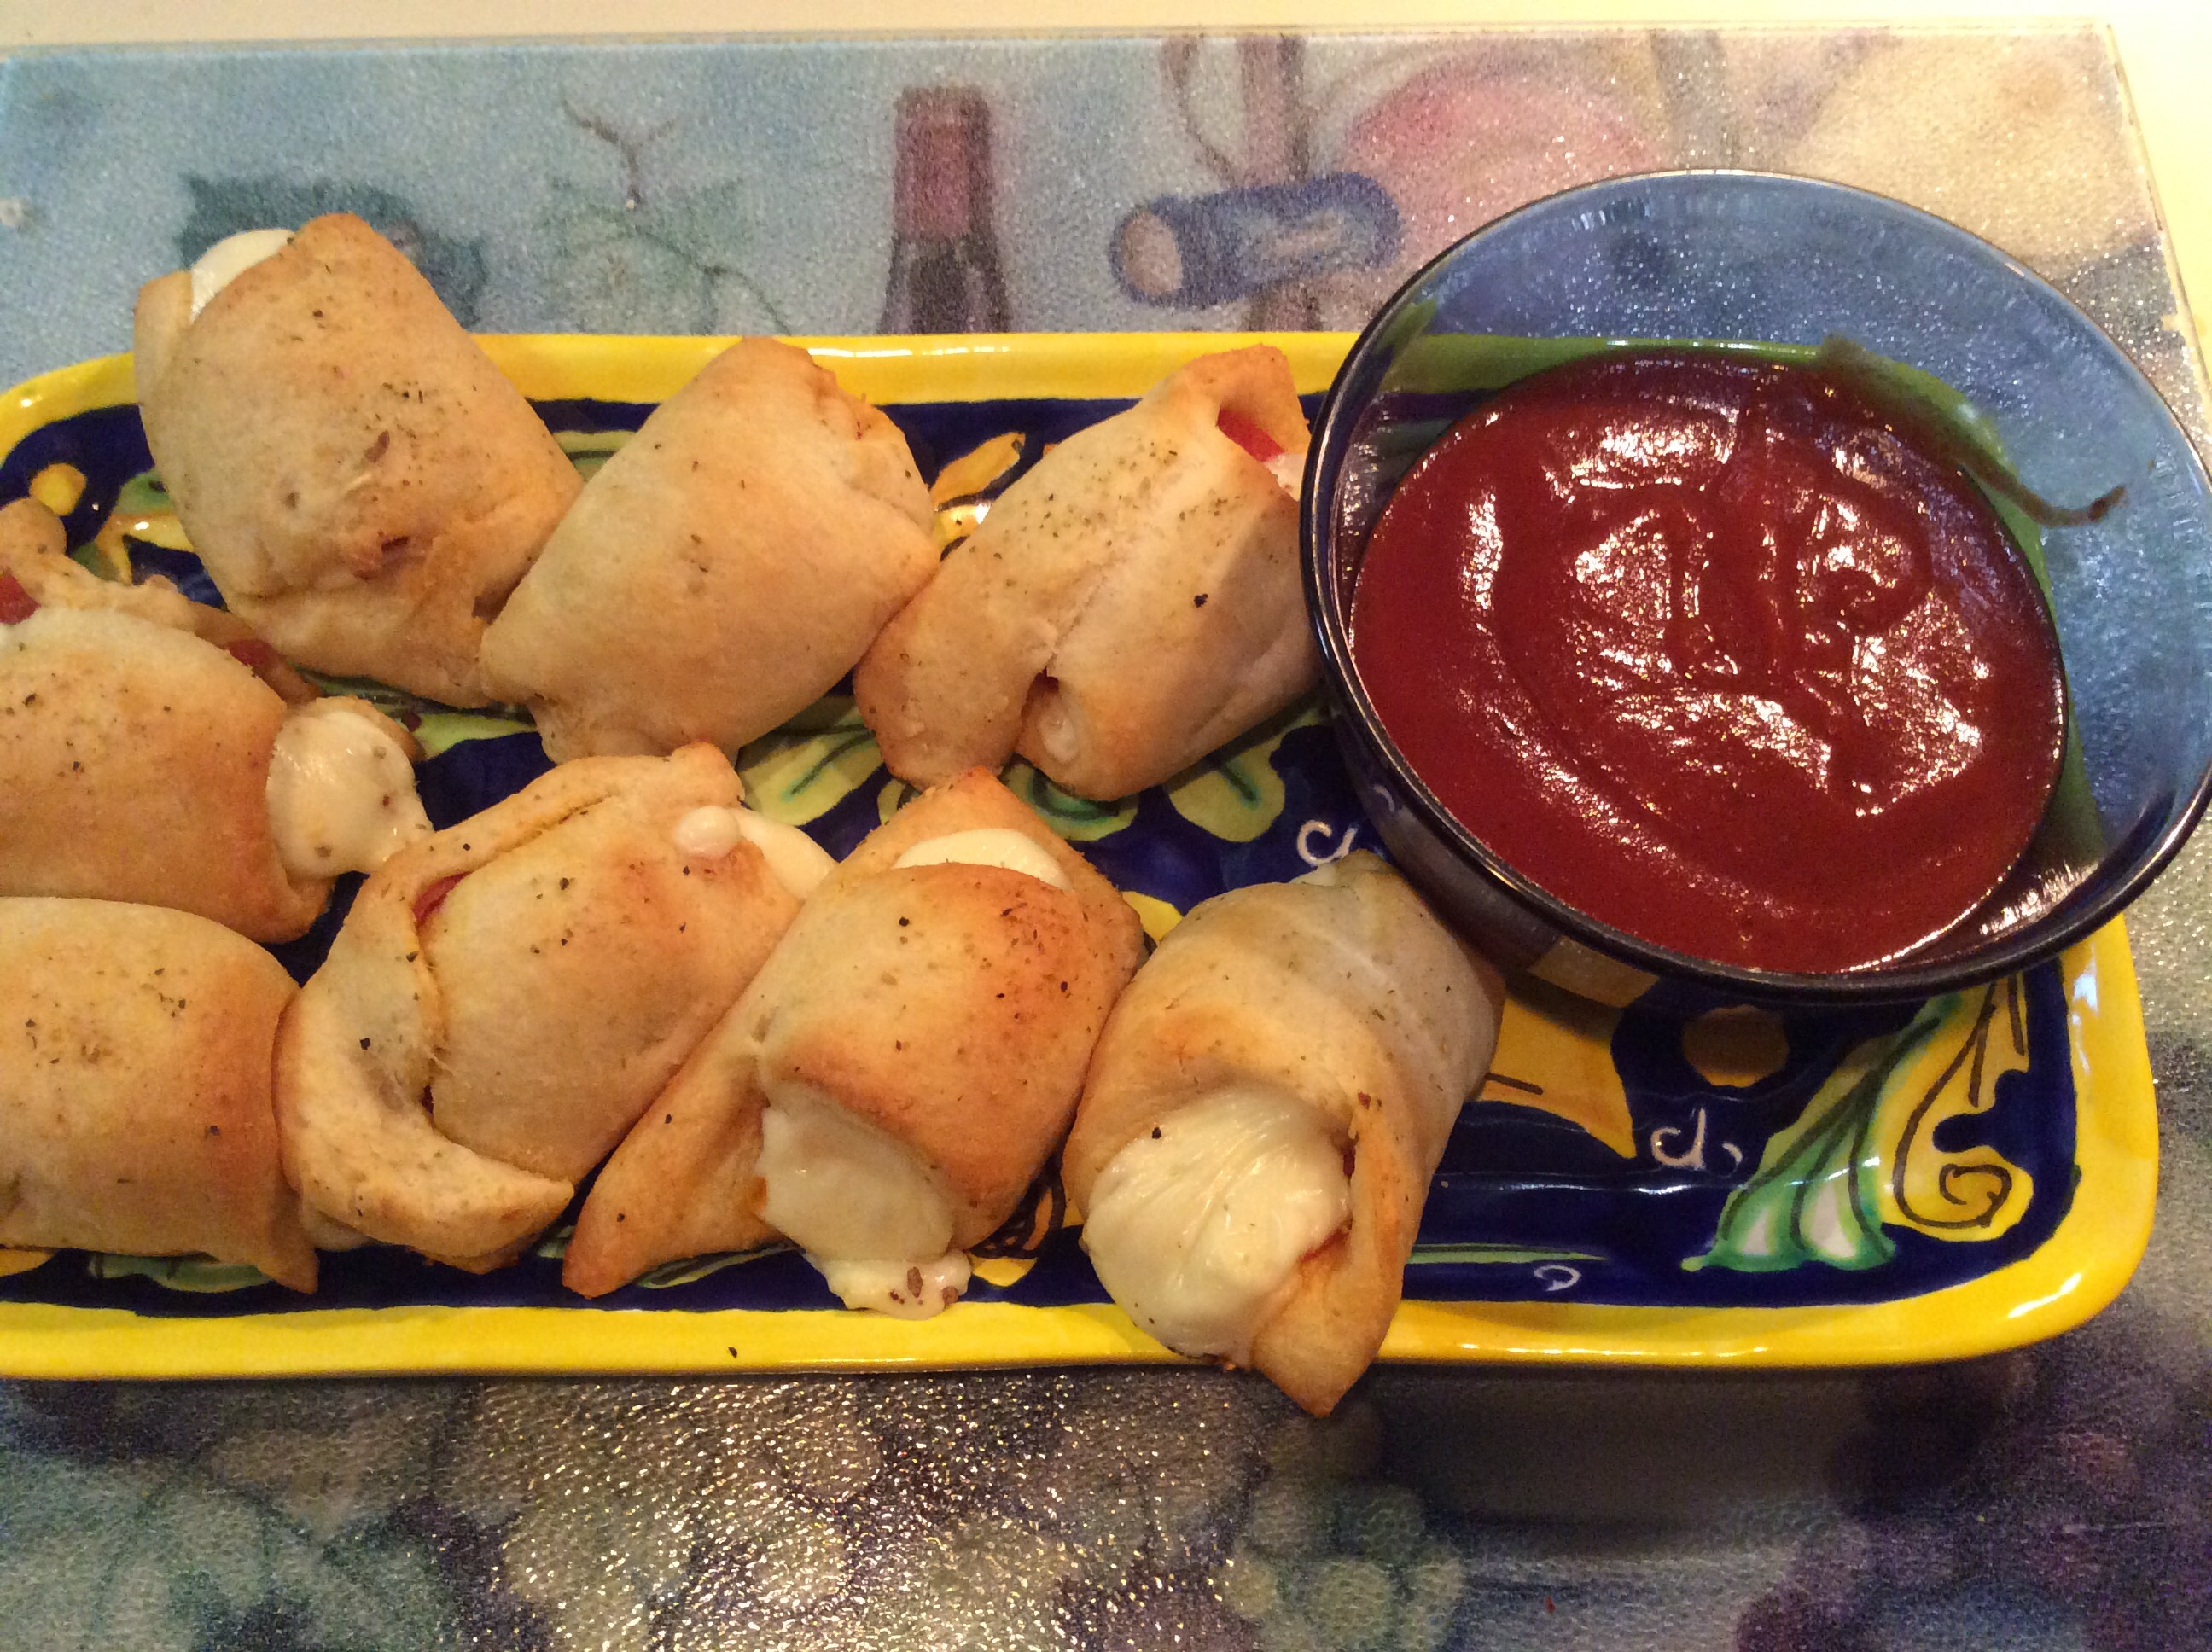
image

Pepperoni Roll-Ups

 Ingredients:

  • 1 8oz tube of refrigerated crescent rolls
  • 16 slices of quarter-sized pepperoni, cut into quarters
  • 2 pieces of 1oz mozzarella string cheese (2ozs total) cut into quarters
  • 1 tsp Italian seasoning (or oregano, garlic salt and onion powder)
  • 1/2-1 cup pizza sauce for dipping

Instructions:

  1. Preheat oven to 375. Place a sheet of parchment paper on a rimmed baking tray.
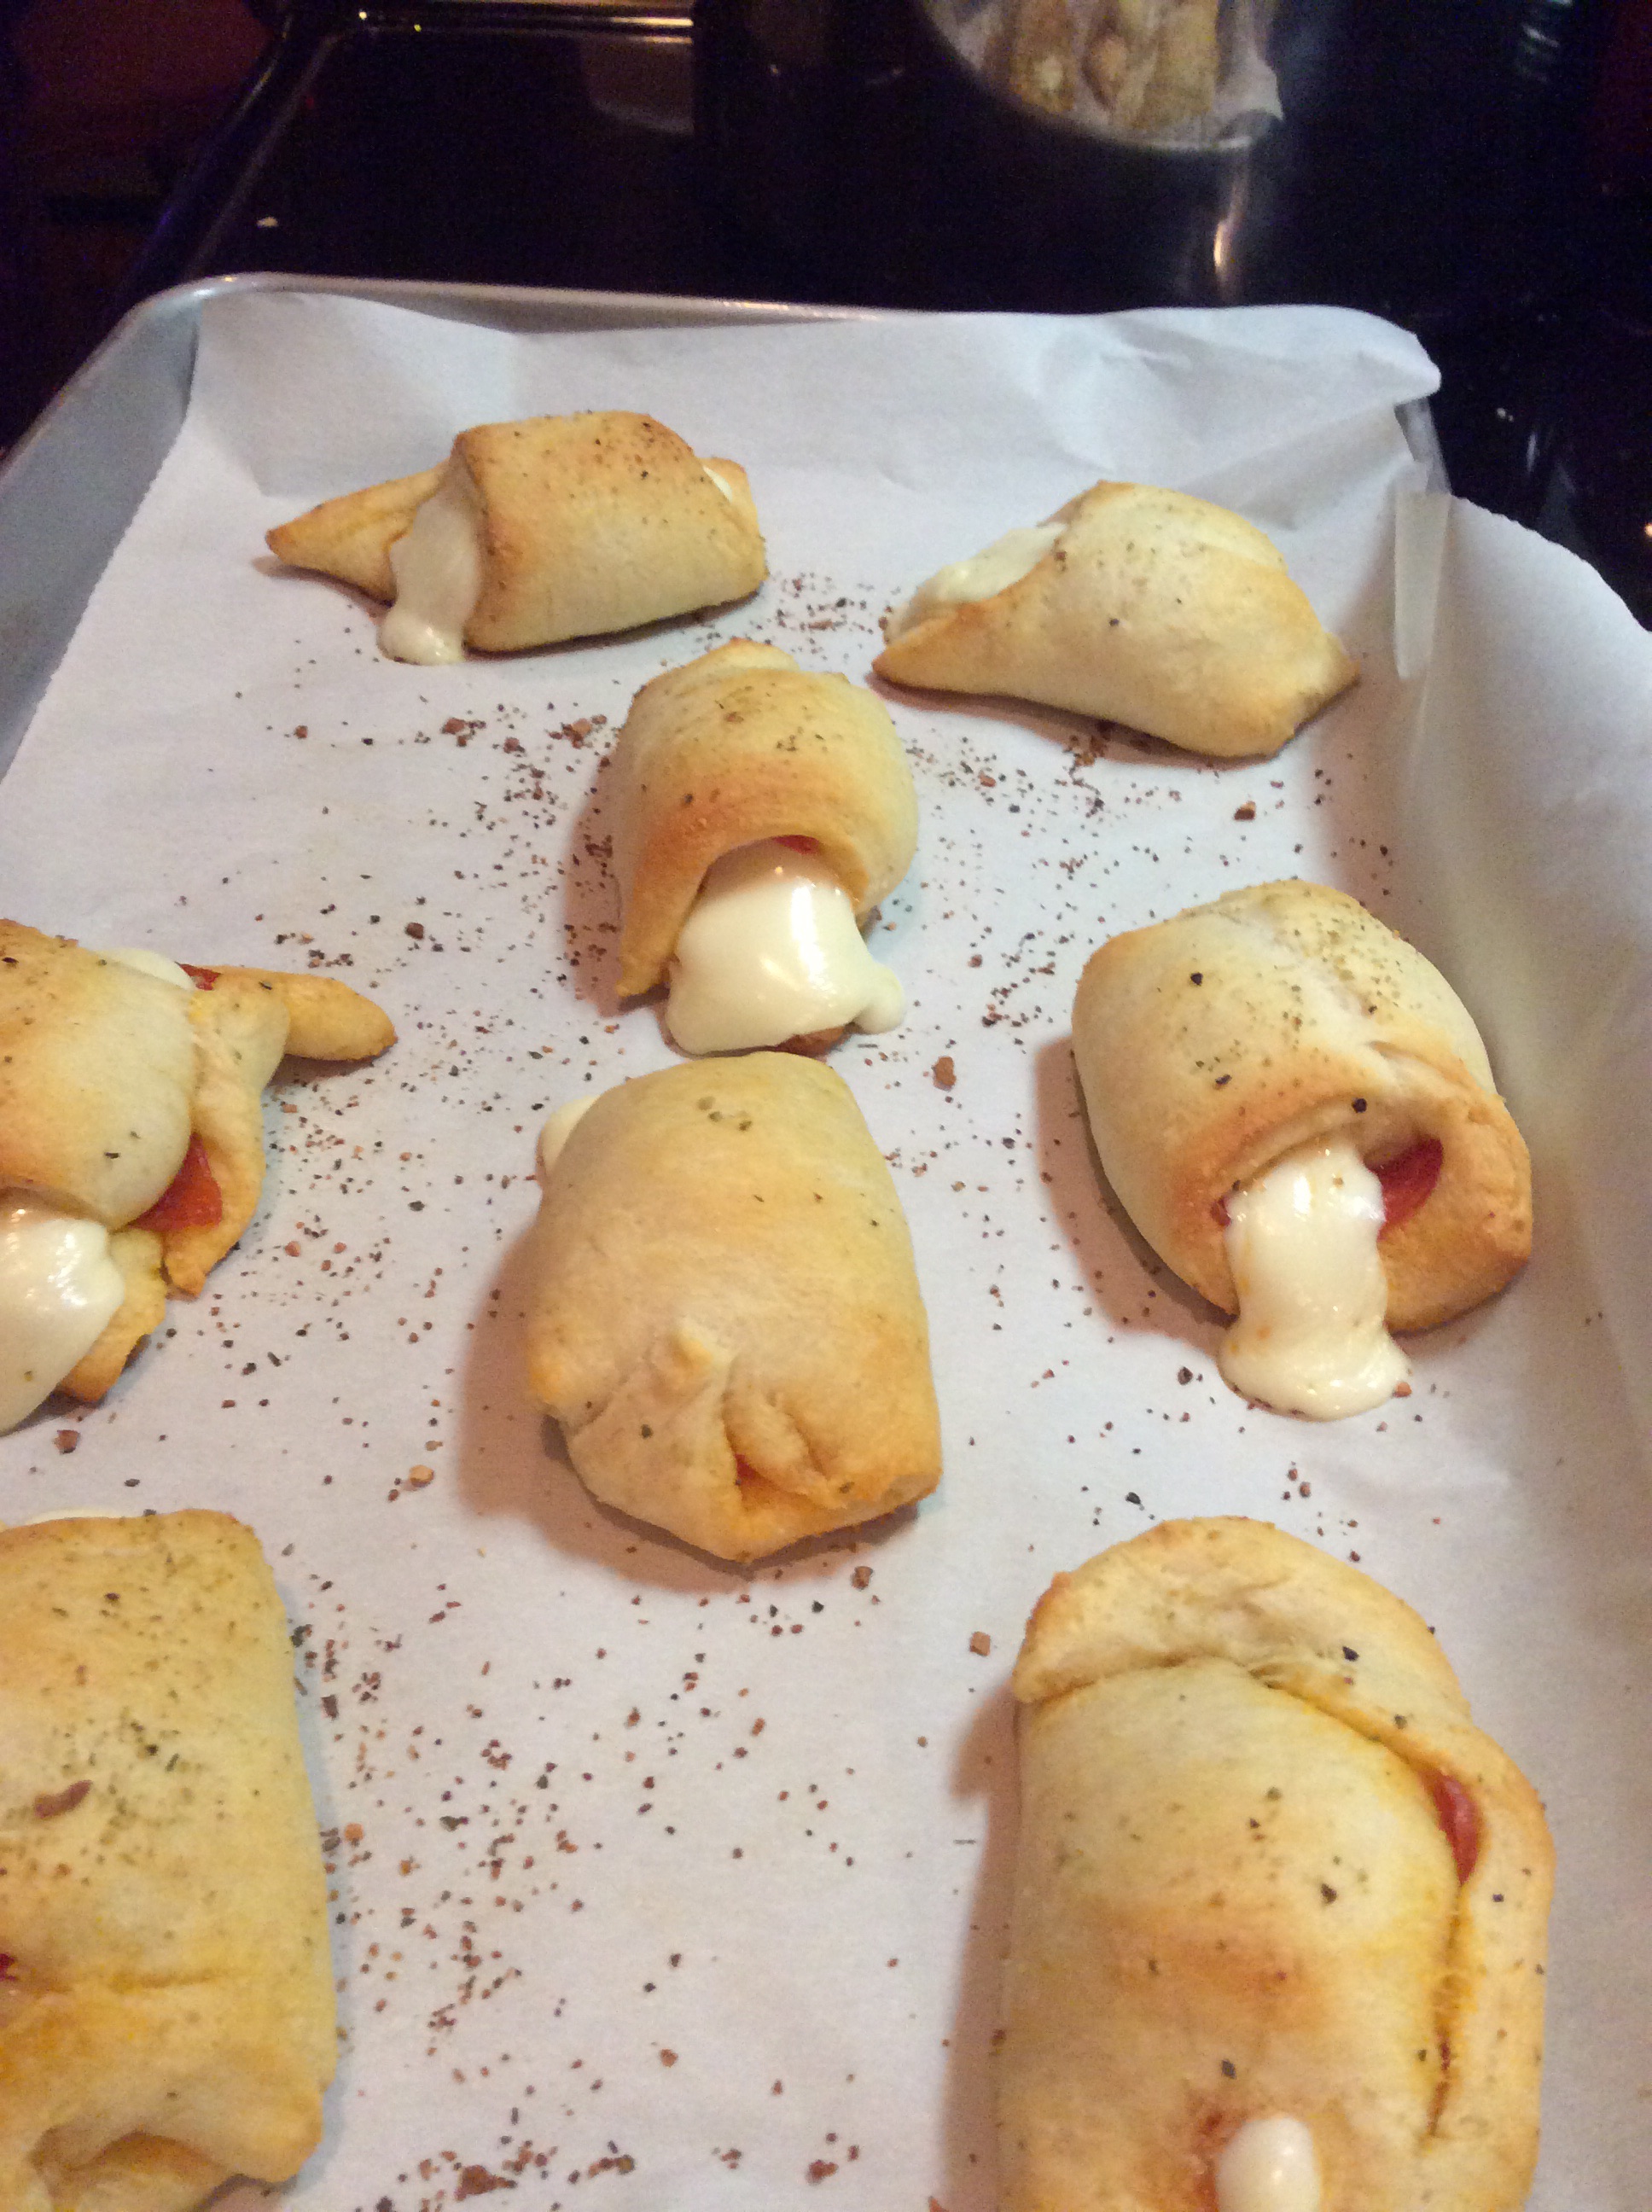
  2. Unroll the dough and separate it into the 8 outlined triangles. On each piece place 8 quarters of pepperoni then place the piece of cheese on the small corner and roll it up starting with the short side. Pinch the seam across the dough to seal. Sprinkle with the Italian seasoning.
  3. Place them 2 inches apart on the prepared baking tray and bake for 10-12 minutes. Watch them carefully.
  4. Warm the pizza sauce while they’re baking.
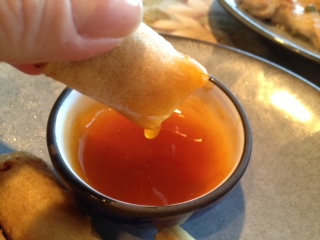
  5. Remove them from the oven and let them sit for 2-3 minutes then serve immediately with the warmed pizza sauce for dipping.

image


Adapted from Taste of Home.


Advertisement

Carrot & Coriander (Cilantro) Soup

I was lucky and got to spend the week leading up to Easter in London. I’d been there before, but not for many years. It was great to get back.

I saw this soup on quite a few pub menus and was curious. In a good portion of the planet cilantro is called coriander-and for good reason-it IS coriander. This recipe uses it in 2 ways-ground coriander seed and the leafy coriander (cilantro).

This soup is SO yummy and SO light. It’s got really bright flavors and is so easy to make it’s unbelievable. It’s a little sweet, thick and deeeeelicious.  It could be served as either an appetizer or a main course.

image

Carrot & Coriander Soup

Ingredients:

  • 1 tps vegetable oil
  • 1 small onion, chopped
  • 1 tsp ground coriander seed
  • 450g (3 cups) carrots, peeled and chopped
  • 1 medium russet potato, peeled and chopped
  • 1.2l (4 cups) chicken broth
  • small handful of coriander (cilantro)

Instructions:

  1. Heat the oil in a large dutch oven, add the onion, and cook until softened- about 5 minutes. Stir in the ground coriander and potato and cook for another minute. Add the carrots and stock, bring to a boil and then reduce to a simmer. Cover and cook for 20 minutes or until the carrots and potato are tender.
  2.  Using an immersion blender whizz until smooth. Taste, season with kosher salt and freshly ground black pepper if needed.
  3. Serve with a touch of sour cream, creme fraiche or chopped coriander leaves or scallions.

Freezes and reheats beautifully.  4-6 servings.

Adapted from bbcgoodfood.com


Scallion & Dill Pickle Dip

Recently I’ve seen a ton of ‘dill pickle dips’ floating around online. I LOVE dill pickles but felt they could be improved on a bit-some used dried dill or just cream cheese so I came up with my own.  The scallions add another layer of flavor and the fresh dill really ties everything together.

I served it with some delicious super crunchy kettle chips for a St. Patrick’s Day app.

It can be made ahead of time and put into the fridge for hours until you’re ready to serve it.

image

Scallion & Dill Pickle Dip

Ingredients:

  • 4 ozs. reduced fat cream cheese, at room temperature (not fat free neufchatel cheese)
  • 1/2 cup very finely chopped dill pickles (please get the freshest, best quality pickles that you can)
  • 2-3 tbsp dill pickle juice (to taste and texture)
  • 1 tbsp fresh dill, chopped small
  • 1 tbsp low fat sour cream
  • 2 scallions, green and white, chopped into 1/4-1/8 sized pieces

Instructions:

  1. In a medium bowl mash the cream cheese to make sure it’s fully softened.
  2. Add the rest of the ingredients (2 tbsp of the juice to start with, add the additional after mixing if desired) except the scallion and mix well to combine.
  3. Gently fold in the scallions until incorporated.
  4. Chill for at least 30 minutes and up to 12 hours before serving.
  5. Serve with crispy potato chips.


Fondue!

I’ve always had a thing for fondue. When I was young my Mom used to make it and it was always a treat.  Melty cheese on a chilly night-perfect!! What’s not to love? I’d not ever made fondue from scratch but it was easy. If you can grate cheese you can make it.

I’m not really all that big of a New Years Eve person–truth be told it feels like any other night to me but since others make a big deal about it well I might as well do something 🙂 New Year’s Eve this year was so nice! I made the fondue, Mom brought over lobsters, Grandma brought a salad. We played cards and ate delicious food and laughed our heads off.

Thanks for holding that below Mom.

image


Fondue!

Ingredients:

  • garlic clove-smashed once
  • 1 cup shredded gruyere cheese
  • 1 cup shredded swiss emmentthal
  • 2 tbsp AP flour
  • 1 cup dry white wine (chardonnay)
  • bundle of fresh thyme
  • 1 tbsp fresh lemon juice
  • 1 tsp fresh lemon zest
  • french bread, granny smith apples etc.. all cut into small squares for dipping.

Instructions:

  1. Rub a medium sauce pan with the garlic. Add the wine, thyme bundle and lemon juice and bring to a simmer for a  minute or 2.
  2. Combine the cheeses and flour in a bowl and mix to coat evenly. Add it to the wine mixture a bit at a time, stirring until melted and velvety.
  3. Pour into your fondue pot and place over the appropriate heat source.
  4. Serve with diced bread, apples etc…

I put the bread and apples out with other small things to eat easily with the fondue fork but not to dip into the cheese-dill gerkins, kalamata olives. They were a nice addition to the plate.

image


The Union Square Cafe’s Bar Nuts

My Mom always hosts Thanksgiving so I bring some pickies to have before dinner.  This year, among others,  I made these nuts that I found in Nigella Lawson’s book Nigella Bites.   They are so good! They’re warm and crunchy and a bit spicy and a bit sweet and a touch salty. And they’re addictive! We loved them.

nuts

The Union Square Cafe’s Bar Nuts

Ingredients

  • 2-2&1/4 cups mixed nuts-unsalted
  • 1/2 tbsp dried rosemary
  • 1/2 tsp cayenne pepper
  • 2 tsp dark brown sugar
  • 2 tsp fleur de sel
  • 1 tbsp unsalted butter, melted

instructions

  1. Preheat the oven to 350.
  2. Place nuts onto a baking sheet and toast in the oven until light golden brown, about 10 minutes. Watch them carefully. Nuts go from golden and perfect to burned in a flash.
  3. In a large bowl combine the remaining ingredients and stir to combine.
  4. Add the nuts to the butter and spice mixture and stir to evenly coat.
  5. Serve warm.

Slightly adapted from the cookbook recipe.

Pomodori Gratinati (gratineed tomatoes)

I hemmed and hawed over how to write this little blurb about this recipe. I thought of talking about how the perfect summer tomatoes are so delicious and how the filling is a bit crunchy and so so tasty from the different herbs and 2 cheeses. I must have written 10 drafts and deleted them all. They seemed too wordy for a dish so simple it’s almost silly.

But in the end, what came to mind the most, were my visits to Florence/Tuscany over the last few years. I mean-that makes sense since I found the recipe in my book, Twelve, which is a month by month Tuscan cookbook. But if you’ve been there you’ll understand what I mean when you taste these. If you haven’t been there you need to change that immediately.

It’s amazing how a bite of something can instantly mentally take you out of your kitchen and zip you into a chair at a table on the perimiter of a piazza with a gorgeous plate of cheese and veggies like these and a glass of chianti.

tomato1

Pomodori Gratinati

Ingredients:

  • 6 plum tomatoes, vine ripiened, washed and dried
  • 3 tbsp chopped parsley
  • 1 garlic clove, chopped small
  • 10 basil leaves, chopped
  • 1 tbsp frehsly grated parmesan cheese, plus sprinkle for topping
  • 1 tbsp freshly grated pecorino romano cheese, plus sprinkle for topping
  • 1/4-1/3 cup fine breadcrumbs
  • 8 tbsp olive oil

Instructions:

  1. Preheat oven to 350.
  2. Slice the tomato in half from stem to stem and, very gently, using a spoon remove the flesh and seeds-reserving them. Put the tomato halves into a baking dish, cut side up. Chop up some of the reserved insides and set aside.
  3. In a bowl mix the parsley, garlic, basil, cheeses, breadcrumbs and 4 tbsp olive oil. Season with kosher salt and freshly ground pepper if desired. If desired you can also add some of the chopped tomato insides (I added just a bit). Spoon the mixture into the tomato halves.
  4. Drizzle with the remaining olive oil and bake int he oven for 20-30 minutes until they are lightly golden and cooked through.
  5. Sprinkle with extra topping cheese and serve.

Note: since it was only I eating I only made one tomato. It was very easy to scale the recipe down so don’t feel that you have to make all 6 tomatoes.

Adapted from Twelve, A Tuscan Cookbook

This simple and very delicious recipe fit in perfectly with this month’s What’s Baking challenge theme of ‘Italian’. For the other recipes in the swap click here here

WB

tomato2

Flash Chicken Fried Rice

So last week my Wednesday night went a bit like this: home from work at 5:40, walk dog, make a dinner in 20 minutes and get to a meeting by 6:30 that ended up lasting until 11:00.  Yeah it was that kind of day.  And night.  I had to think of something that I couldn’t mess up, something that I could make in a flash (snicker snicker), and that had a bunch of good stuff in it and that was tasty too.  Thankfully Husband made up 3 cups of rice for me the day before so it was all ready in the fridge.  The rest of the recipe is a mish-mosh of stuff that I had in the fridge and freezer. And it was perfect! It was delicious, filling but not FILLING, and had a nice balance of tastes and textures.   It’s more of a stir fry than a fried rice really-but who cares-it’s good and FAR better for you than stopping for take out.

Next time you’re going to run short on time give this recipe a try.  It took me about 18 minutes from chopping the onion to when it was in the container ready to go.

rice

Flash Chicken Fried Rice

 Ingredients:

  • 3 cups cooked day-old rice (I used white-feel free to use any other kind you’d like)*
  • 1 large chicken breast, trimmed of fat, boneless and skinless cut into small bite sized pieces
  • 2 large eggs
  • 1 small yellow onion, cut into very thin strips
  • 2 cups frozen edamame
  • 2 cups frozen corn
  • 4 tbsp sesame oil
  • splash of fish sauce
  • a few tbsp low sodium soy sauce (to taste)
  • splash of hoisin sauce

Instructions:

  1. In one skillet over medium high heat warm 1 tbsp sesame oil. When hot add the chicken and cook until nicely browned and cooked  thoroughly. When cooked set aside. 
  2. While the chicken is cooking and in another pan over medium-high heat put 1 tbsp sesame oil. When hot add the onions and stir for a minute or two and then add the edamame and corn and cook until no longer frozen.  Add the fish sauce and stir for a minute or two. 
  3. In a 3rd and large pan (that can hold everything and be stirred) over high heat put the remaining sesame oil and, when hot, add the rice and stir to heat through.  Add the edamame mixture and cook until the rice and veggies are all mixed and the rice has a nice browned outside. 
  4. In the same pan used to cook the edimame mixture, over medium heat, crack the eggs, add a spoonful of the rice mixture and mix quickly to cook completely.  Add the egg mixture to the rice then add the chicken to the rice, stir to combine and remove from heat. Add the soy and hoisin sauces and stir to combine. Serve.

I admit I used a bunch of pans while throwing this together. I’m sure if I had more time I could’ve figured out how to use less–but my purpose was to make a great dish fast, not avoid dirtying dishes. 

This recipe makes quite a bit. I took one container with me to the meeting, had some for lunch the next day and still had a bit left over. I’d say about 4.5-5 cups total.

I think that this would also be great with some bell pepper strips, some snow peas etc…add at will-veggies are good for you!

*if you don’t have pre-made rice it will take that much longer to make this dish.

Crispy Sriracha Chicken Bites

I really do like Sriracha and have used it for quite a few years. I came across this recipe over a year ago and it has sat, untouched, buried deep in my folder of ‘to make’ recipes——which is pretty thick.

As luck would have it Husband bought 2 large family packs of chicken breasts recently (on sale woot!! woot!!) so I’ve been looking for a few recipes to use them up and I came across this one.  I wish I would have made these sooner-they’re delicious! The chicken is juicy and perfectly cooked, the coating is hot and crunchy and really tasty and there’s really nothing to them-just great flavor.

sri4

Crispy Sriracha Chicken Bites

Ingredients:

  • 1/4 cup Sriracha
  • 1 tbsp rice vinegar
  • 1/2 tsp fresh grated ginger (or ground ginger powder)
  • 1/2 tsp fish sauce
  • 1/2 tsp soy sauce
  • 2 chicken breasts, boneless and skinless, cut into equal strips (mine were about 1 inch wide) or about 1/2-3/4 lb
  • 1&1/2 cups Panko bread crumbs
  • 1 tsp white pepper
  • 1 tsp garlic powder

Instructions:

  1. In a large ziplock bag put the ingredients starting with Sriracha through and including the chicken.  Squish the chicken around to evenly coat and allow to sit at room temp for 30 minutes.
  2. Pre-heat oven to 425. Line a baking sheet with foil and then place a cooling rack on top of the foil. Set aside.
  3. When the 30 minutes is up use tongs or gloves (I love my surgical gloves for things like this) to roll each marinated piece of chicken in the Panko and set it on the baking sheet. Repeat with all chicken strips. Be sure the pieces aren’t touching each other on the rack.
  4. Bake for about 20 minutes  (if you cut your strips larger or smaller it may take more or less time) or until they’re cooked thoroughly.
  5. Serve with assorted dipping sauces if desired.

sri1 sri2

 Adapted from http://sotastysoyummy.blogspot.com/2012/04/sriracha-chicken-strips.html

Red Dragon Chicken Salad

This is one gigantic delicious salad filled with great flavors and textures. The zingy chili sauce, the slightly sweet dressing, the crunchy noodles, the bright mandarins and the crispy veggies-everything just comes together.

I named it ‘Red Dragon’ chicken salad because of the zing, heat and red sauce on the chicken. Besides it sounds much better than plain old ‘chicken salad’,  no? Yes.

Unfortunately I can’t take full credit for this salad. I based in on a salad that I enjoyed a few weeks ago at Buffalo Wild Wings with Husband.  It was our first visit.  I’m not a fan of  chain restaurants but I liked it there more than I thought I would. The wings were delicious and they have a great variety of foods.

salad3

Red Dragon Chicken Salad

Ingredients:

  • 4 cups salad (combination of shredded carrots, cabbage, lettuce and broccoli)
  • 1/3 cup crispy chow mein noodles (I used La Choy)
  • 3 tbsp Newmans Own Low Fat Sesame Ginger salad dressing
  • 1-2 tbsp Asian Zing sauce (from Buffalo Wild Wings)* 
  • 1 boneless, skinless chicken breast grilled and sliced
  • 6 mandarin orange segments

Instructions:

  1. Put salad and dressing together, toss to combine. Sprinkle noodles over the salad. Set aside.
  2. Mix the Asian Zing sauce with the chicken and spread over salad.
  3. Arrange mandarin slices around the outside.

This makes one large salad or 2 smaller salads.

*their Asian Zing sauce tastes to me like Sweet Thai Chili sauce and sriracha so if you don’t have the sauce or want to buy it you can mix those 2 ingredients together to the desired heat level and use that on the chicken instead.

salad2

Apricot & Rum Dipping Sauce

Wow!! What a flavor this sauce has. Sweet and tart from the apricot and just slightly rummy-just enough to taste.   It’s delicious!  I wish I had made this earlier in the week when I made the baked sweet potato fries-it would have been delicious on them.

 I made this recipe for the a recipe swap that I’m involved in with some other great blogger friends which is hosted by Sarah from http://tasteofhomecooking.blogspot.com. This swap’s theme was ‘cooking with alcohol’.  The recipe below is from Jen at www.becomingpigzilla.com (what a cute name!!), originally from Food Network.

dip2small

Apricot & Rum Dipping Sauce

Ingredients:

  • 1/2 cup apricot preserves
  • 2 tbsp dark rum

Instructions:

  1. Put both ingredients into a small sauce pan.  Cook for 10 minutes over low heat, stirring occasionally.
  2. Serve

I cooked this down longer than the original recipe instructed as I wanted it to be a little thinner-more of a glaze consistency as you can see below.  I heated up some spring rolls that I had in the freezer but you could put this on anything-grilled chicken, shrimp etc…

dipsmall

Check out the rest of the swap recipes here:

whatscooking

Previous Older Entries