I feel like I’ve had a crazy case of writers block lately. I have so many posts to write and my mind is just blank…..
Blueberries. Little spheres of yummy happiness. I’ve loved them all of my nearly 40 years on this planet. They’re so delicious and they’re healthy to boot. What’s not to love?
This recipe is on the healthier side of cake I guess you could say due to the yogurt-but don’t be fooled. It’s a deeeeelicious cake. It’s adapted from recipe I found digging through the endless offerings on the interwebs. I made changes that I think moved it along for the better. Also it’s big-it’s a 9×13 baking dish size which is great-everyone gets a piece.
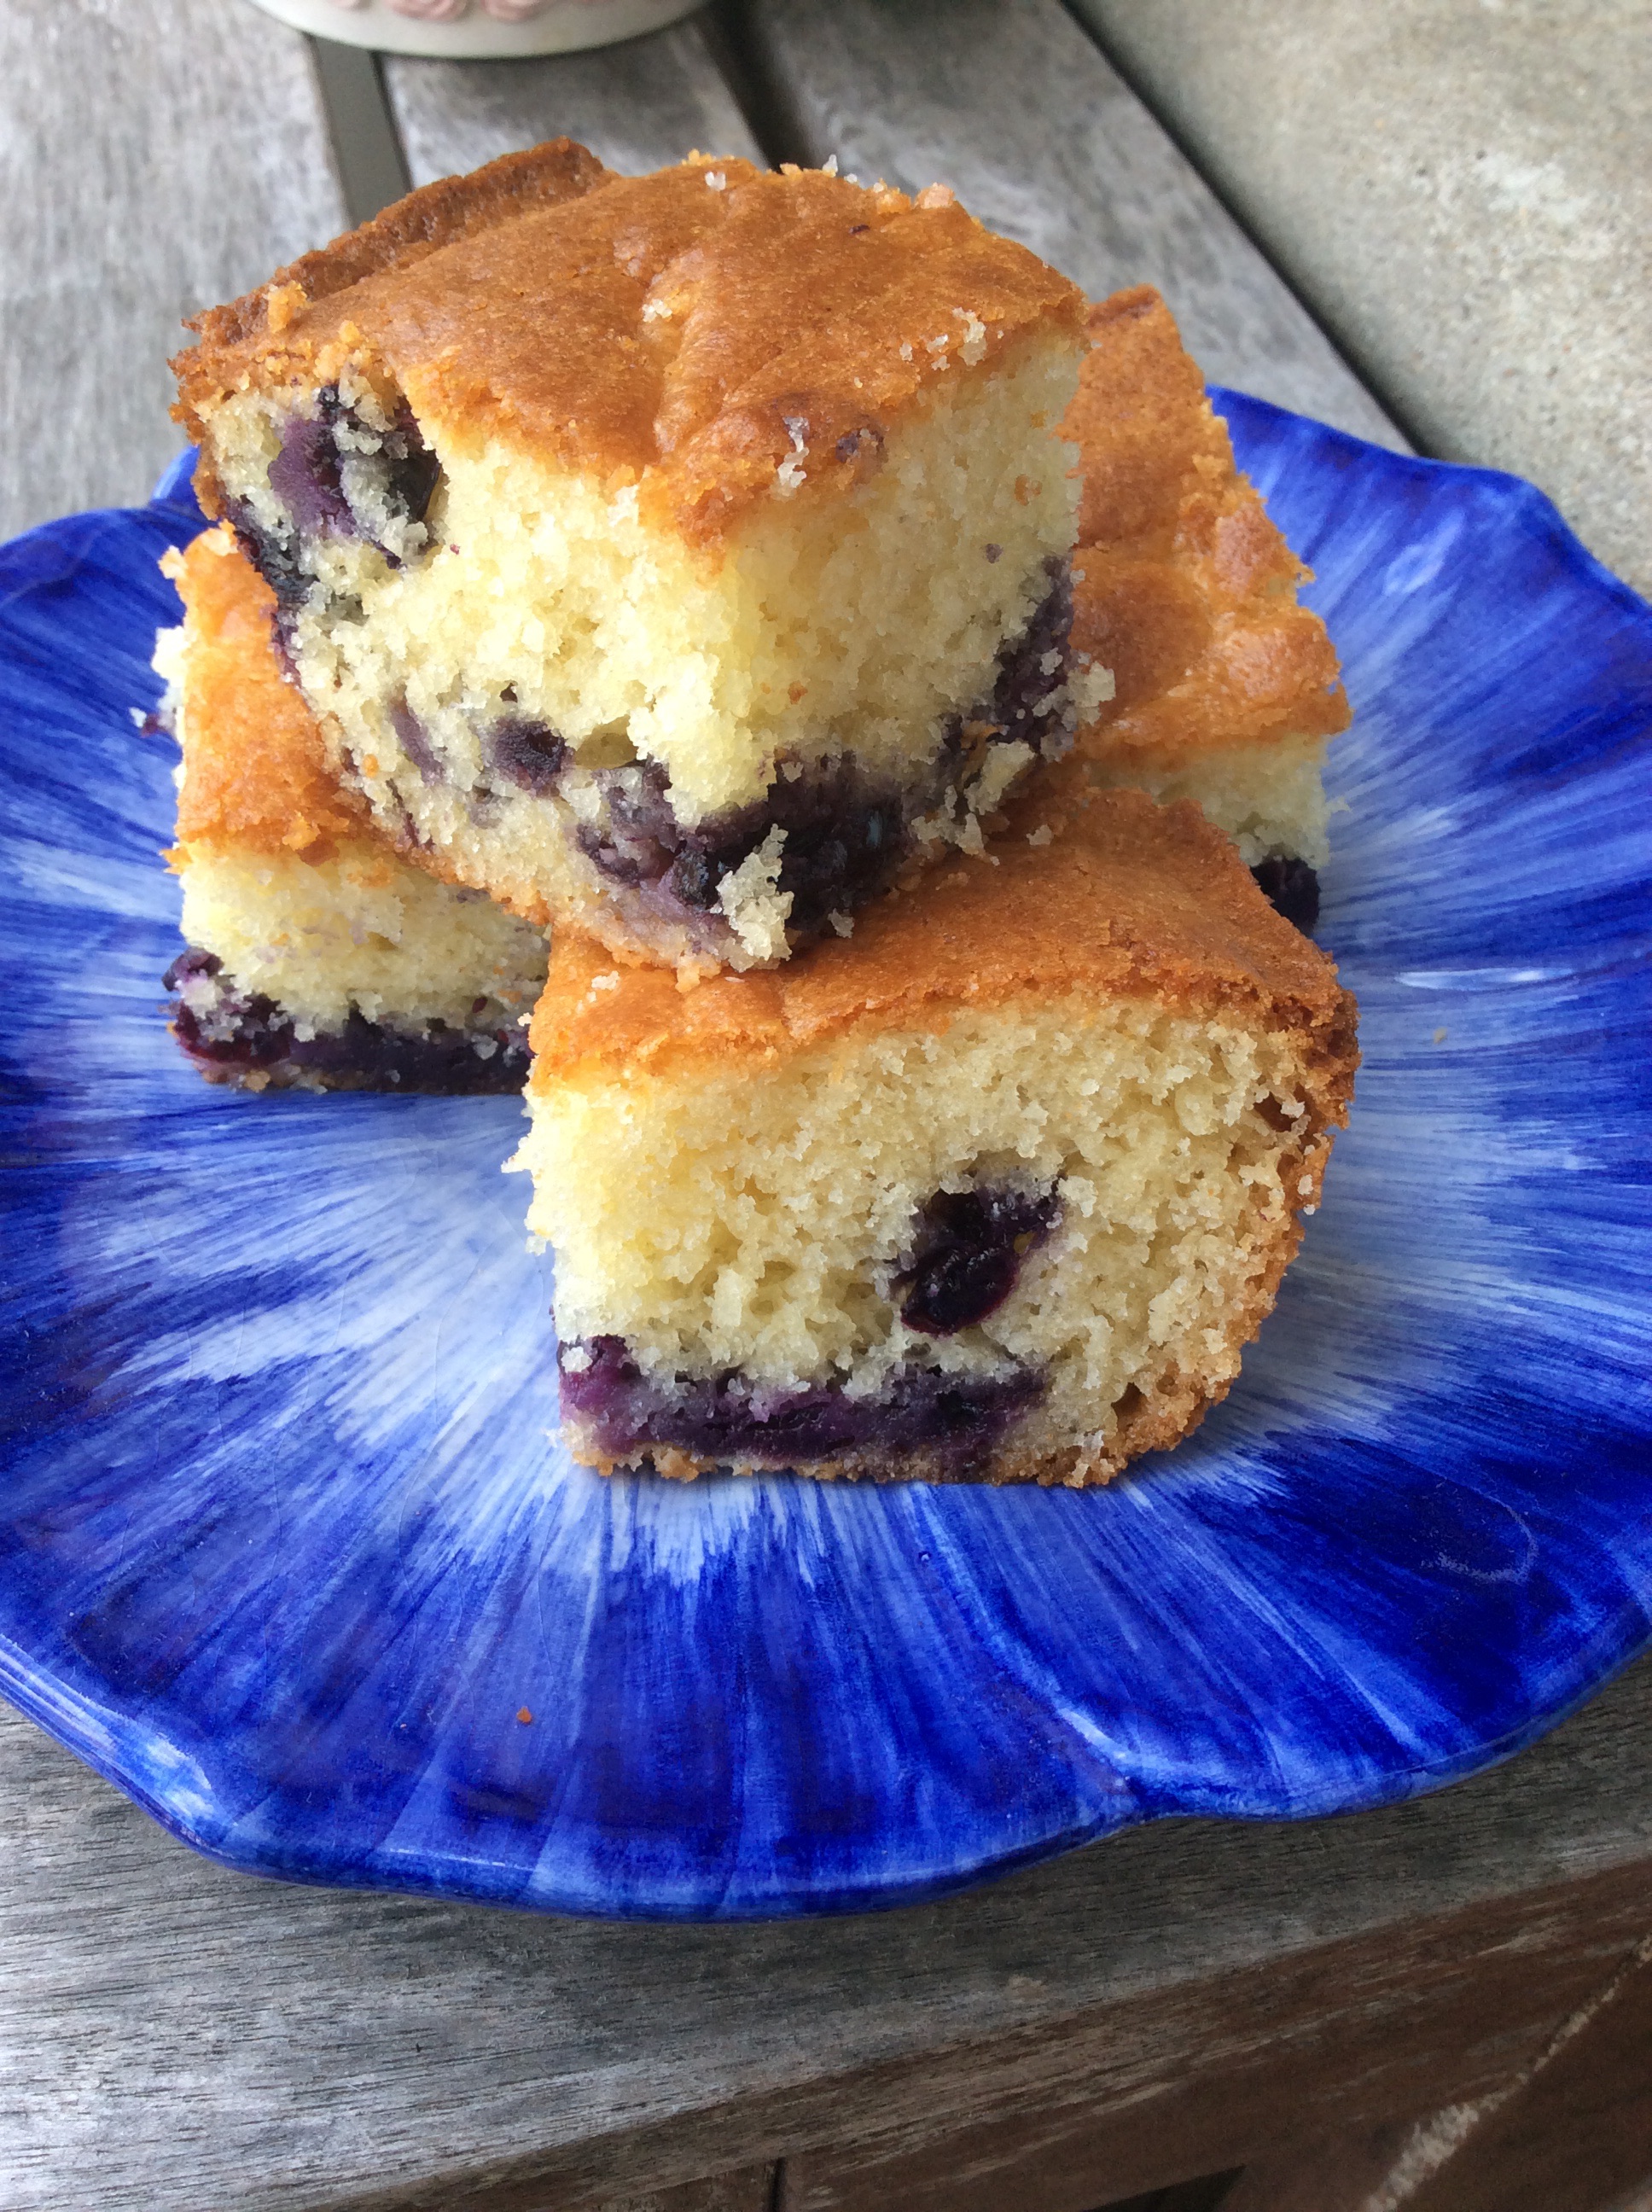
Blueberry Lemon Curd Cake
Ingredients:
- 3 cups self-rising flour
- 1/2 tsp baking soda
- 1/2 cup extra virgin olive oil
- 1/2 cup canola oil
- 1&1/2 cups granulated sugar
- 2 large eggs at room temperature
- 1 cup plain greek yogurt at room temperature
- 2 tbsp. lemon curd
- 2 cups fresh blueberries
Instructions:
- Preheat oven to 425 and make sure the rack is in the middle.
- Spray a 9×13 glass baking dish with baking spray and set aside.
- In the bowl of a mixer fitted with the paddle attachment add the oil, eggs and sugar. Mix on medium until it’s smooth, scraping the sides as needed.
- Add the yogurt and lemon curd and continue to mix, scraping again, until smooth.
- In a separate bowl whisk the flour and baking soda together.
- Gently fold the flour into the wet ingredients.
- Add the berries and fold very gently until mixed in.
- Pour the batter evenly into the pan and spread it evenly with a spatula.
- Bake for 5 minutes then lower the heat to 350 and bake for 20-25 more minutes or until a toothpick inserted into the center comes out clean.
- Remove. Allow to cool and then cut and serve.
- Will keep for a few days in an airtight container.

This cake is this installation of What’s Baking!!! The theme for this time around is ‘baking with fresh fruit’.

Adapted from http://www.letthebakingbeginblog.com