Gingerbread Cookies

I’m not sure why but I’d never made gingerbread before. The recipes always scared me a bit. Maybe it was the molasses. I do love it though–such a not-sweet cookie and so ‘holiday’.

I was so glad (and somewhat terrified) when the What’s Baking group theme was revealed-GINGERBREAD!

And you know what? I was afraid for no reason. They were so easy to make! Such a small ingredient list, a simple procedure.  I’ll admit the first batch that I cut into man shapes ended up looking like aliens-but I figured out that it was because I rolled the dough too thin and it got warm.  You need to keep your dough COLD. Really really cold. And keep it rolled to no thinner than 1/4 inch.

While the recipe stated to roll half of the dough at a time, I found using only 1/4 was much easier for me to keep the temperature right.

So have fun!! Fear not!!

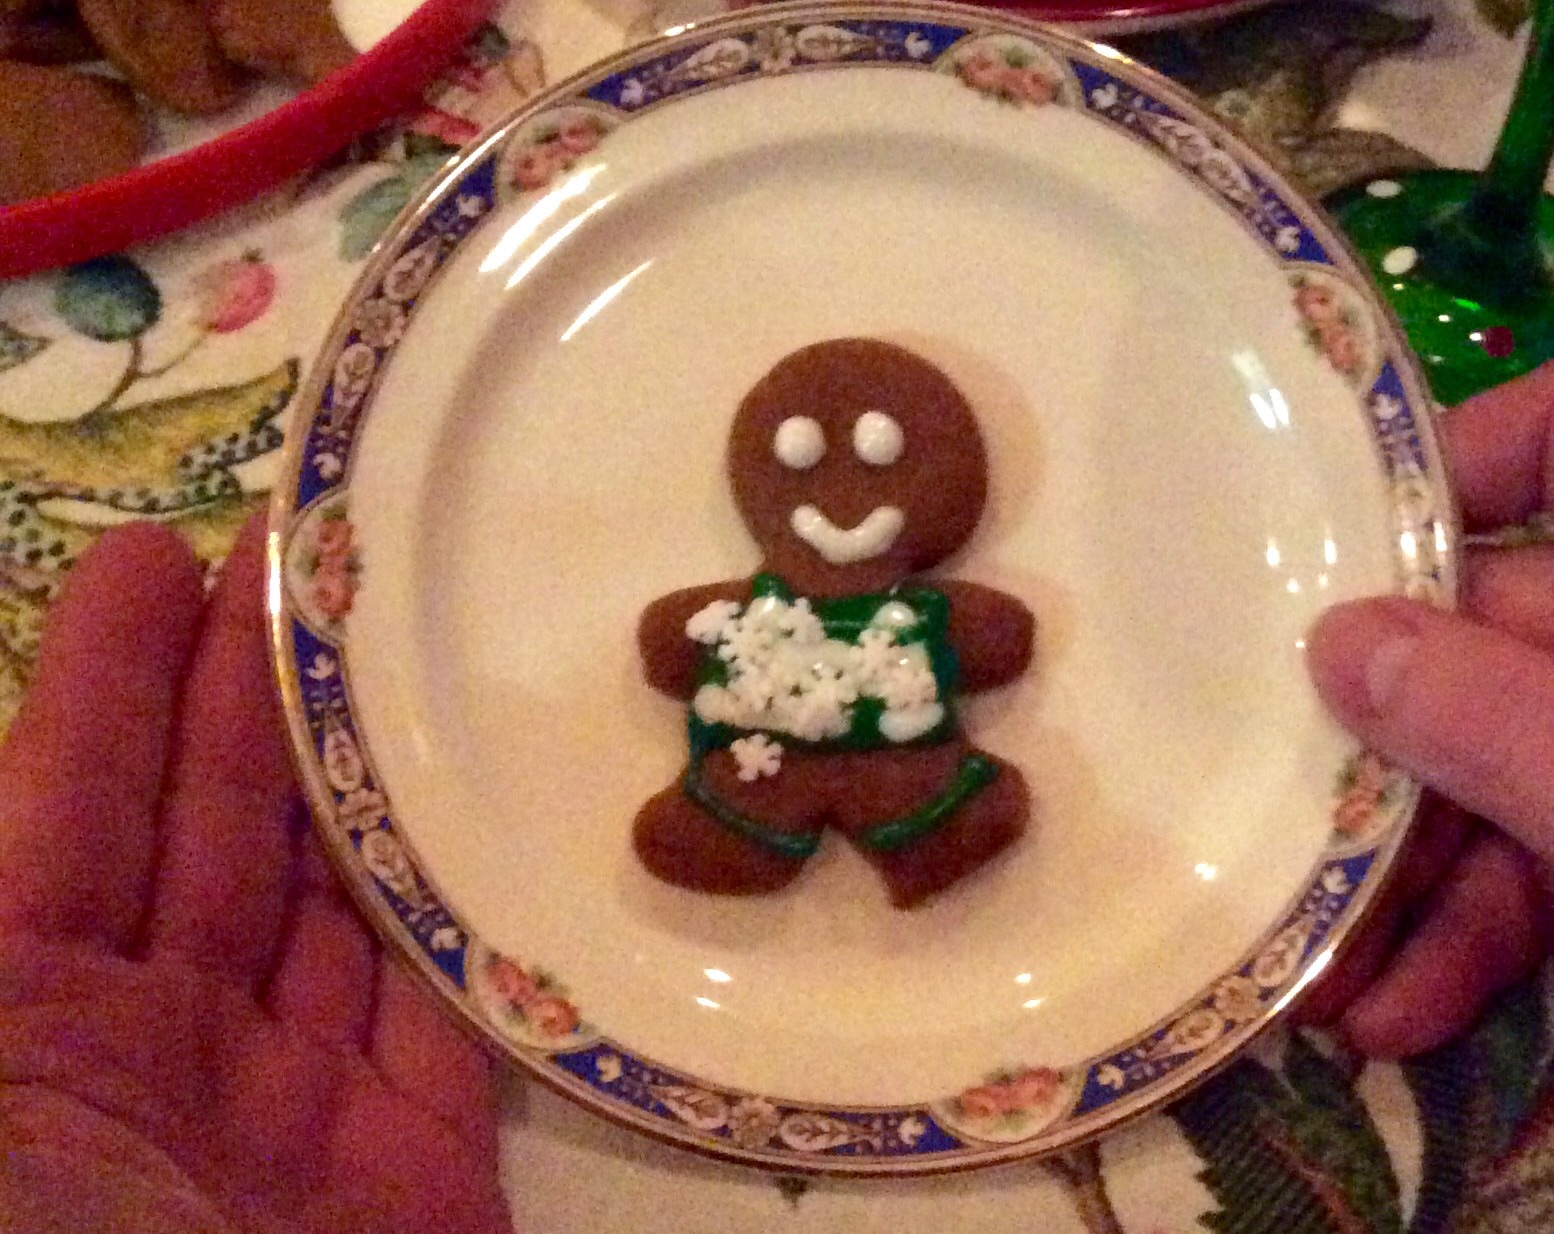
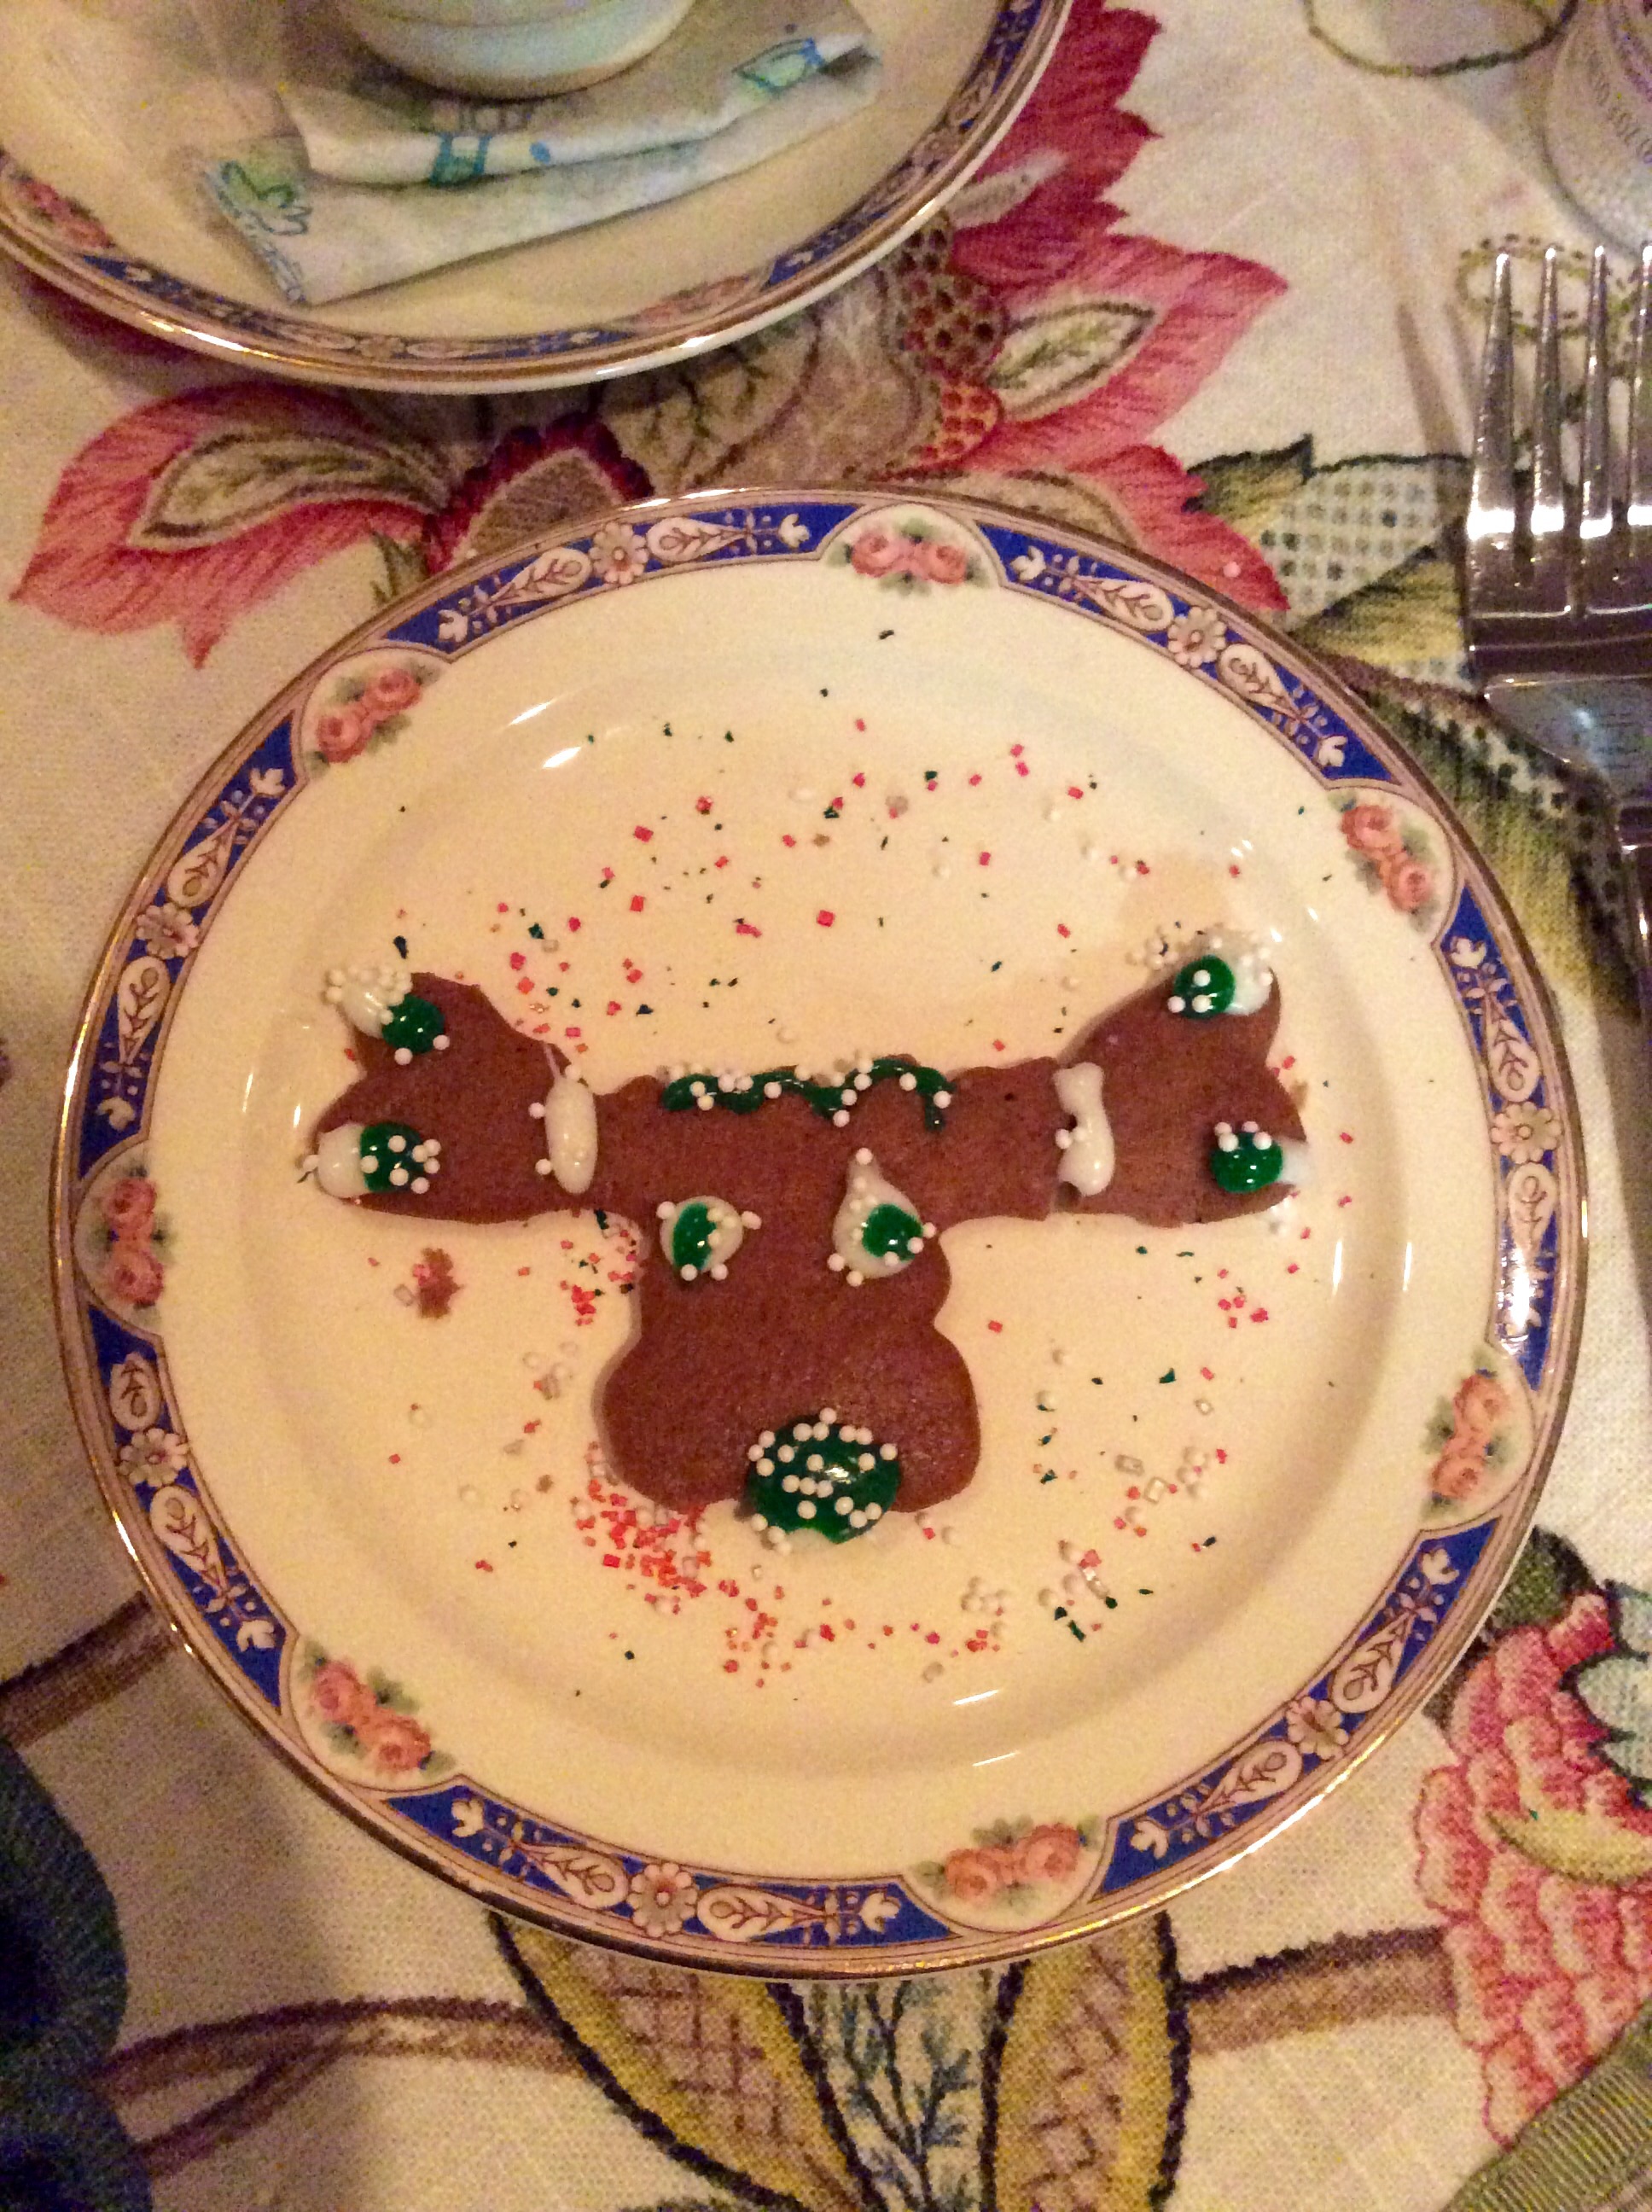
I didn’t get to decorate my gingerbread cookies. Since I was serving them as part of the dessert for my Christmas Eve get together I decided to let everyone decorate their own-how fun it was!  Since I’m not the best with decorating cookies it saved me some crooked-decorating humiliation too.

image

Gingerbread Cookies

Ingredients:

  • 3/4 cup unsalted butter
  • 3/4 cup brown sugar, packed
  • 3/4 cup molasses (regular/original)
  • 1 tsp salt
  • 2 tsp ground cinnamon
  • 2 tsp ground ginger
  • 1/4 tsp allspice
  • 1 large egg
  • 1 tsp baking powder
  • 1/4 tsp baking soda
  • 3 & 1/2 cups unbleached AP flour (I used King Arthur brand)

image

Instructions:

  1. Melt the butter in a small sauce pan set over medium heat. Stir in the brown sugar, molasses, salt and spices.
  2. Pour the butter mixture into a large mixing bowl and set it aside to let it cool to lukewarm. Then beat in the egg.
  3. Whisk the baking powder and baking soda into the flour. Add the flour mixture to the butter mixture.
  4. Stir until completely combined. Don’t over-mix.
  5. Divide the dough into 4 even pieces and wrap each tightly in plastic wrap. Cool them in the refrigerator for at least an hour-but up to one day.
  6. Preheat the oven to 350. Line several baking sheets with parchment paper.
  7. When the dough has chilled sufficiently roll it to 1/4 inch thickness using parchment paper on the bottom and plastic wrap on top.
  8. Cut out shapes with cookie cutters and carefully transfer the shape to the prepared baking sheet. Reroll and cut the scraps or add to the batch in the fridge.
  9. Bake for 8-12 minutes or until firm. Mine took exactly 9 minutes as I like them a bit chewy.
  10. Let the cookies cool on the baking sheet for a minute or 2 then carefully (I use my fish spatula for this) transfer them to cooling racks.
  11. Repeat with the remaining dough.
  12. Once cooled completely you can decorate them. The cookies will keep for at least a week in an airtight container un-decorated.

I used moose, owl, snowflake and the typical gingerbread man cookie cutters. They came out great!!

image image


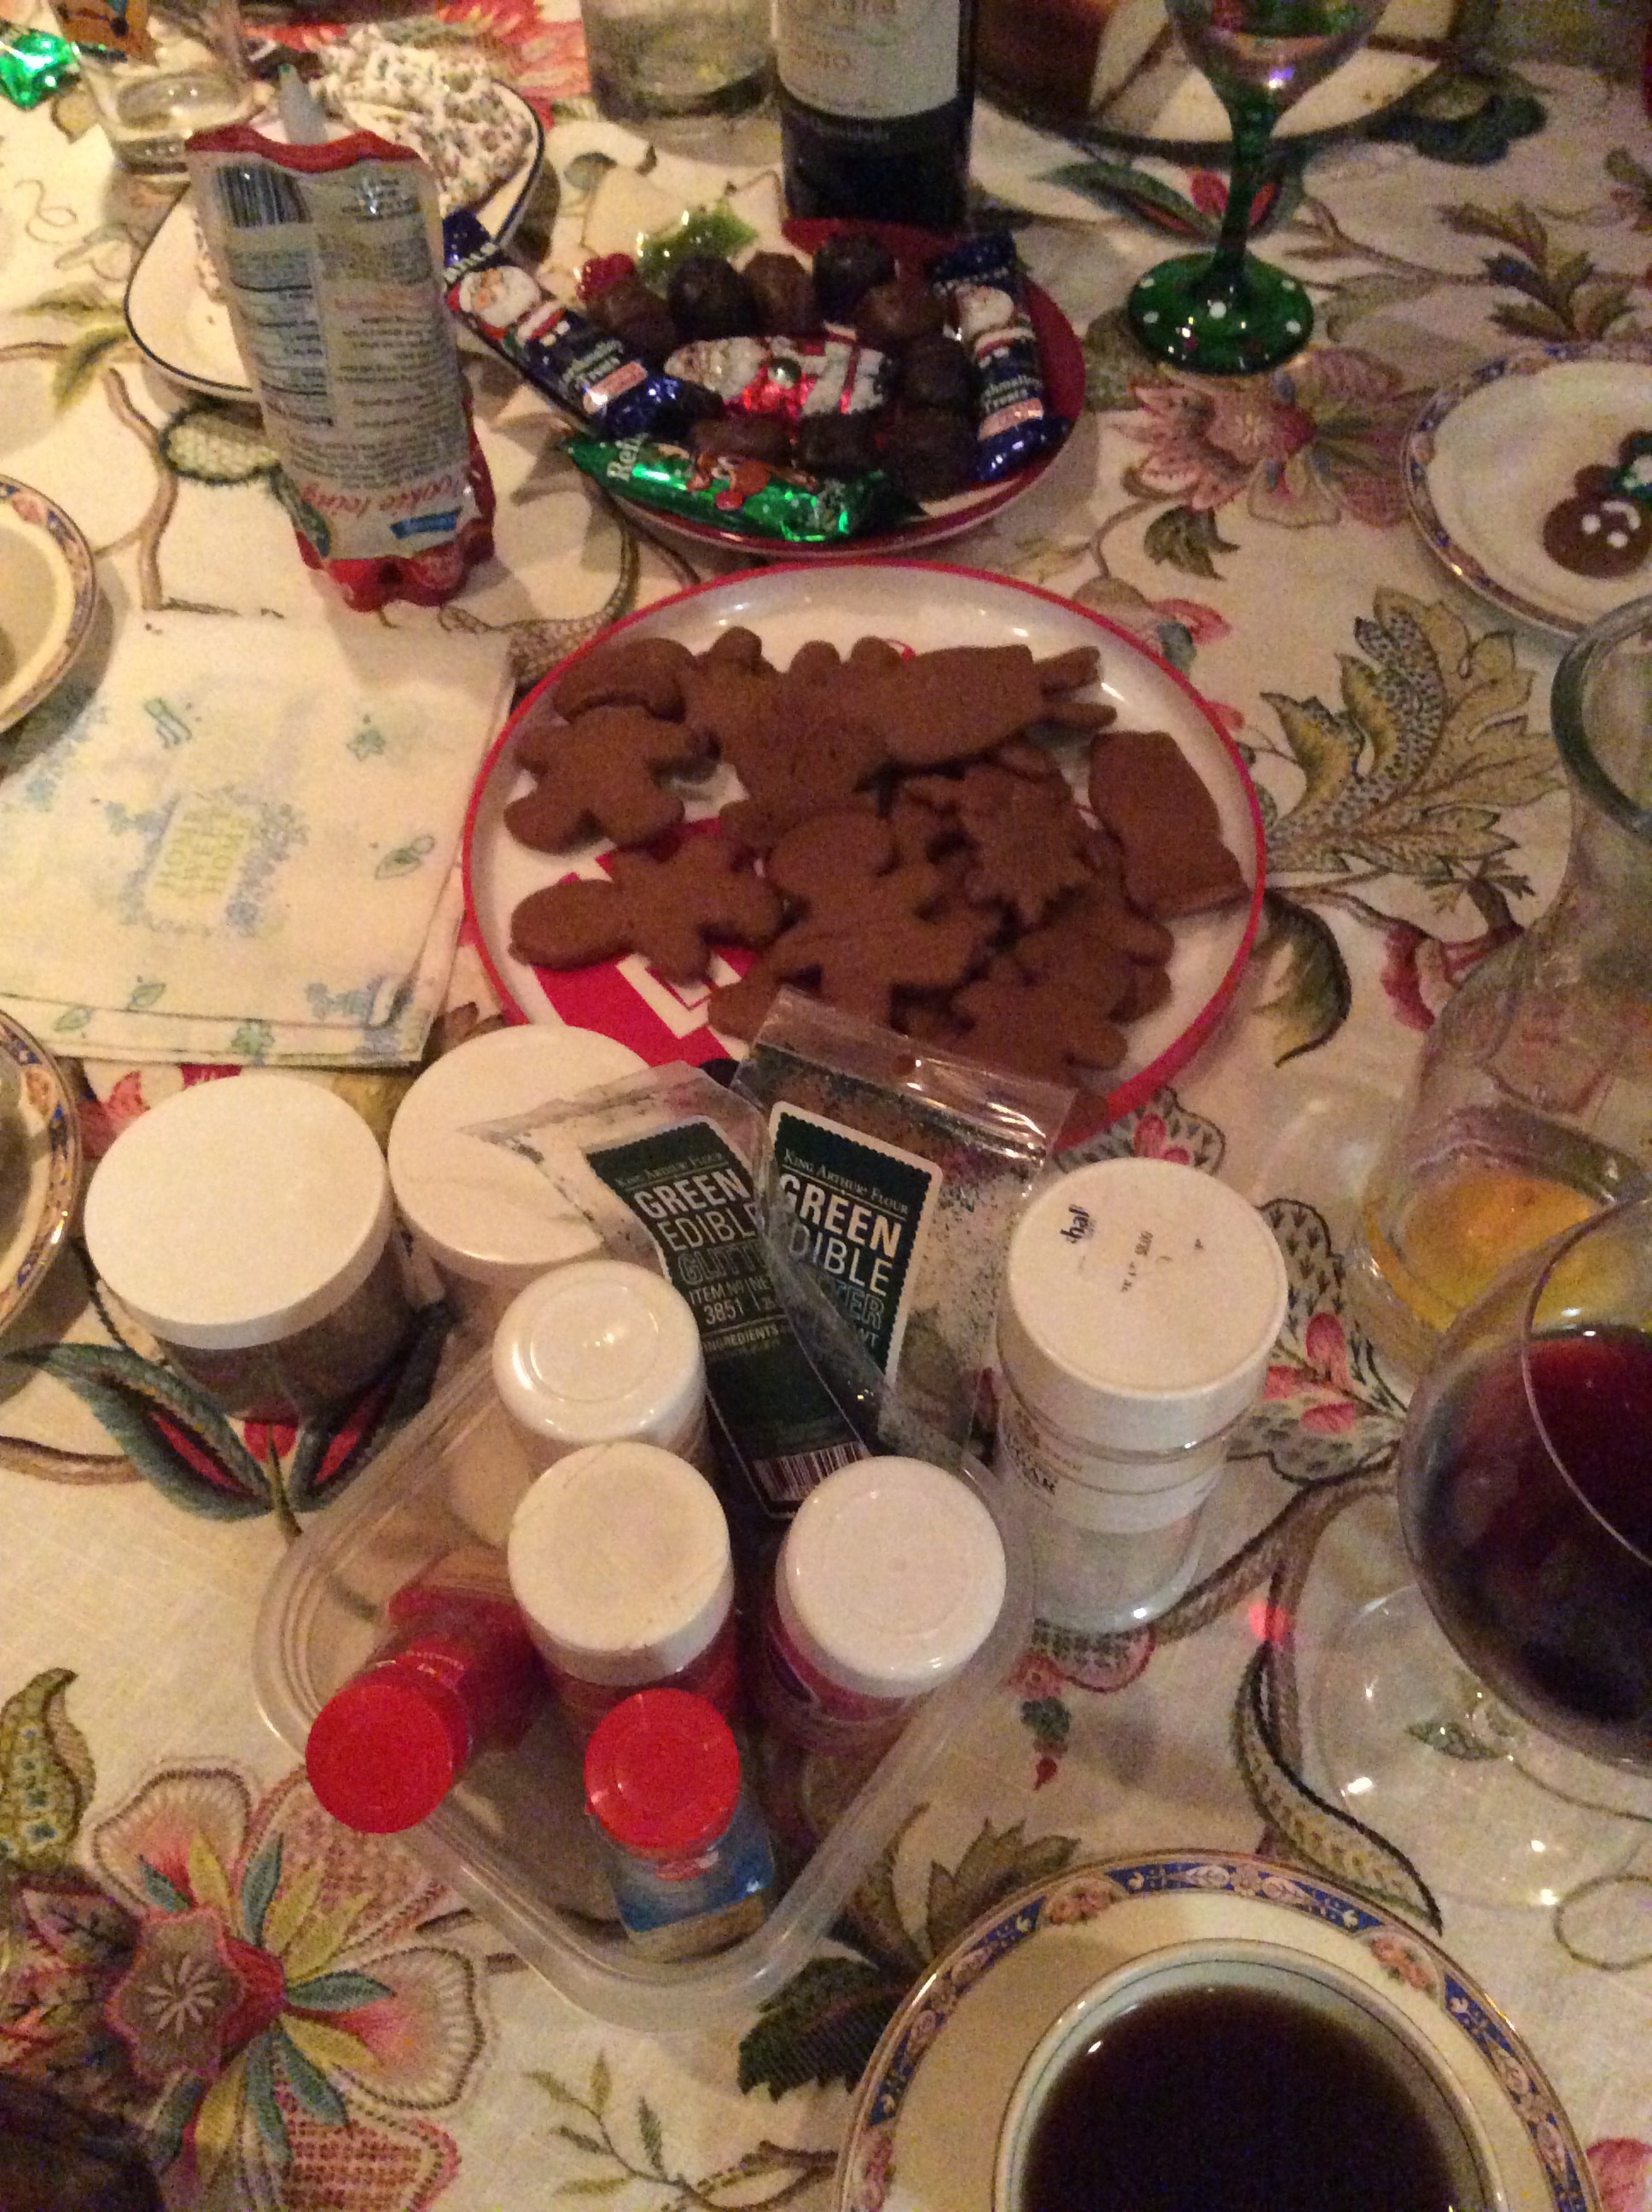
Here’s the ‘make your own’ set up. Some sprinkles, some frosting pens….

image


Adapted from King Arthur Flour’s recipe.

image

Advertisement

Pumpkin Sugar Cookies with Spiced Glaze

It’s time for the next installment of What’s Baking?. This time around the theme is pumpkin or squash (appropo, no?).

I love these sugar cookies!! They’re pillowy soft and so chewy and delicious. A hint of pumpkin, a hint of spice and sugar all rolled together with a thin layer of spiced glaze.

They were very easy to make and have stayed perfect in an airtight container for a few days. I froze half of the dough so that I can make them again soon.

image

Pumpkin Sugar Cookies with Spiced Glaze

Ingredients:

Cookie:

  • 1/2 cup unsalted butter, at room temperature
  • 1/2 cup canola oil
  • 1/2 cup pumpkin puree
  • 1 cup granulated sugar, plus 1/2 cup more for topping
  • 1/2 cup confectioners sugar
  • 1/2 tsp vanilla extract
  • 2 large eggs, at room temperature
  • 4 cups AP flour
  • 1/4 tsp baking soda
  • 1/4 tsp cream of tartar
  • 1/2 tsp salt
  • 1 tsp pumpkin pie spice

Glaze:

  • 3 cups confectioners sugar
  • 4 tbsp almond coconut milk
  • 1/4 tsp pumpkin pie spice

Instructions:

  1. Pre-heat oven to 350F.
  2. Prepare cookie shee(s) with parchment paper.
  3. In a large bowl put the butter, oil, pumpkin, and eggs. Mix until well combined and smooth.
  4. In a small bowl combine the flour, baking soda, cream of tartar, salt and pumpkin pie spice.  Whisk well to combine and break up any lumps.
  5. Add 1/4 of the dry ingredients to the wet. Mix to combine, scraping down any on the sides of the bowl. Repeat until everything’s combined.
  6. Spoon large 1 tbsp mounds of the dough onto the prepared cookie sheet, 2 inches apart.
  7. Place the additional 1/2 cup sugar on a deep plate.
  8. Using the bottom of a glass dipped in the sugar, flatten each cookie round to 1/2 inch, dipping the glass into the sugar before each cookie.
  9. Bake for 8-10  minutes. They will not brown.
  10. Cool on baking sheets for a few minutes then transfer to cooling racks with waxed paper or foil underneath.
  11. Mix the glaze. Spoon about 1 tsp over each cookie.
  12. Allow glaze to harden.

image

image

Adapted from wishesndishes.com

image

Red Velvet Cookie Bars with Vanilla Bean Frosting

This months “What’s Baking” theme of ‘Red Velvet’ was chosen by Kim of Just Baked.  Appropriate for Valentine’s Day treats don’t you think? 99% of the time red velvet is paired with cream cheese frosting so I wanted to do something different. While I love CC frosting it’s pretty heavy.

I love love love light airy frosting. The frosting here ended up being as light as fresh whipped cream and super-vanilly which means that it will be great on all kind of things-cookies, cakes etc…. So keep it to use any time of the year. Note: I only made half of the recipe below-you can see in the photo below how much frosting you’ll have on each piece with the recipe halved. If you want more make the full recipe.

Red Velvet Cookie Bars with Vanilla Bean Frosting

image

Ingredients:

Cookies:

  • 3 & 1/2 cups AP flour
  • 1/4 cup unsweetened cocoa
  • 1/2 tsp salt
  • 1 tsp baking powder
  • 1 cup (2 sticks) unsalted butter, at room temperature
  • 1 & 1/2 cups granulated sugar
  • 2 large eggs, at room temperature
  • 2 tsp vanilla extract
  • 1 tbsp KAF Red Velvet Emulsion

Frosting:

  • 1 & 1/2 cups confectioners sugar
  • 1 cup (2 sticks) unsalted butter, at room temperature
  • pinch of salt
  • 4 tsp vanilla extract
  • 1 vanilla pod, beans set aside

Instructions:

  1. Preheat the oven to 350F. Spray a 9×13 pan with non-stick baking spray.
  2. In a bowl combine the flour, cocoa, salt and baking poweder. Whisk to evenly combine. Set aside.
  3. In theb owl of a stand mixer fitted with the paddle attachment beat the butter and sugar until light and creamy, about 3 minutes. Add the eggs, one by one, and then the vanilla. Beat until combined evenly.
  4. Little by little add the dry ingredients, just incorporating before adding more. Scrape down the sides of the bowl when necessary. Beat until a dough forms.
  5. Pour then press the dough into the prepared pan. Bake about 20 minutes or until a toothpick inserted into the center comes out with just a few crumbs.
  6. Remove from the oven and cool completely before frosting.

For the frosting:

  1. In the bowl of a stand mixer fitted with the whisk attachment add the butter and 1/4 of the sugar.  Beat on low until combined. Continue to add the sugar in this way until it’s all combined.  Add the vanilla extract and beans and  beat on highest speed for about 8 minutes or until it won’t get any fluffier. It will have the consistancy of whipped cream.
  2. Frost the cookies using an offset spatula or backwards dinner knife.

image

Cookie recipe adapted from chocolatemoosey.com.  The frosting’s mine.

WB

Perfect Easy Chocolate Chip Cookies

I generally am really not so good at making chocolate chip cookies from scratch. They’re either too dark on the bottom, too soft in the inside etc….it’s pretty sad really. I’ve baked those ones from the mix or the tube a few times, and they’re great, but I feel like it’s a real cop-out.

But these–these were perfect.  Perfect I tell you.  And so easy to make! It took me less than 20 minutes from start to getting them out of the oven to cool.

I found the recipe that I adapted to make these cookies on a container of Crisco that I had bought-probably during the holidays intending on baking tons of goodie-but never did.

cookie1

Perfect Easy Chocolate Chip Cookies

Ingredients:

  • 1&1/4 firmly packed brown sugar (light or dark-your choice)
  • 3/4 stick Crisco butter flavor all-veggie shortening
  • 2 tbsp milk
  • 1 tbsp vanilla extract
  • 1 large egg
  • 1&3/4 AP flour
  • 1 tsp salt
  • 3/4 tsp baking soda
  • 1 heaping cup semi-sweet chocolate chips

Instructions:

  1. Preheat oven to 375. Line a rimmed baking sheet (or 2) with parchment paper and set aside.
  2. In the bowl of a stand mixer combine the first 4 ingredients and beat at medium speed until light and fluffy. Scrape down the bowl when needed.
  3. Add the egg and mix until combined.
  4. In a medium bowl combine the flour, salt and baking soda. Stir with a wisk to evenly combine.
  5. Slowly add the dry ingredients into the bowl of the mixer on low speed and mix until just blended.
  6. Fold in the chocolate chips with a wooden spoon.
  7. Place rounded tbsp of dough 2.5 inches apart on the prepared baking sheet. Bake for 11 minutes for chewy insides and crispy outsides, a bit less for all chewy.
  8. Remove from the oven, let cool for 2 minutes on the baking sheet then carefully slide the parchment with the cookies off of the sheet to cool.

The full recipe makes about 36 cookies. I baked half and froze the other half in a ziplock bag with the instructions written on the bag.

Brown Butter Snickerdoodles

Brown butter takes classic snickerdoodles up a huge notch. Yum. Make them.

There’s nothing more to write.

image

Brown Butter Snickerdoodles

Ingredients:

Cookie Dough:

  • 2 & 1/2 cups AP flour
  • 1 tsp baking soda
  • 2 tsp cream of tartar
  • 1/2 tsp cinnamon
  • 1/4 tsp salt
  • 2 sticks unsalted butter
  • 1 & 1/4 cup dark brown sugar
  • 1/2 cup granulated sugar
  • 1 egg
  • 1 egg yolk
  • 1 tbsp vanilla extract
  • 1 tbsp plain greek yogurt (not low or no fat)

Cinnamon Sugar Coating:

  • 1/4 cup granulated sugar
  • 2 tsp cinnamon

Instructions:

  1. Preheat oven to 350 and prepare baking sheets with parchment paper and set aside.
  2. Whisk the cinnamon sugar coating ingredients together in a shallow bowl and set aside.
  3. Place both sticks of butter into a medium sauce pan set over medium heat. Whisk and continue to cook until butter foams and eventually begins to brown on the bottom of the pan and start to smell nutty. It can take quite a few minutes so be patient and let it take it’s time.  When it’s browned pour the butter into a dish and place in the fridge to cool.
  4. While the butter’s cooling whisk the flour, baking soda, cream of tartar, cinnamon and salt in a bowl and set aside.
  5. In the bowl of a stand mixer combine the butter and sugars until thoroughly blended. Add the egg, yolk, vanilla and yogurt and mix until combined. Then, a little at a time, add the dry ingredients and mix on low speed until thoroughly combined. Do not overbeat.
  6. Roll the dough into a ball, wrap in plastic, and chill in the fridge for 30 minutes.
  7. Once the dough is chilled roll the dough into 1 tbsp balls, gently roll them around in the cinnamon sugar coating and place them on the prepared baking sheet about an inch apart. Gently give them a little tap on the top of the cookies to flatten ever so slightly.
  8. Bake 11-13 minutes for soft cookies, a few minutes more for crisper.
  9. Cool the cookies on the baking sheet for a few minutes then transfer from the baking sheet to cooling racks.

Adapted from tastykitchen.com

Pumpkin & Chocolate Chip Squares

This past weekend was the autumnal equinox and it’s finally fall! I can’t think of any other time of year that I like more. That being said it’s time for pumpkin.  Husband and I were heading over to my Grandmother’s house for lunch on Saturday with her and my Mom and I wanted to bring something with me for all of us to have as a treat after our lunch. This was a perfect recipe to make! I started a little later than I wanted to on Saturday morning so the tasties didn’t have time to cool completely but it was ok-I put them in a container with an ice pack and they were nice and cool by the time we got to her house.

They’re not overly spiced or overly pumpkin and using dark chocolate is the right way to go. They’re just right.

Make sure you buy pumpkin puree NOT pumpkin pie filling (has the spices in it).

And how cute is this photo? That’s Timothy, our dog,  and while he really wanted a piece I couldn’t give him any because of the chocolate. He got a biscuit instead and was fine with it.  I think I should rename these Timothy squares-they’re the same colors as he is.

pump2

Pumpkin Chocolate Chip Squares

Ingredients:

  • 2 cups all-purpose flour
  • 1&1/2 tsp cinnamon
  • 3/4 tsp ground ginger
  • 1/2 tsp ground nutmeg
  • 1/2 tsp allspice
  • 1/2 tsp ground cloves
  • (you may sub 1 tbsp pumpkin pie spice for the last 5 ingredients above)
  • 1 tsp baking soda
  • 3/4 tsp salt
  • 1 cup (2 sticks) unsalted butter, at room temperature
  • 1&1/4 cups granulated sugar
  • 1 large egg
  • 2 tsp vanilla extract
  • 1 cup canned pumpkin puree
  • 12 ozs semi-sweet chocolate chips

Instructions:

  1. Pre-heat oven to 350.  In an 9/13 baking pan or dish lay one piece of aluminum foil the long way and press into the pan. Then lay another piece of foil the short way. In both directions leave enough extra foil to have a  bit of an overhang so that you can pull the squares out easily. Set it aside.
  2. In a medium bowl add the flour, pie spice or spices, baking soda and salt. Whisk to combine thoroughly and set aside.
  3. In the bowl of a stand mixer cream the butter and sugar together using medium-high speed until smooth.  Beat in the egg and vanilla until combined then add the pumpkin puree (mixture may appear curdled but that’s ok). Change the speed to low and add the dry ingredients a bit at a time until just combined. Remove the bowl from the stand, add the chocolate chips and gently fold them into the batter using a spatula. Be careful to not over-mix.
  4. Pour the batter into the prepared dish-spread to even out. Bake for 35-40 minutes until a toothpick stuck into the middle comes out with just a few crumbs attached.
  5. Move pan to a cooling rack and allow to cool completely.

pump1

From marthastewart.com

Brown Sugar, Oatmeal & Coconut Chewies

I love love love oatmeal cookies (but only those without raisins) and could eat brown sugar straight out of the jar it’s so delicious. And then there’s coconut. Delicious crunchy flaky coconut bits that remind me of sitting on a beach drinking one of those drinks where the top of the coconut has been hacked off. In other words this cookie is a culmination of 3 of my favorite things. It’s soft. It’s chewy. It has a little crunch from the coconut chips. Look-you can see the bits of the oatmeal and coconut flakes right there in the cookie. I know I was helping myself to the raw batter-bet you will too.  Make them. Today. Right now.

chewies

Brown Sugar, Oatmeal & Coconut Chewies

Ingredients:

  • 1 cup (2 sticks) unsalted butter, slightly softened
  • 1 & 1/4 cups brown sugar, packed
  • 3/4 cup granulated sugar
  • 2 eggs
  • 1 tsp baking soda
  • 1 tsp baking powder
  • 1/2 tsp salt
  • 2 & 1/4 cups AP flour
  • 1 cup quick cooking oats
  • 1 & 1/2 cups unsweetned flake coconut, crushed into small bits.

Instructions:

  1. Preheat oven to 350F and prepare a baking sheet with parchment paper and set aside.
  2. Add butter, brown sugar and white sugar to the bowl of a mixer and cream together until well combined.
  3. Add one egg at a time, mixing each until fully incorporated.
  4. Add the baking soda, baking powder and salt and mix until well combined.
  5. Add the flour in increments and mix until incorporated each time, scraping down the bowl often.
  6. Add the oats and coconut and mix until evenly incorporated.
  7. Make small 3/4 inch in diameter balls of dough, place them on the prepared baking sheet 1 inch apart.
  8. Bake in the preheated oven for 7-9 minutes until the edges are very very lightly browned and the center is still light and puffy.
  9. Allow the cookies to cool on the baking sheet for a few minutes and then slide the parchment paper onto cooling racks (thus saving washing the cookie sheet and racks and getting crumbs underneath the racks).

I made these small bite-sized cookies for the April What’s Baking challenge. The theme this month was ‘bite-sized’ so I made the cookies very small. Small enough to fit 3 in my hand.   Makes approx. 60 cookies.  I froze half of the dough and only made about 30 cookies.

hand

WB

Here’s the link to the round-up of all of the other April What’s Baking goodies. How great everything looks!!!

Adapted from The Dough Will Rise Again.