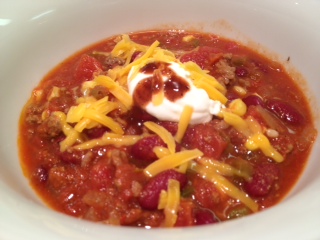
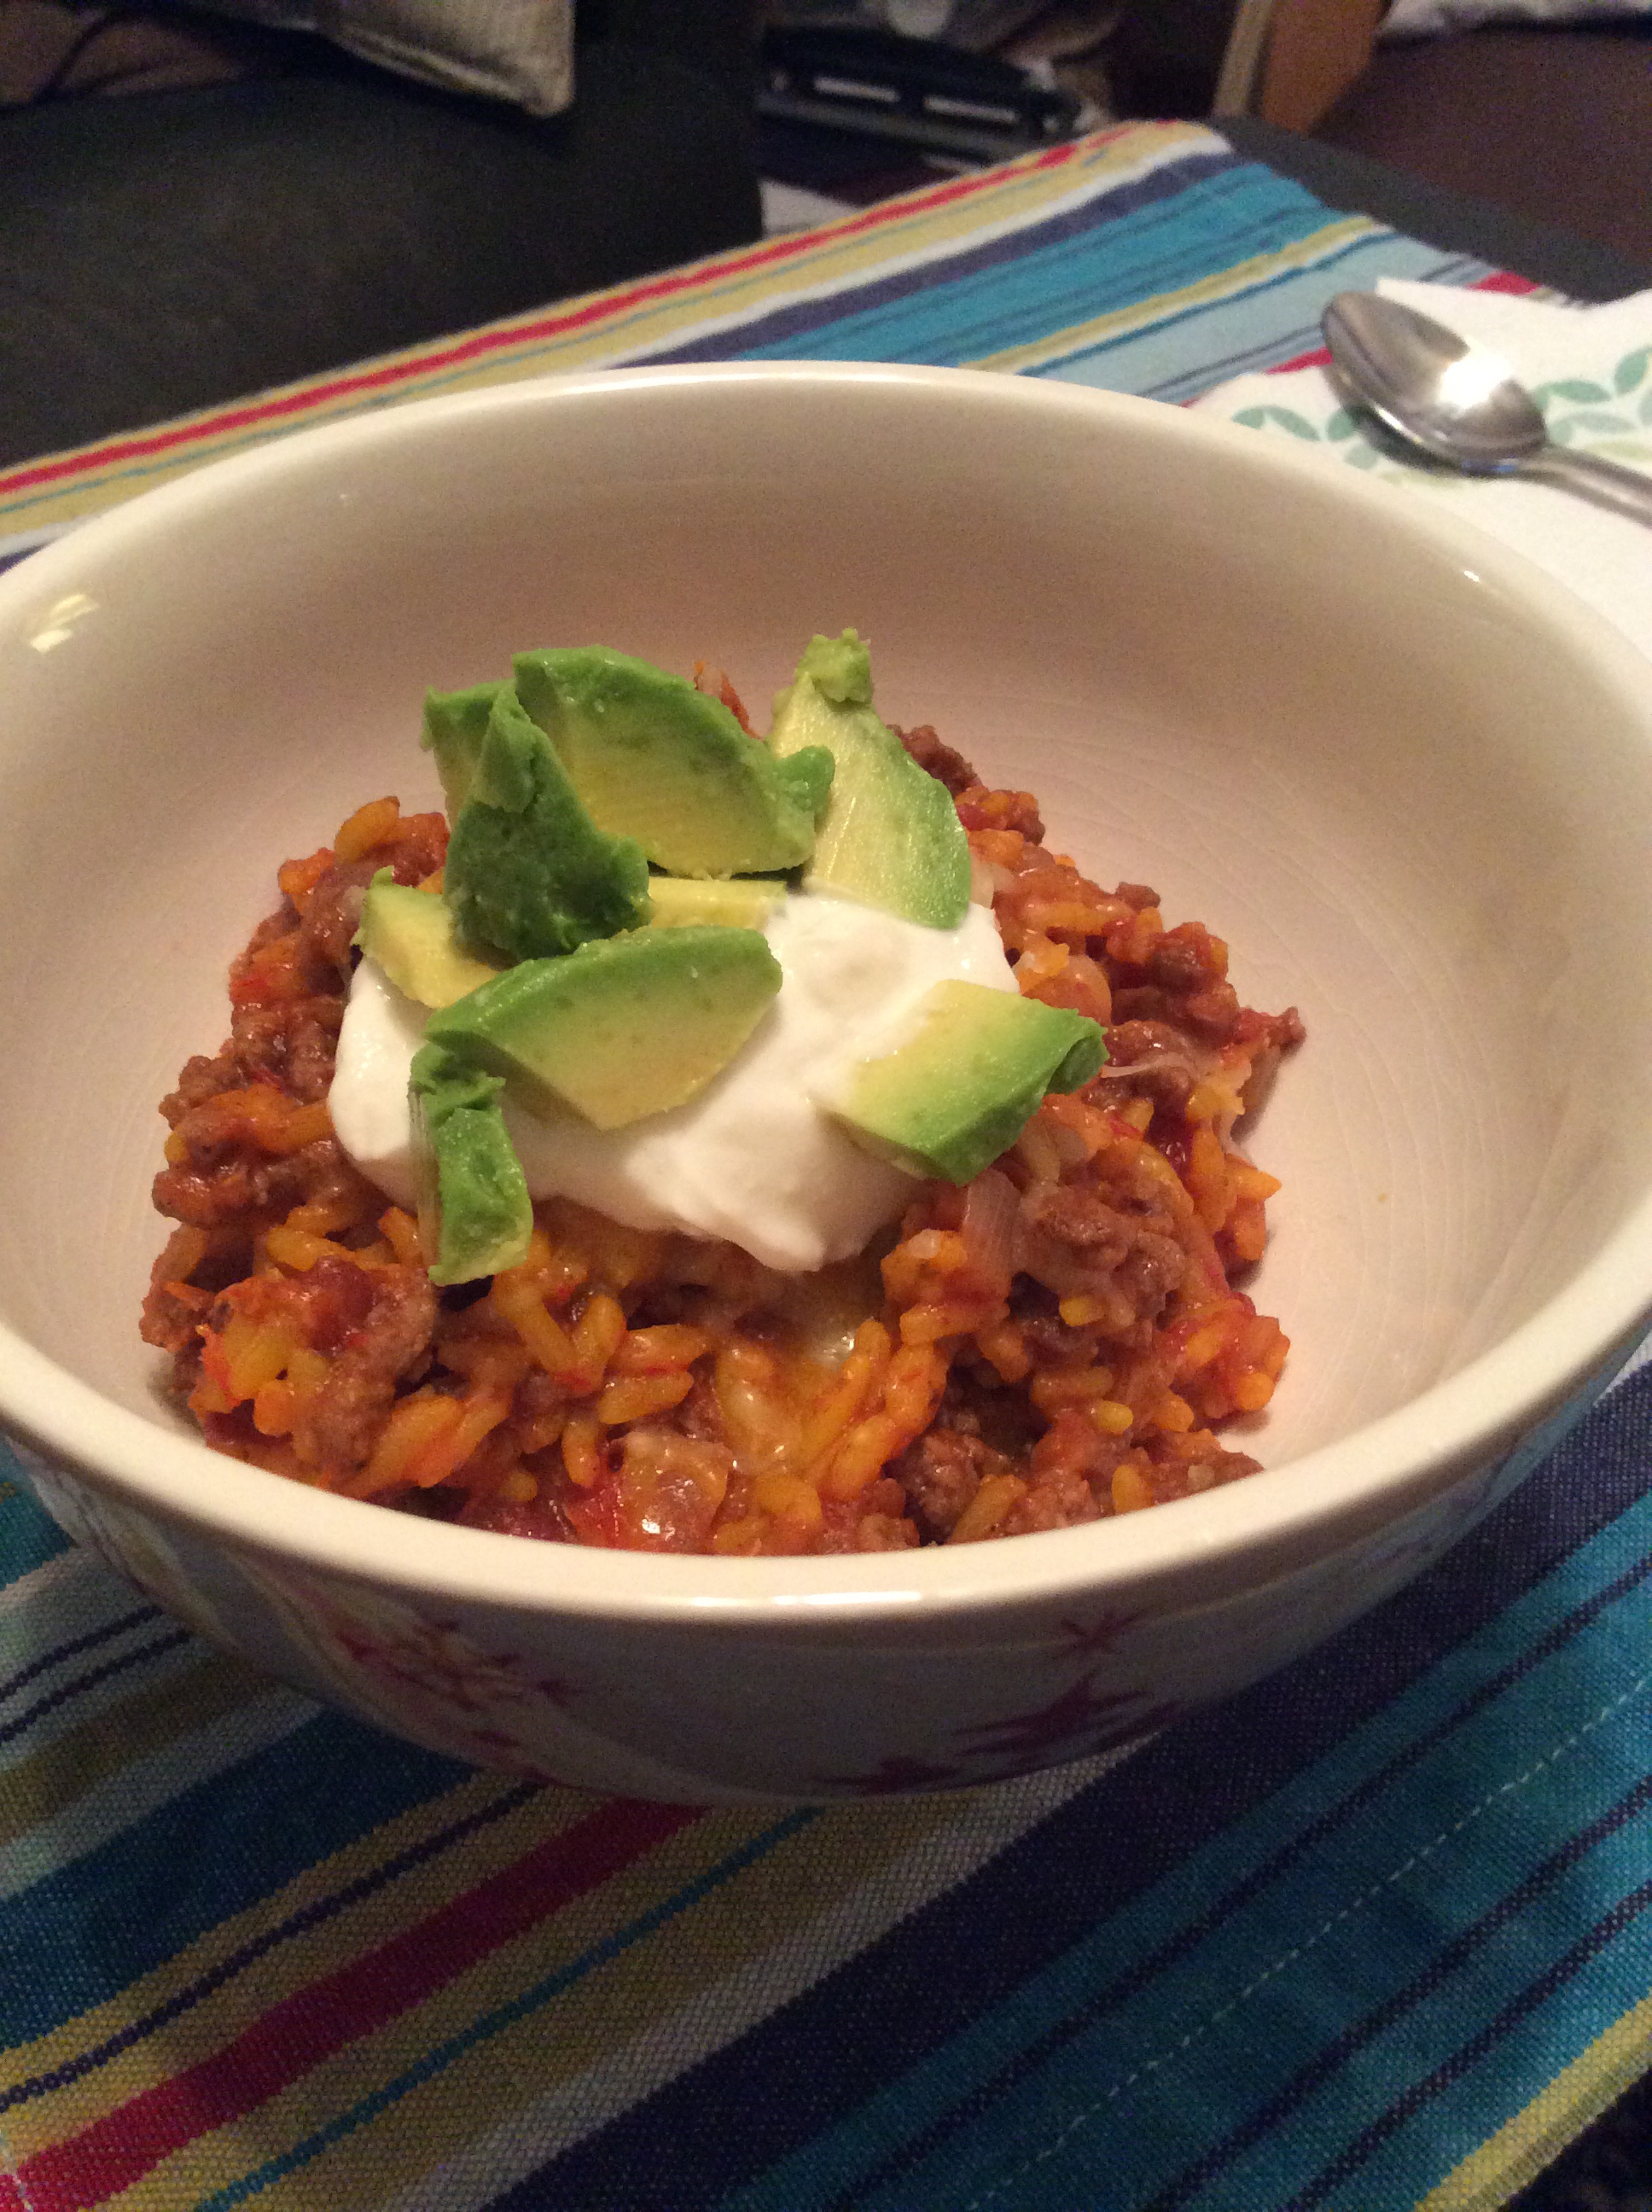
This one-pan meal is very delicious and very easy to make. It’s a big mash-up of yummy–ground beef, rice and beans, spices and cheese. You probably have most, if not everything, to make this in your pantry already. I love weeknight dishes that I can set to simmer for a few minutes-it allows me to clean everything up while it finishes cooking.
Feel free to change the spices around to your particular taste. The recipe below gives a bit of a kick but it’s not spicy (in my opinion anyway).
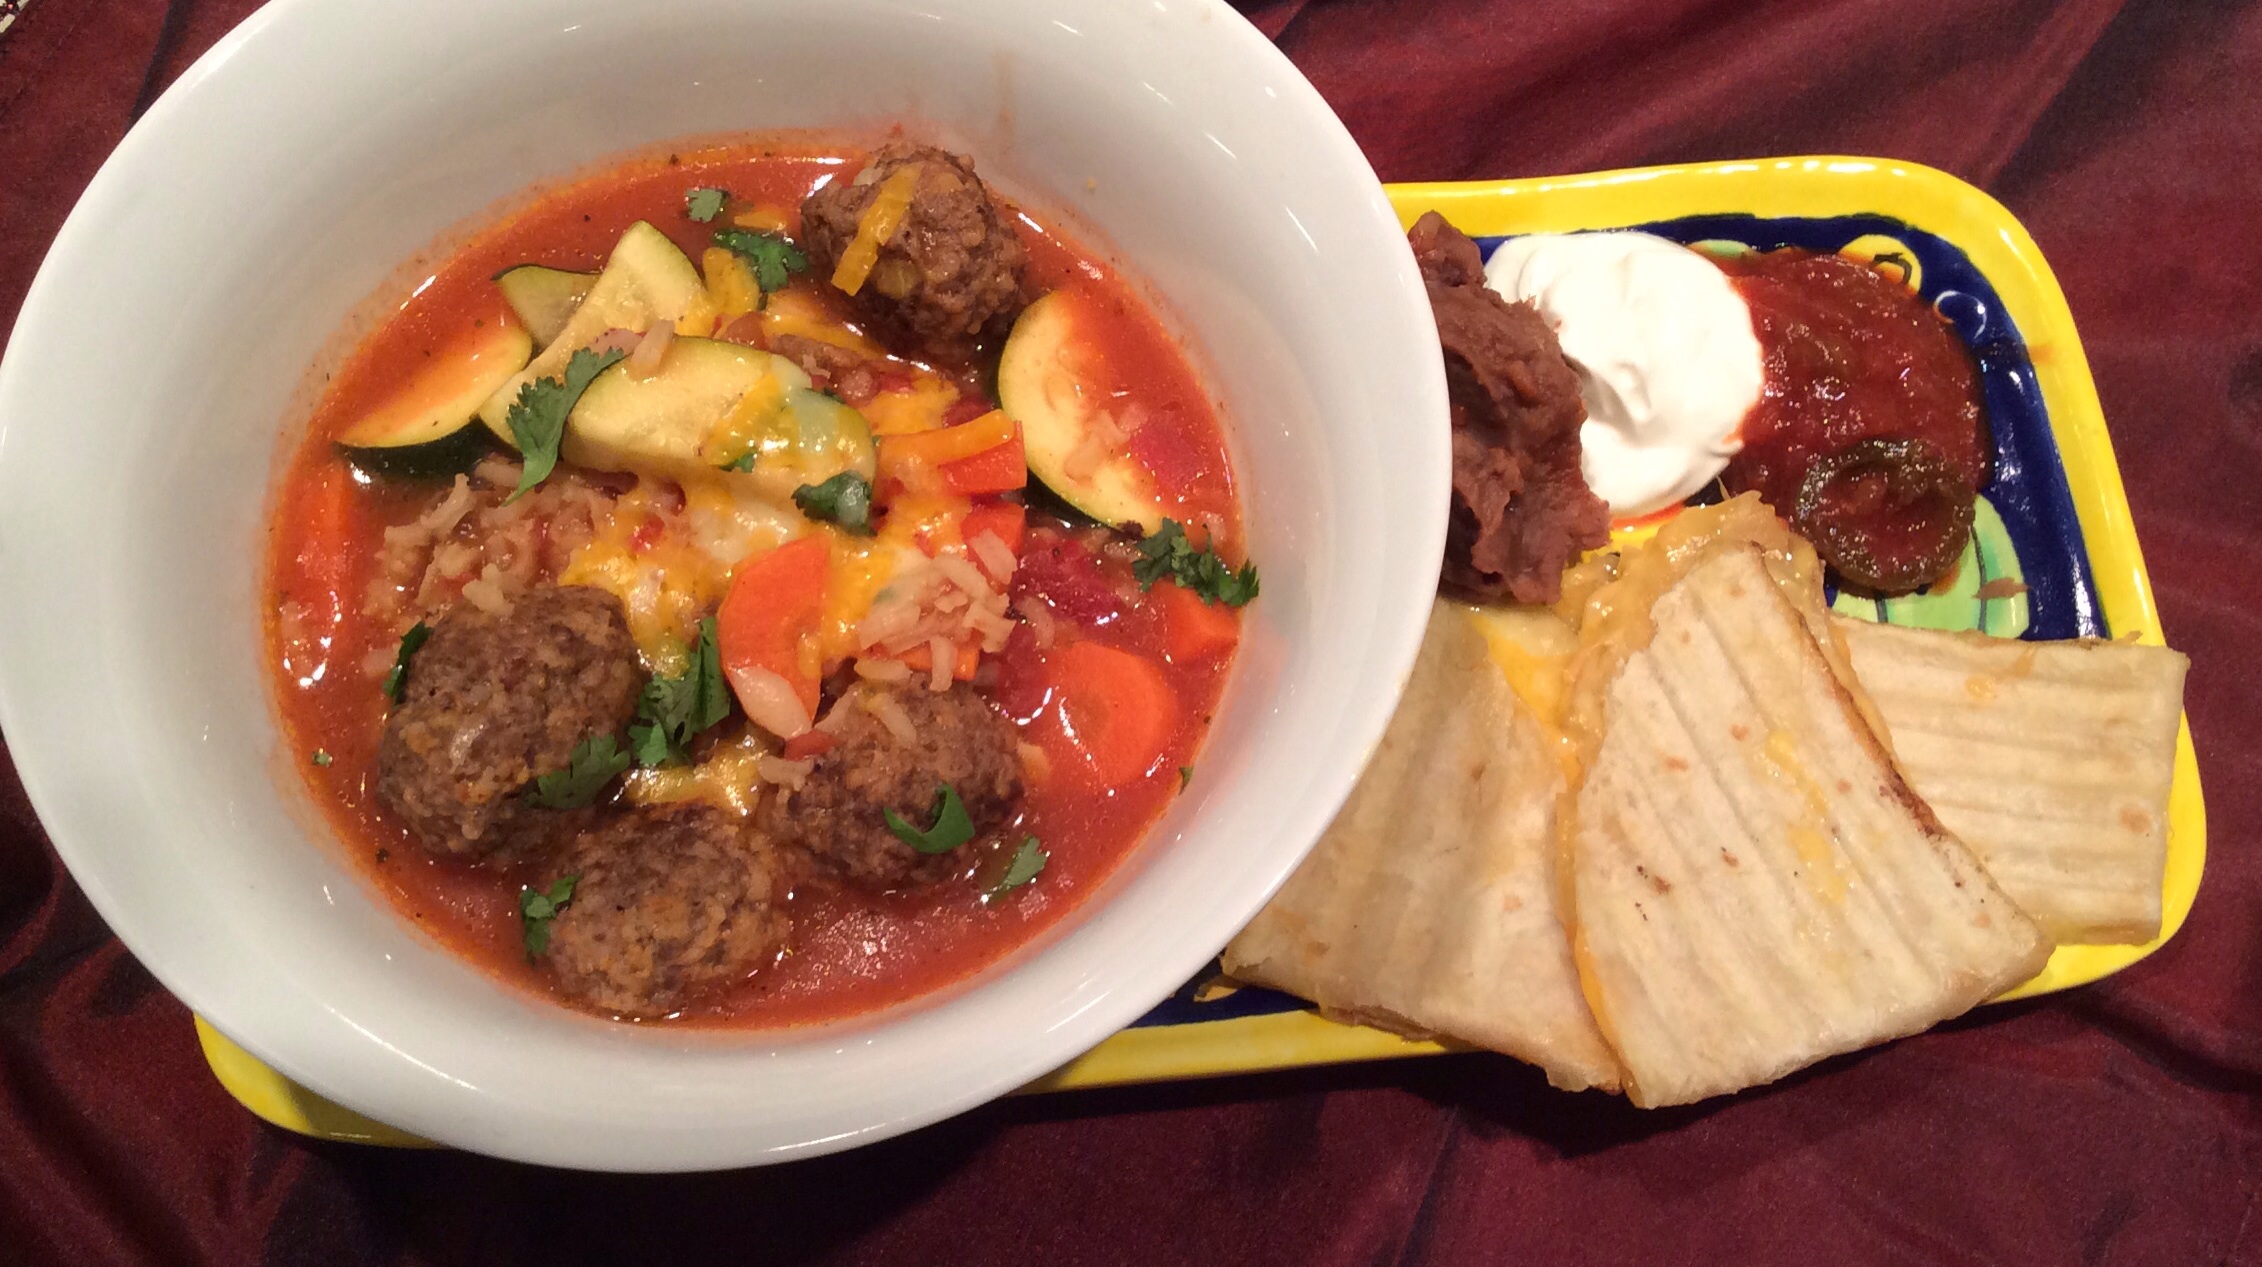
This would also be great on nachos, Husband ate it rolled in a tortilla, I just ate it straight out of the bowl. Both helpings 🙂 Leftovers reheat beautifully.
Rice and Beef Mexi-Skillet
Ingredients:
- 1 tbsp olive oil
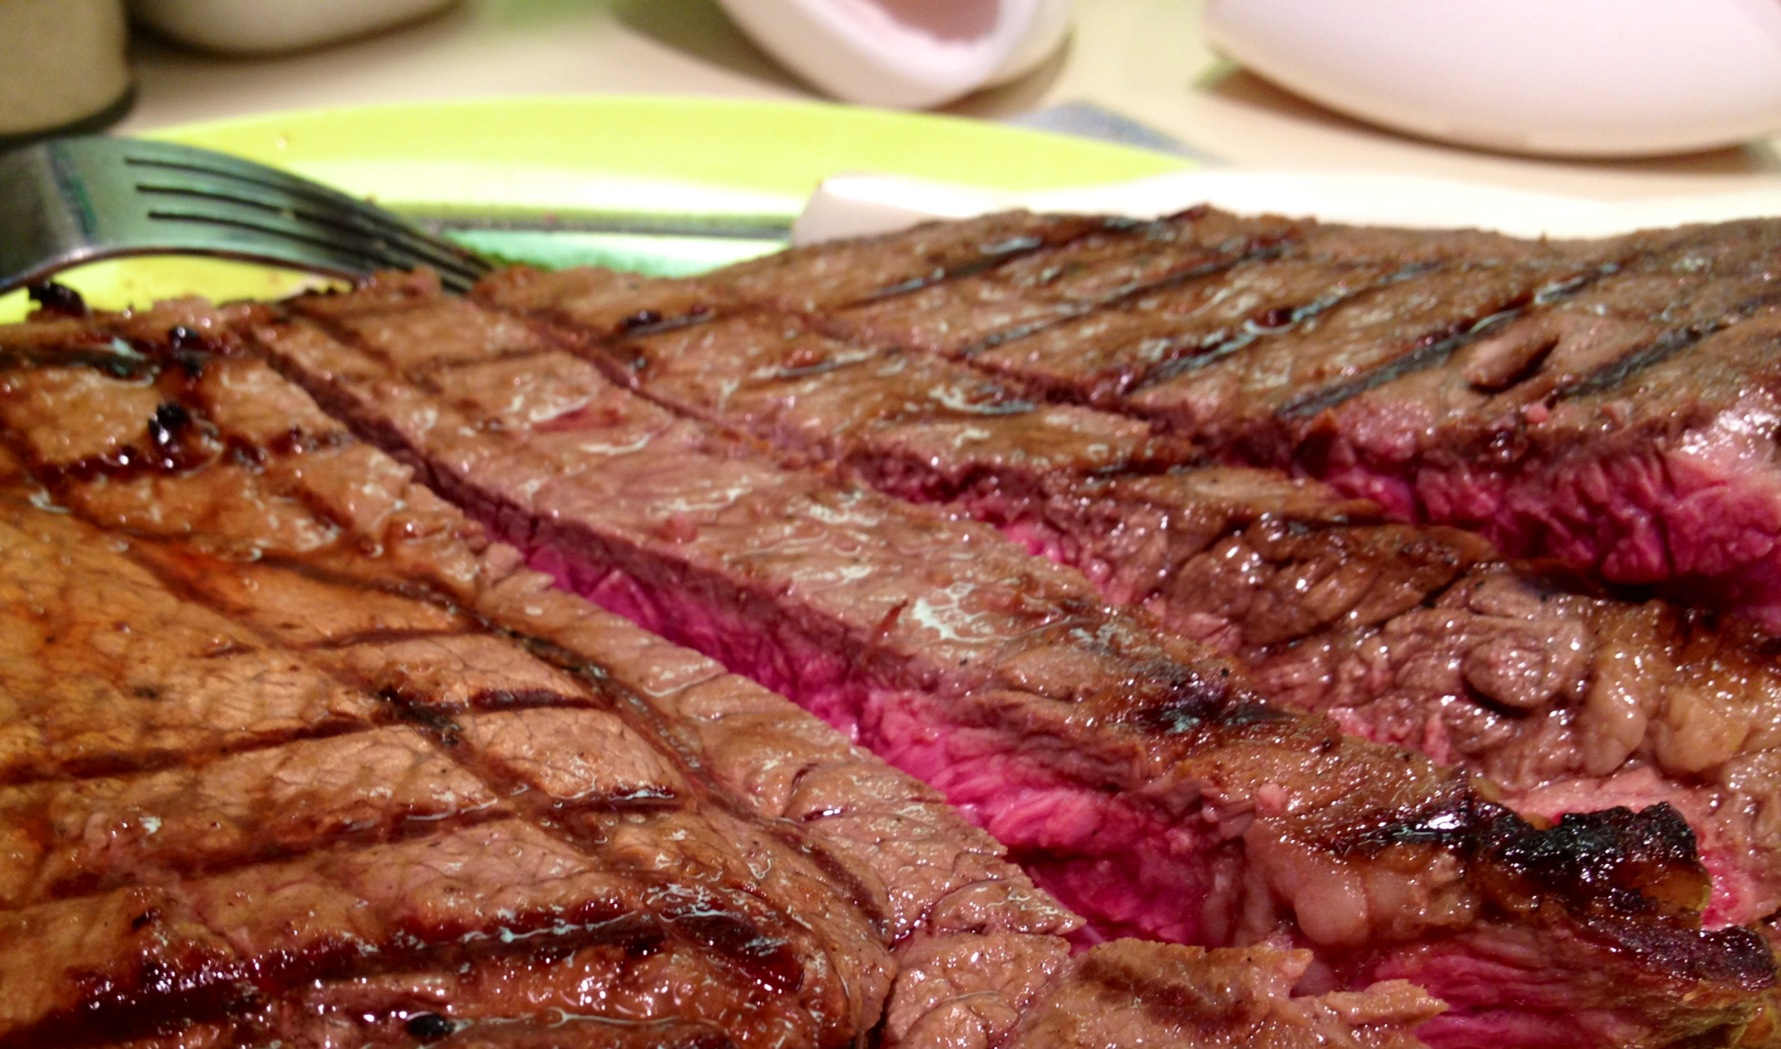
- 1 lb ground sirloin
- 1/2 cup yellow onion, chopped small
- 4 cloves garlic, grated or minced fine
- 1 15oz can crushed tomatoes (not drained)
- 1/2 tsp chili powder
- 1/2 tsp ancho chili powder
- 1 tsp Goya seasoning
- 1 8oz box Goya Rice and Beans (not instant)
- 1/2 cup light mexican blend shredded cheese (I used Trader Joe’s)
- Fat free sour cream (for topping)
- Sliced avocado (for topping)
Instructions:
- Heat the oil in a large deep skillet over medium/high heat. Cook the beef until nearly cooked through, drain, then add the onion and garlic, cook until onion is soft -just a few minutes. Drain fat again if needed. Then add the tomatoes, seasoning and spices and mix to combine. Transfer the beef to a deep plate and cover with foil to keep warm.
- In the same pan bring 2 cups water to a boil. Add the contents of the rice box and boil for 30 seconds. Reduce heat to simmer and cover. Cook until rice is tender and water is absorbed-about 25 minutes. If necessary add a few extra tbsp of water to cook rice.
- Remove the skillet from the heat, stir in the beef and then stir in the cheese. Let it rest for a few minutes until the cheese has melted.
- Garnish and serve.
Greatly adapted from Goya’s Cheeseburger Rice recipe.