11 Mar 2013
by sparksfromthekitchen
in Appetizer, Lunch, Main Dish, Salad, Side Dish
Tags: arugala, celery root, orange
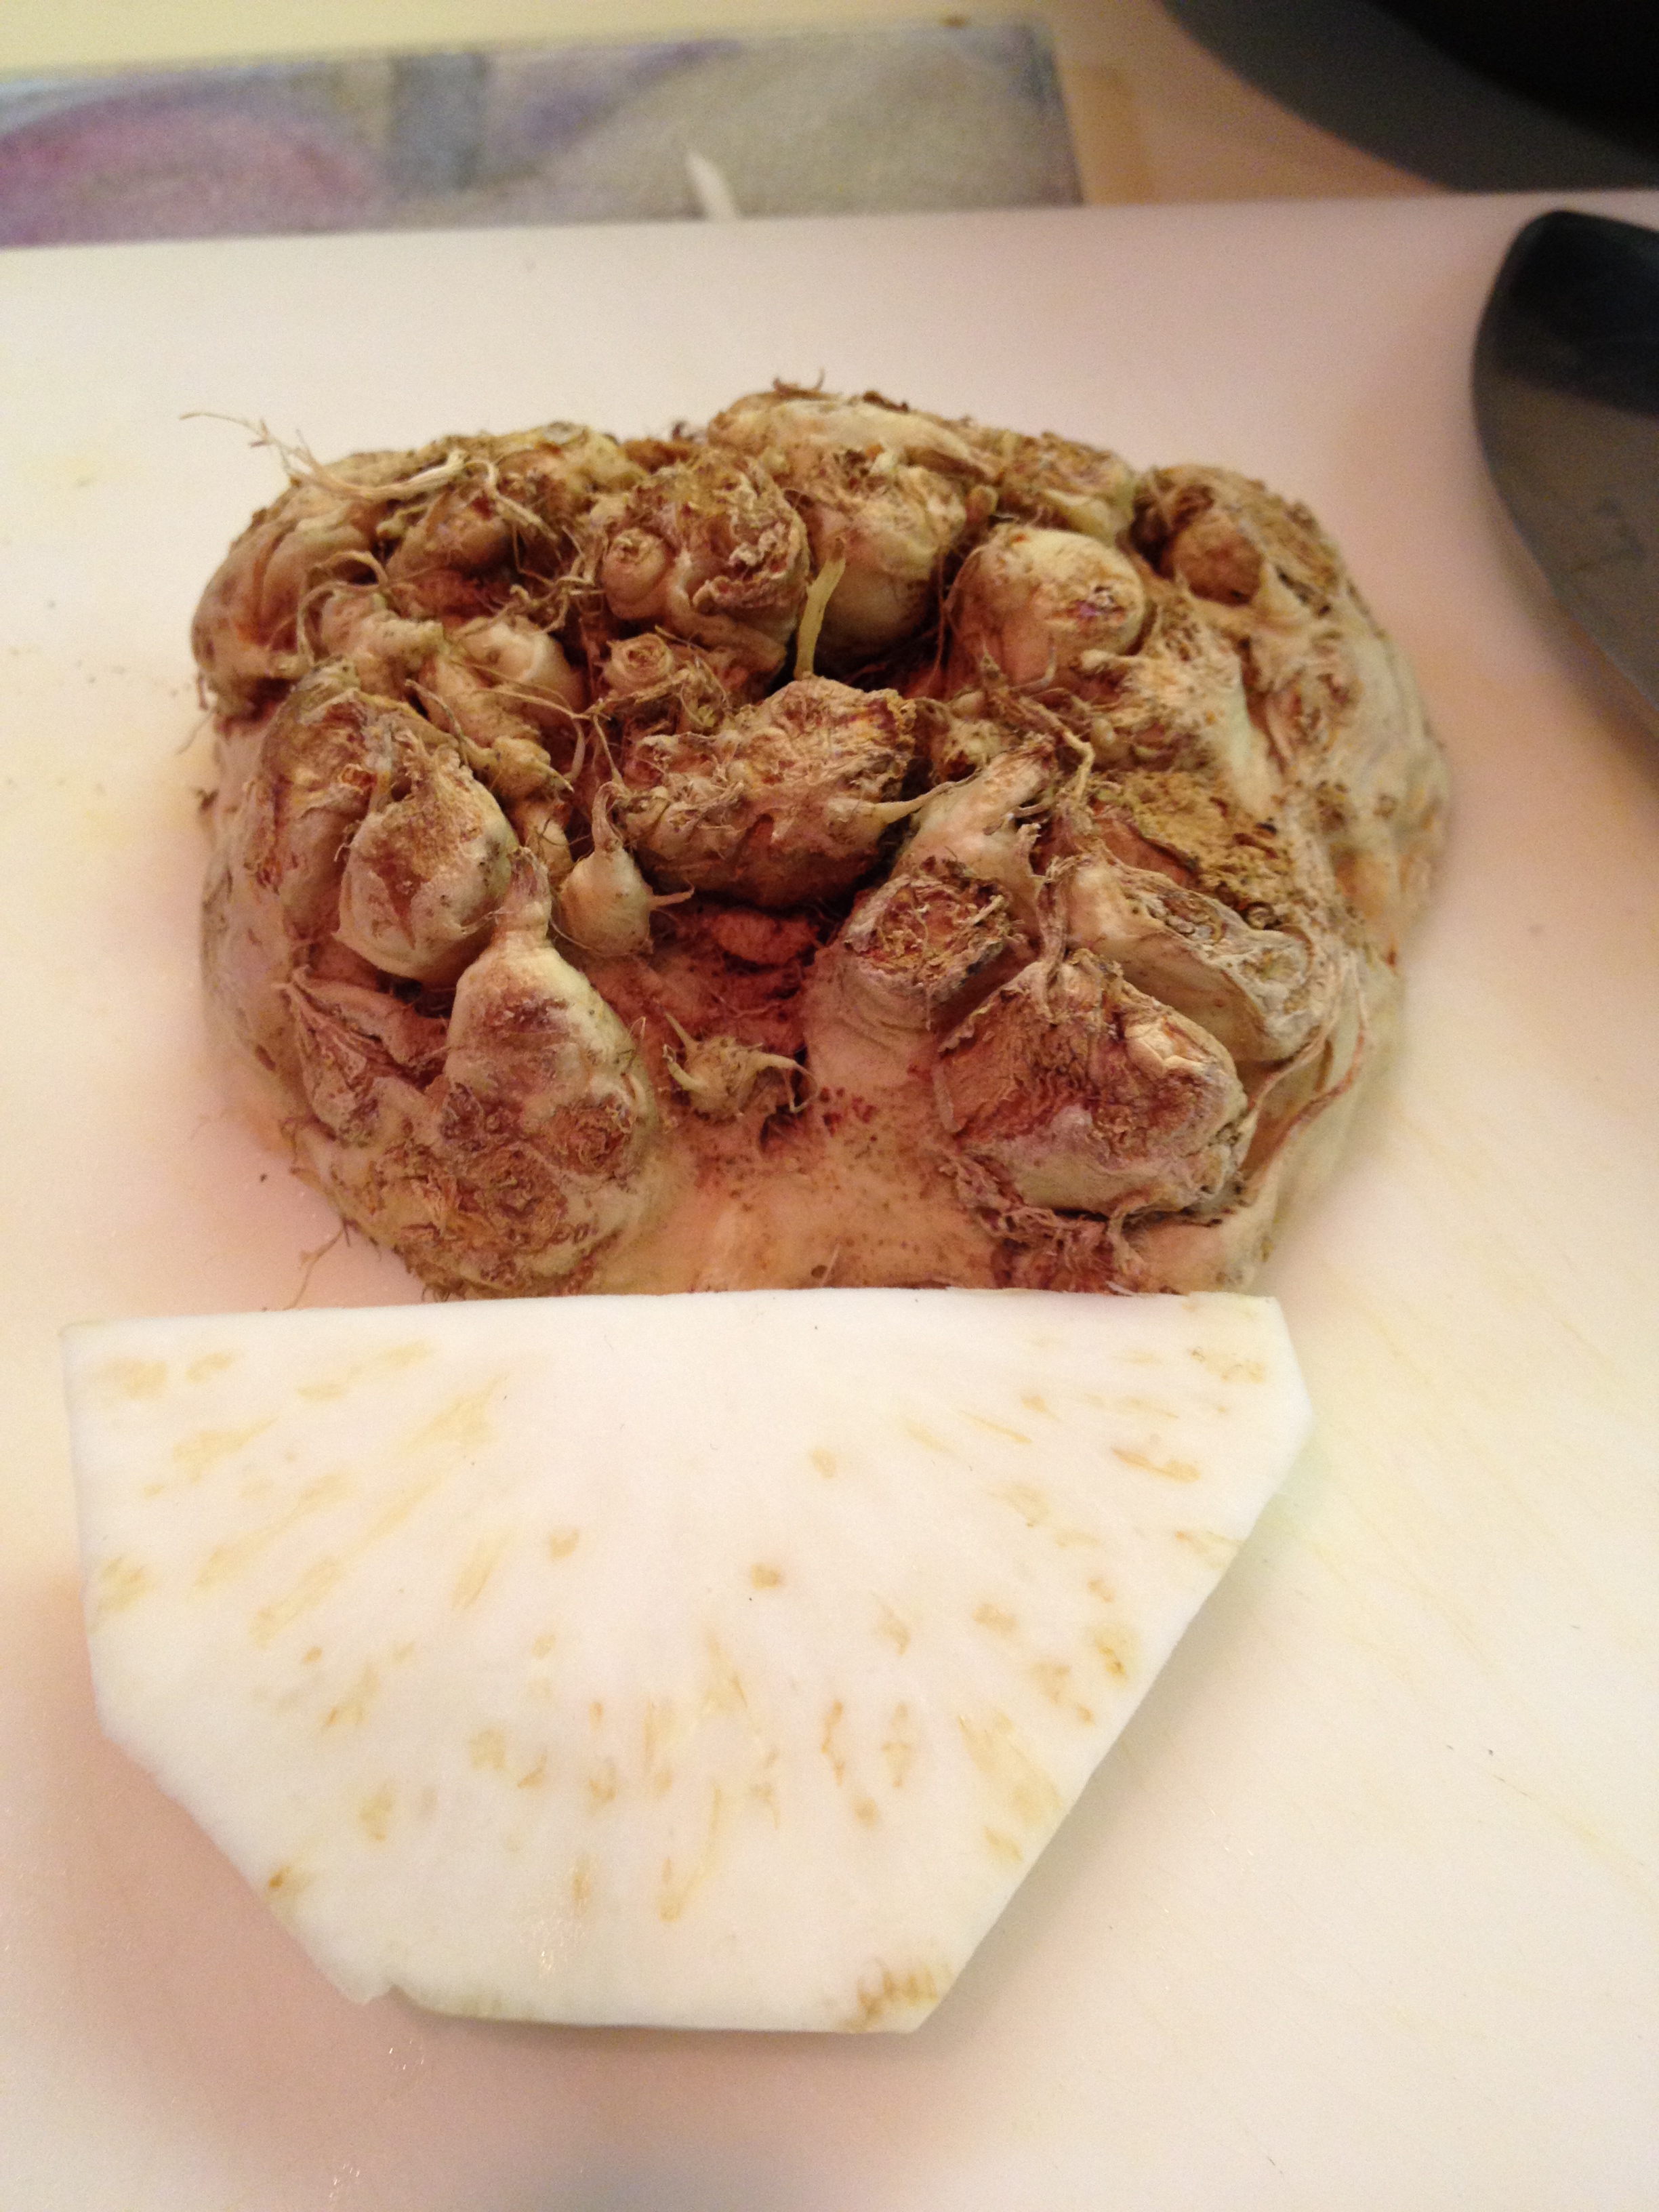
Recently I was looking through my Jan/Feb 2013 issue of Cooking Light Magazine and came across a salad named ‘Celery Root & Arugala Salad’ with the heading ‘Love This Ugly Root Vegetable’. How can you resist a title like that?! It’s almost a challenge!! So I took the challenge. I knew that my store had celery root (also named celeriac) as I had seen it the week before and, since I hadn’t ever eaten it, I was curious. I’m so glad that I tried it! It takes a bit like celery, but a bit of a lighter taste, and has the consistancy of jicama. It’s crunchy, it’s tasty, it’s inexpensive. It would be great on tacos or salads or burgers etc…
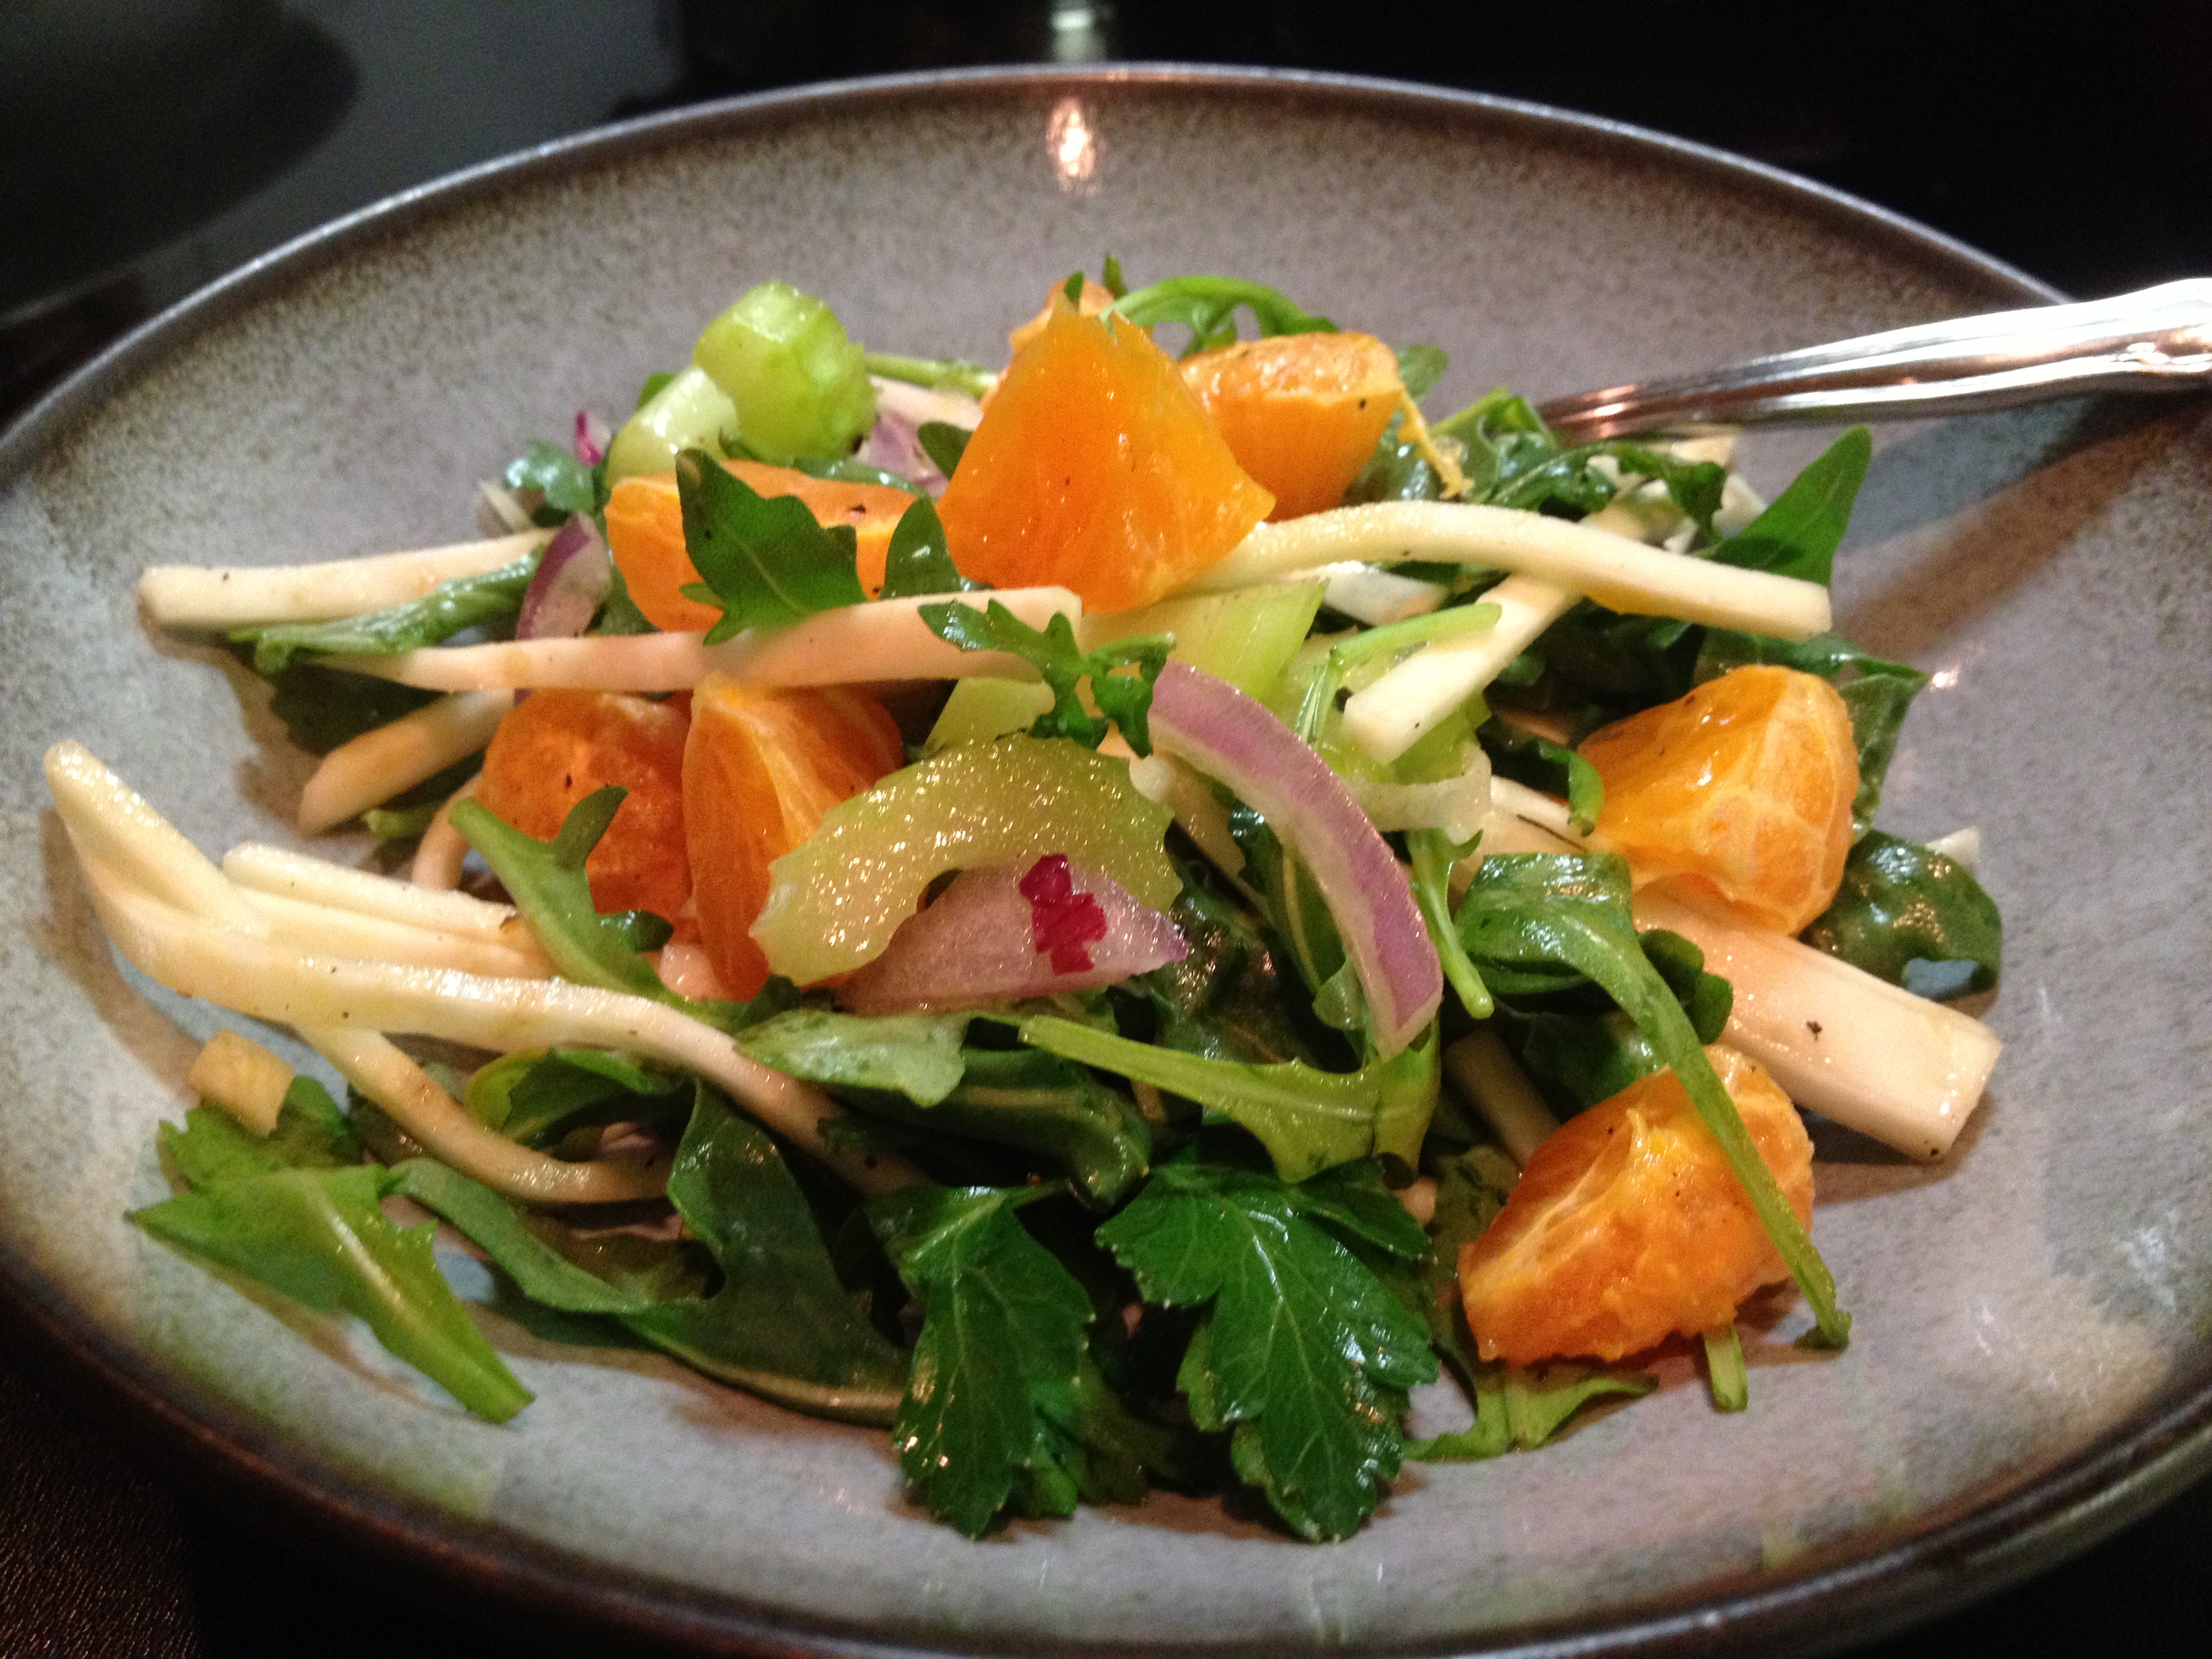
The salad turned out great. I changed the name because I felt the oranges played a far more important role than the arugala. It’s so easy to make-just a few minutes of prep, a few minutes resting the ingredients in the dressing and voila! delicious!! This salad also keeps extremely well. I had left overs the next evening and everything was still good and crunchy and delicious so it’s a great salad to make to bring to work the next day for lunch. Isn’t that just gorgeous?

Celery Root and Mandarin Orange Salad
Ingredients
- 2 tablespoons extra-virgin olive oil
- 2 tablespoons fresh lemon juice
- 1/4 teaspoon kosher salt
- 1/4 teaspoon freshly ground black pepper
- 2 cups matchstick-cut peeled celery root
- 2 cups thinly diagonally sliced celery
- 1/4 cup very thinly vertically sliced red onion
- 3 cups satsuma or other mandarin orange sections cut into 3s (fresh not canned if possible)
- 1 cup baby arugula
- 1/2 cup fresh parsley leaves
Instructions
-
Combine extra-virgin olive oil, lemon juice, salt, and black pepper in a medium bowl, stirring well with a whisk. Add celery root, celery, and onion; toss to coat. Let celery root mixture stand 30 minutes. Add orange sections, arugula, and parsley; toss gently to combine.
If you’re not sure of what to look for at the store or what’s inside here you g.

Adapted from Cooking Light Jan/Feb 2013 Issue.
07 Mar 2013
by sparksfromthekitchen
in Lunch, Main Dish
Tags: chick peas, sandwich
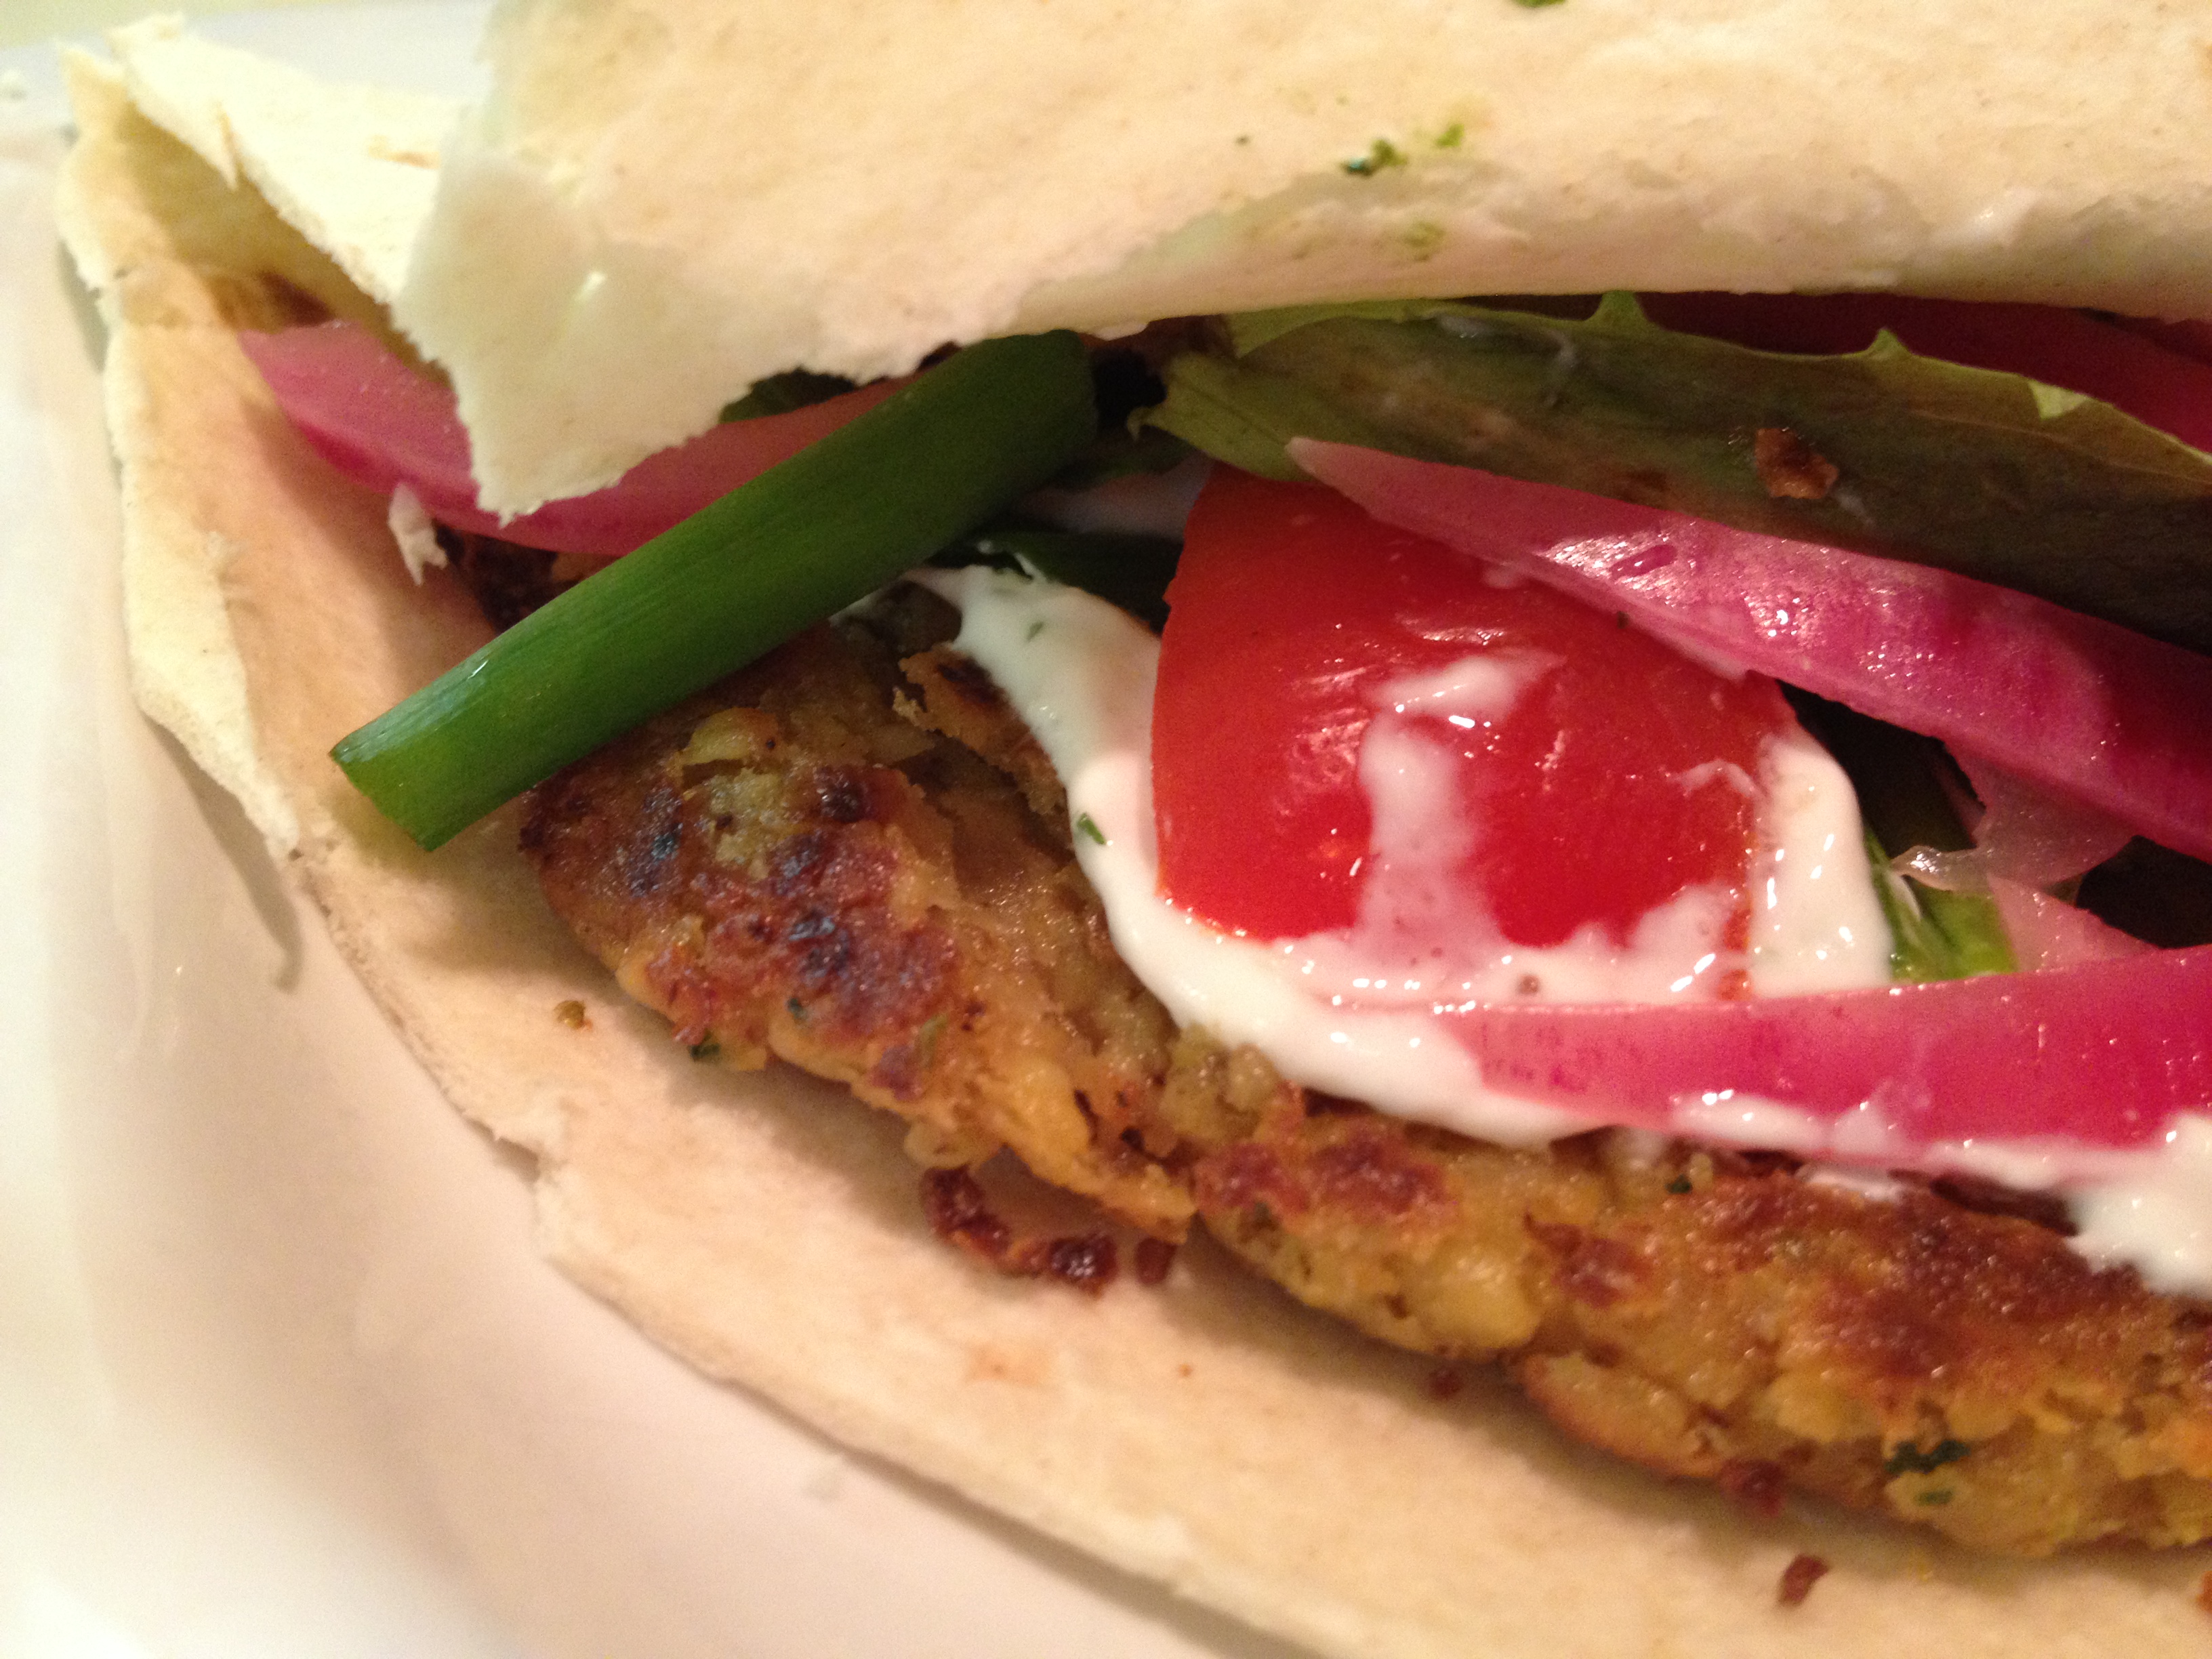
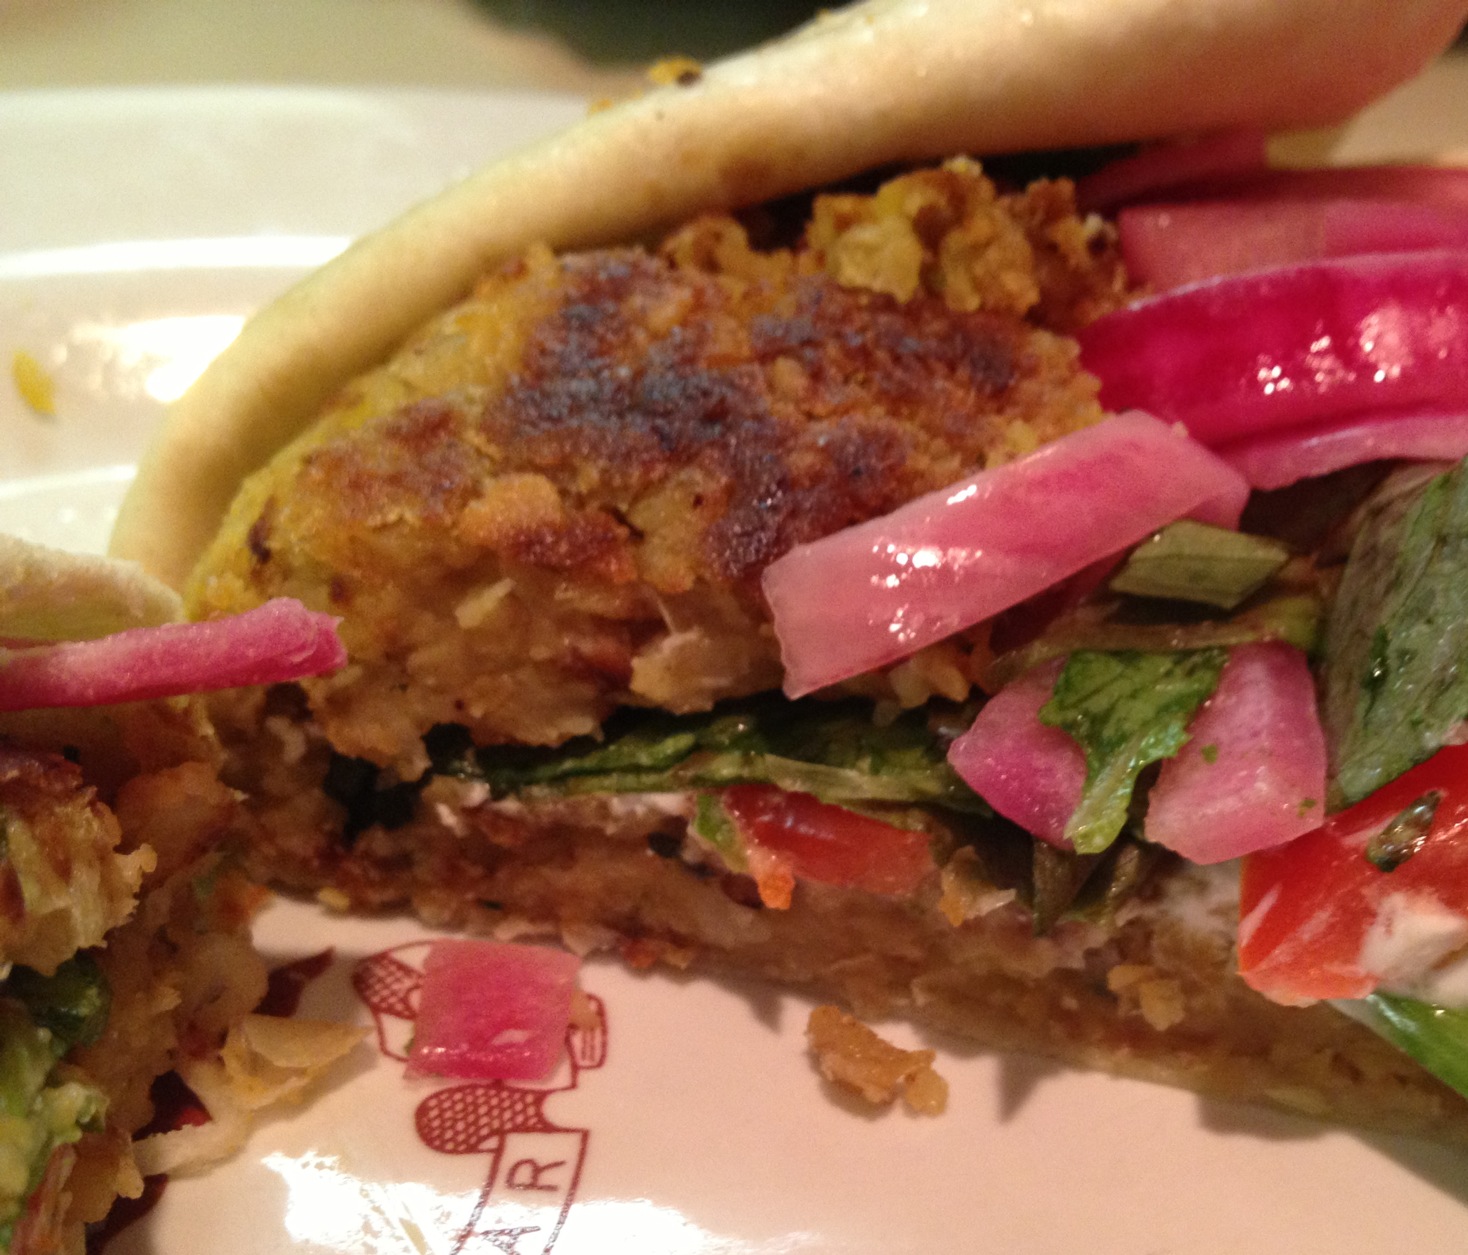
I like Falafel. I rarely have it but I do like it. When I came across this recipe I was pretty excited to make it at home. Since I also had these pickled red onions in my fridge at home I knew it was going to be delicious. The falafel were so easy to make. I used my small food processor and it just fit-but it worked.
These had great texture and you can go either way with the herbs and spices-more or less. They cook fast too. Crispy on the outside and tender on the inside. I should’ve put them on a pita bread but I didn’t have pitas and didn’t want to buy a whole pack for 2 falafel patties. So I used burritos. They worked great! I also made up the yogurt sauce to go on top. Recipe below.

Falafel
Ingredients
- 1 15oz can chickpeas, rinsed and drained
- garlic clove, chopped
- handful of flat-leaf parsley or curly parsley
- 1 tsp ground cumin
- 1 tsp ground coriander
- 1⁄2 tsp harissa paste or chilli powder
- 2 tbsp plain flour
To serve
- 2 tbsp vegetable oil
- pita, tortilla, burrito or sliced bread
- tomatoes
- lettuce
- pickled red onion (recipe here)
- greek yogurt sauce (recipe below)
Instructions:
- Place chick peas in the food processor along with the onion, garlic, parsley, spices, flour and a little salt. Blend until fairly smooth, then shape into two to four (your preference) patties with your hands.
- Heat the oil in a non-stick frying pan, add the burgers, then quickly fry for 3 mins on each side until lightly golden.

From BBCGoodFood
Yogurt Sauce
This is to my taste. If you don’t like dill or raw garlic change it up.
- 1 small container plain greek yogurt (about 1/2 cup)
- 1/4-1/2 tsp chopped fresh dill
- 1/4 garlic clove
- salt
- fresh lemon juice
Mash the garlic and salt together to form a paste. Add it along with everything else to the yogurt and stir. Schmear it on the falafel.
25 Feb 2013
by sparksfromthekitchen
in Freezer, Holiday, Lunch, Main Dish, Prep-Ahead, Freeze then Cook, Slow Cooker, Thaw/Reheat & Serve
Tags: burritos, chicken, slow cooker, tacos, tortillas
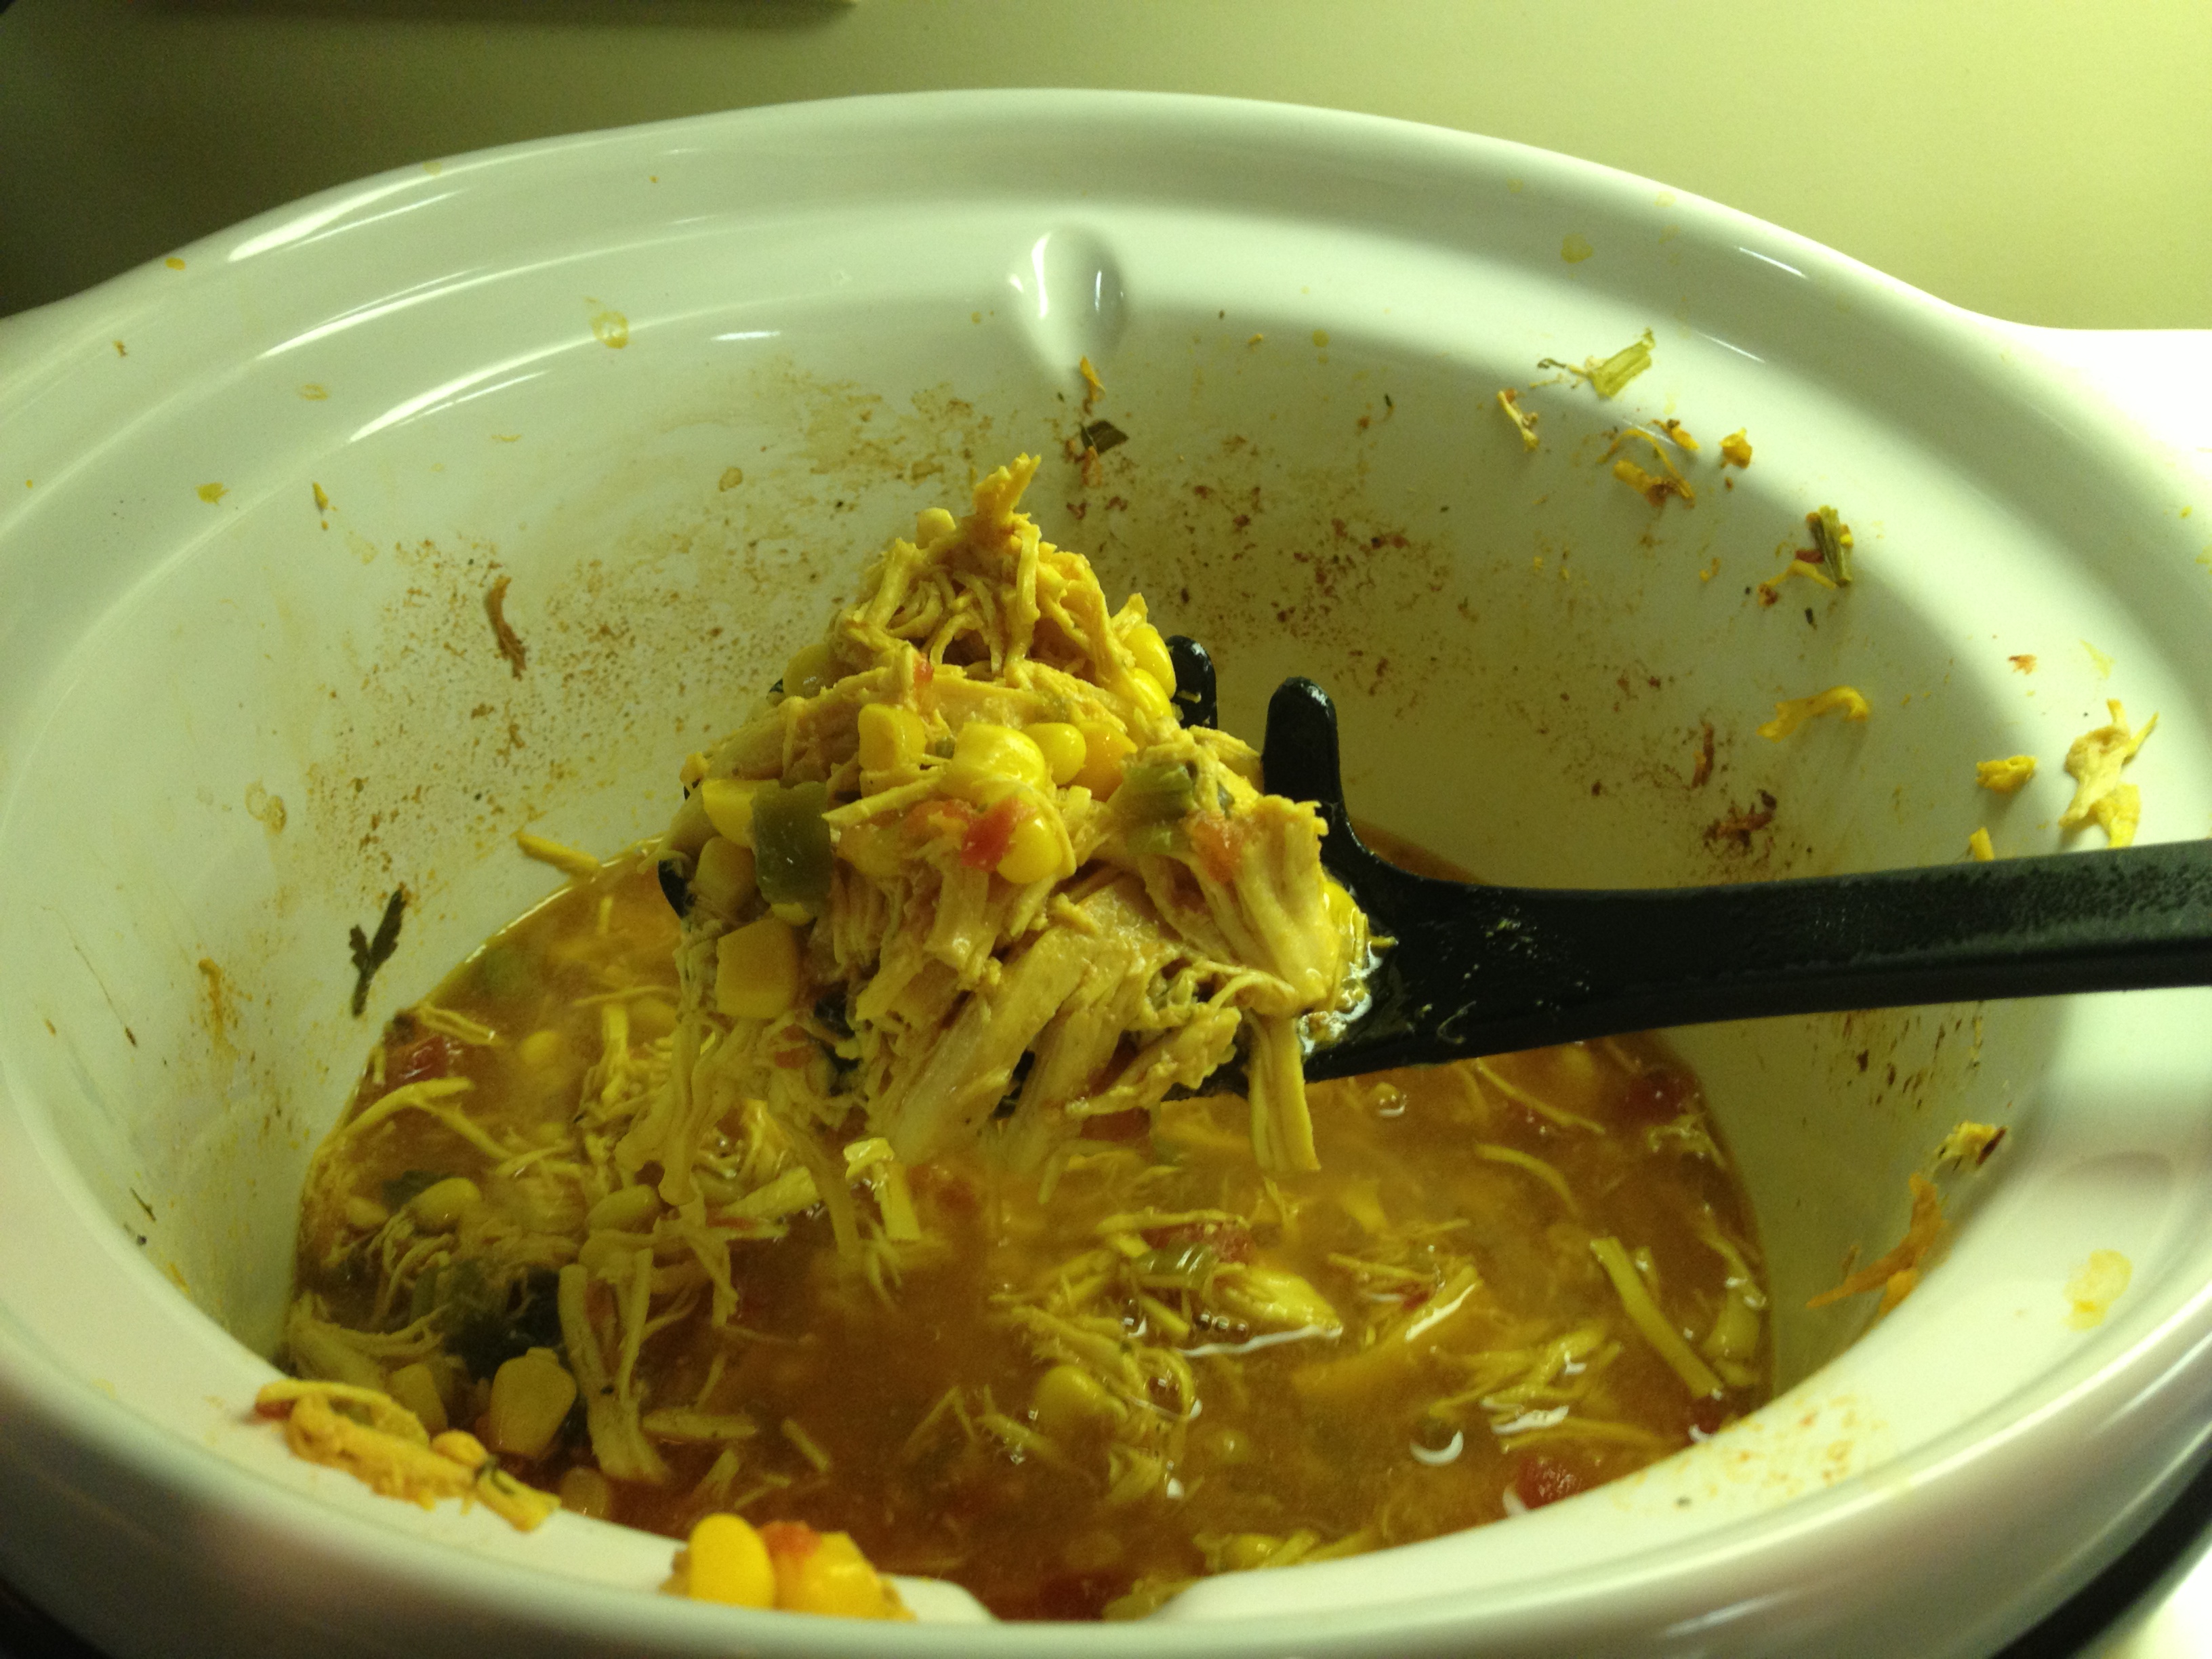
It’s official. I love my slow cooker. I was looking around online for a new recipe and came across a chicken recipe for the slow cooker. I adapted it a bit and the recipe below was born. Really easy and super tasty. The chicken in this recipe was really nice and moist, easy to shred and the veggies, herbs and spices are just right for a great balance of taste.
I like that this can be made in either 6 hours or 10 hours (great for weeknights after work). I would assume it freezes well but we didn’t have enough left to try.
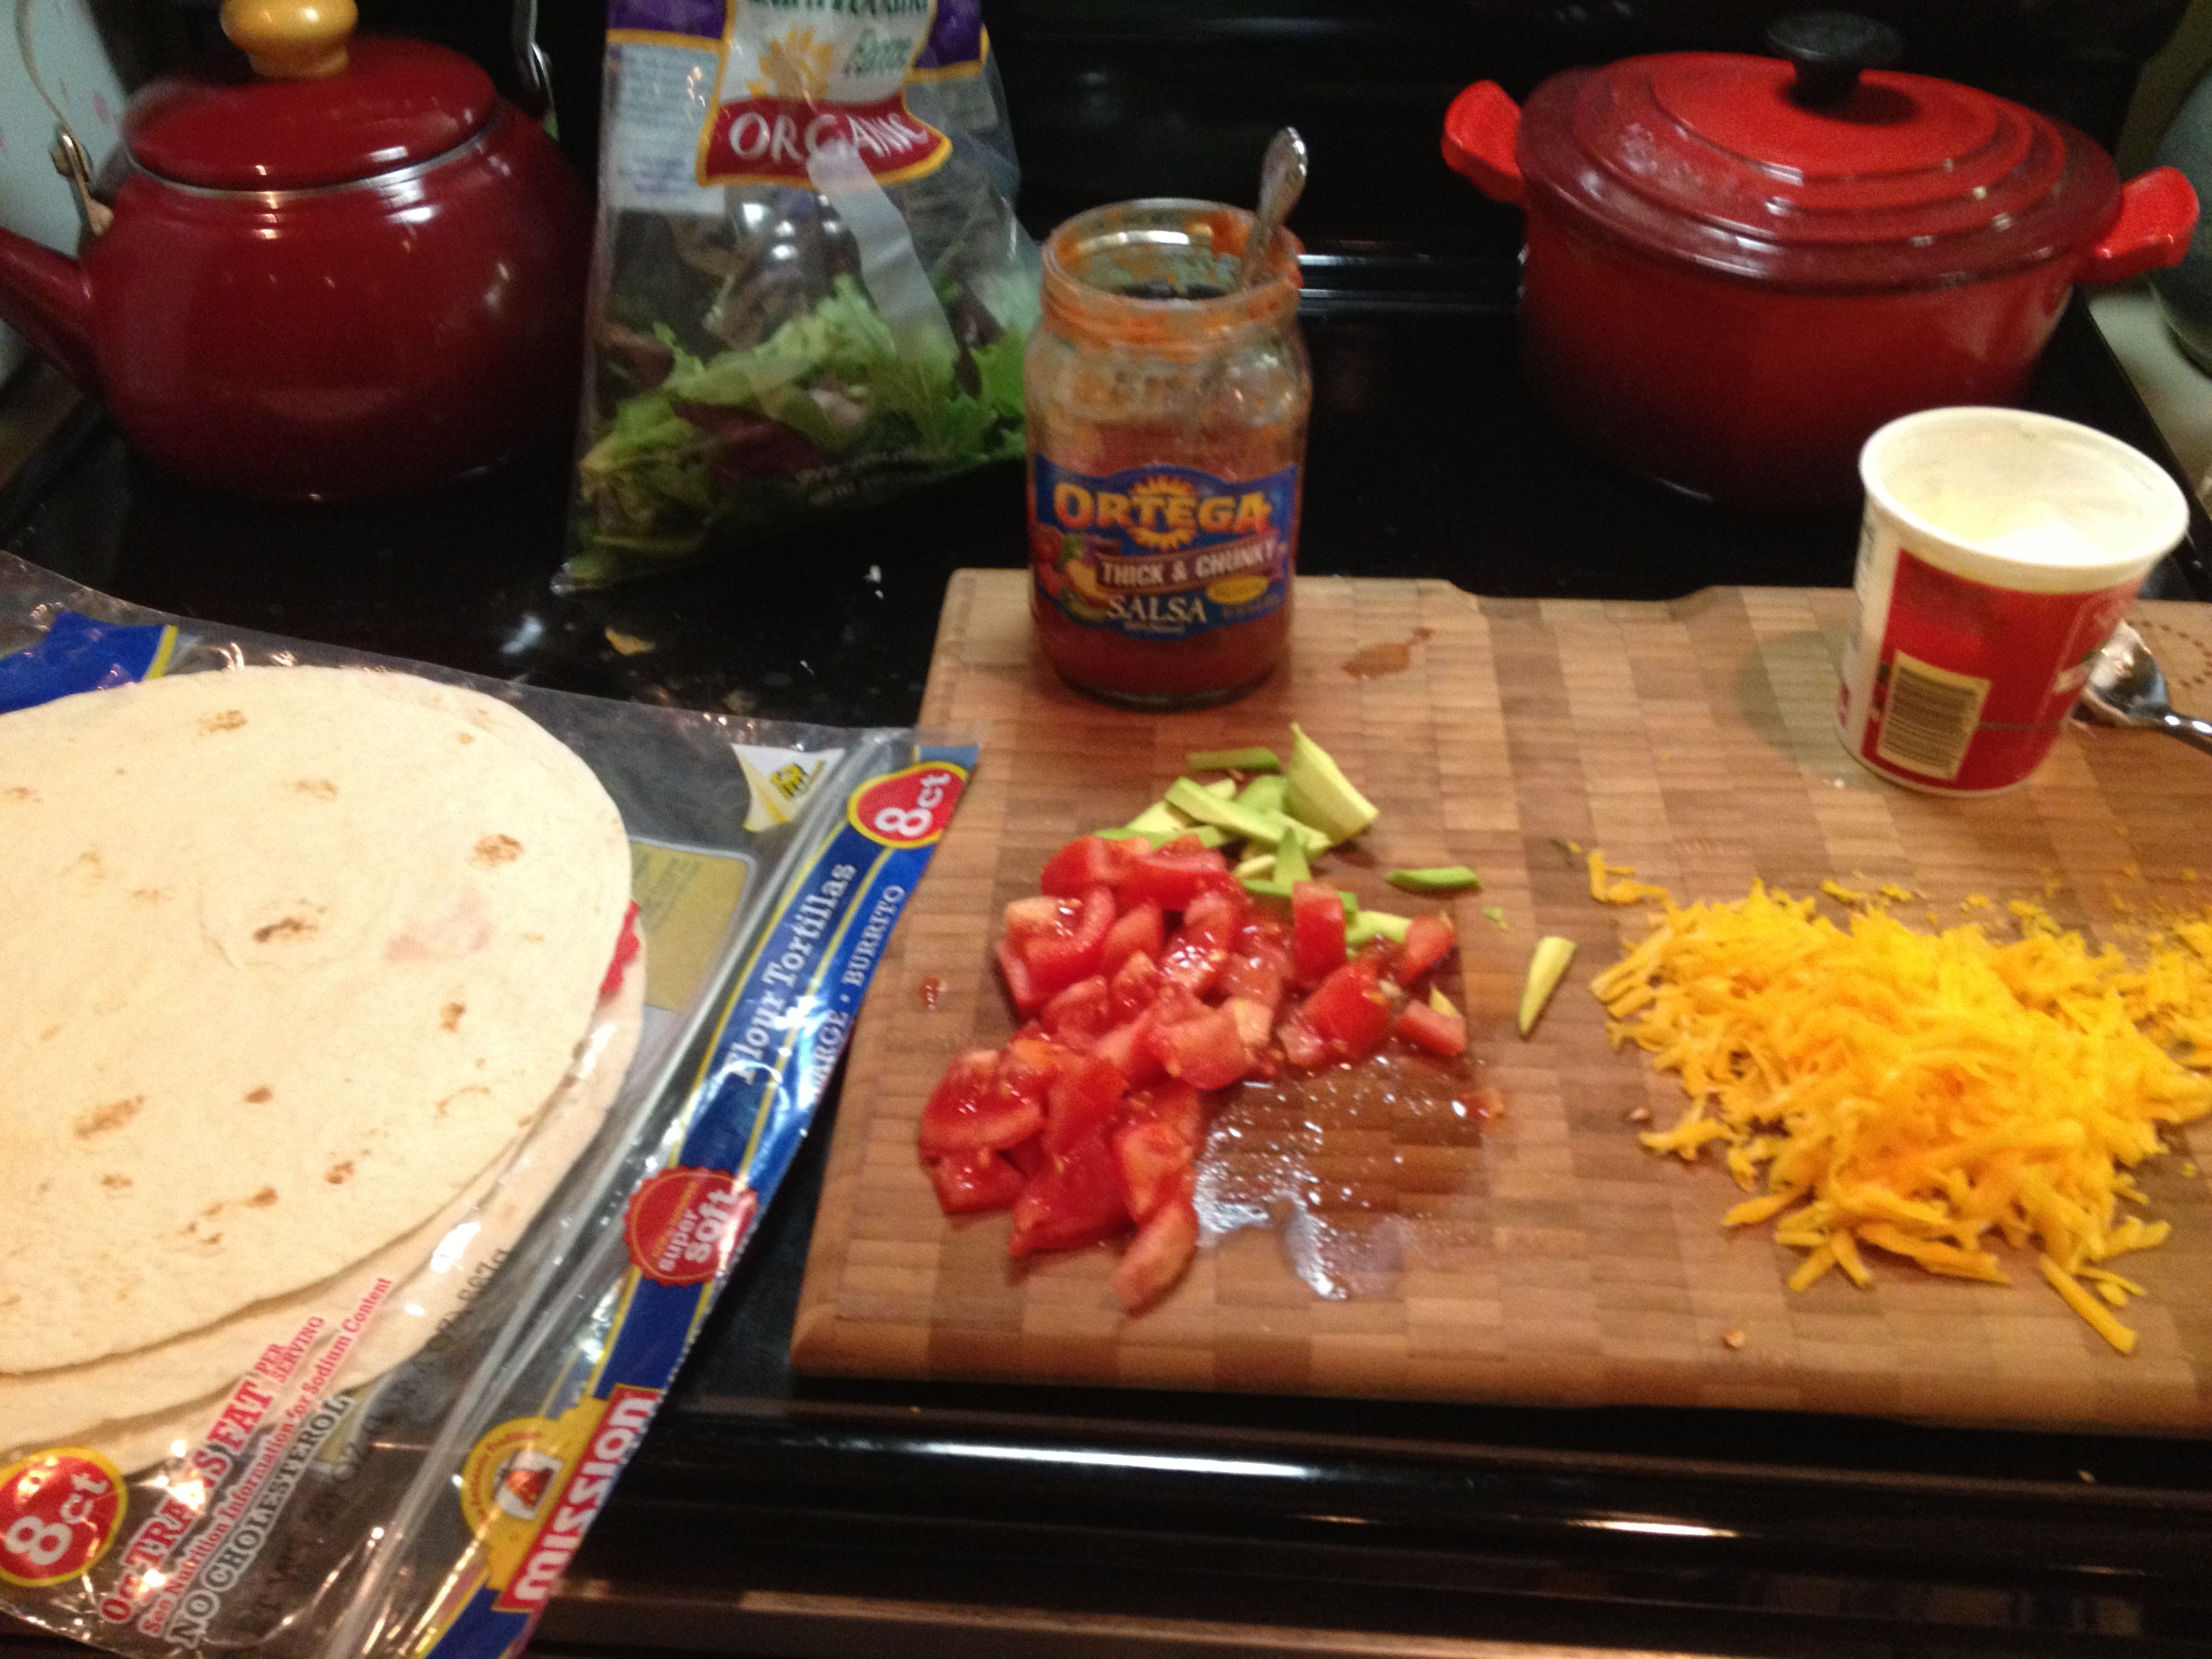
I made a burrito/taco bar including sliced avocado, sliced tomato, lettuce, sour cream, shredded cheese, salsa and large tortillas. Husband at his like tacos and I made burritos out of mine and put them on the panini press to heat and make the tortilla crunchy. YUM! I had 2. I was a pig. But they’re GOOD! And since it’s pretty low cal and low fat and since I used fat free sour cream and low fat cheddar cheese I didn’t feel so bad.

Santa Fe Chicken for the Slow Cooker
Chicken Ingredients
- 1&1/2 lbs boneless and skinless chicken breast
- 14.4 oz can diced tomatoes with mild green chilies
- 4 oz can green chilies
- 10 oz frozen corn
- 1/4 cup chopped fresh cilantro
- 14.4 oz can fat free chicken broth
- 3 scallions, chopped
- 1 tsp garlic powder
- 1 tsp onion powder
- 1 tsp cumin
- 1 tsp cayenne pepper (to taste)
- salt to taste
Toppings:
- Fat free Sour Cream
- Low Fat Cheddar Cheese, freshly grated
- Ripe tomatoes, sliced thin
- Avocado, sliced thin
- Salsa
- Cilantro
Instructions:
- Place everything except the chicken listed in the ‘chicken ingredients’ in the slow cooker. Stir to combine.
- Place the chicken on top of the combined ingredients.
- Cook on low for 10 hours or high for 6 hours. 30 minutes before serving shred the chicken with 2 forks (you don’t need to remove the chicken from the cooker-just stick your forks in and shred). Stir it all back together and let it all come together for the remaining 30 minutes.
- While the chicken is finishing cooking prepare the taco/burrito bar and lay out toppings.
- Serve on tortillas with toppings.


Adapted from skinnytaste.com.
19 Feb 2013
by sparksfromthekitchen
in Freezer, Lunch, Main Dish, Slow Cooker, Thaw/Reheat & Serve
This is a good, thick, hearty, not spicy (but could be), chunky, not soupy chili. You could easily make it spicier by adding some heat or if you have some bell peppers laying around or another can of beans you can put those in as well. Feel free to make it just as it is or to adjust to your taste.
Also please excuse the photo. I forgot to take a photo the night I made it so I had to take one at work with the left overs (which were really good by the way).

Chili Chili Bobili in the Slow Cooker
Ingredients
- 1lb lean ground beef
- 4 garlic cloves, diced
- 2 tbsp chili powder
- 1 tbsp ground cumin
- 1 28oz can crushed tomatoes
- 1 15oz can tomato sauce
- 1 15oz can kidney beans, rinsed and drained
- 1 15 oz can great northern beans, rinsed and drained
- 1 medium yellow onion, chopped small
- 1 4oz can green chilis (not drained)
- 1 15oz can yellow/white corn just drained
Instructions
- In a large non-stick skillet brown the beef over medium heat. Add the garlic, chili powder and cumin and cook until garlic is fragrant.
- Add everything into the slow cooker along with the meat, mix thoroughly, and cook for 6-6.5 hours on low.
Serve with ideas: rice, egg noodles, tortilla chips, freshly shredded cheese, sliced scallions, hot sauce or cornbread.
13 Feb 2013
by sparksfromthekitchen
in Appetizer, Freezer, Lunch, Main Dish, Soup, Thaw/Reheat & Serve
Tags: kielbasa, potatoes, tomatoes
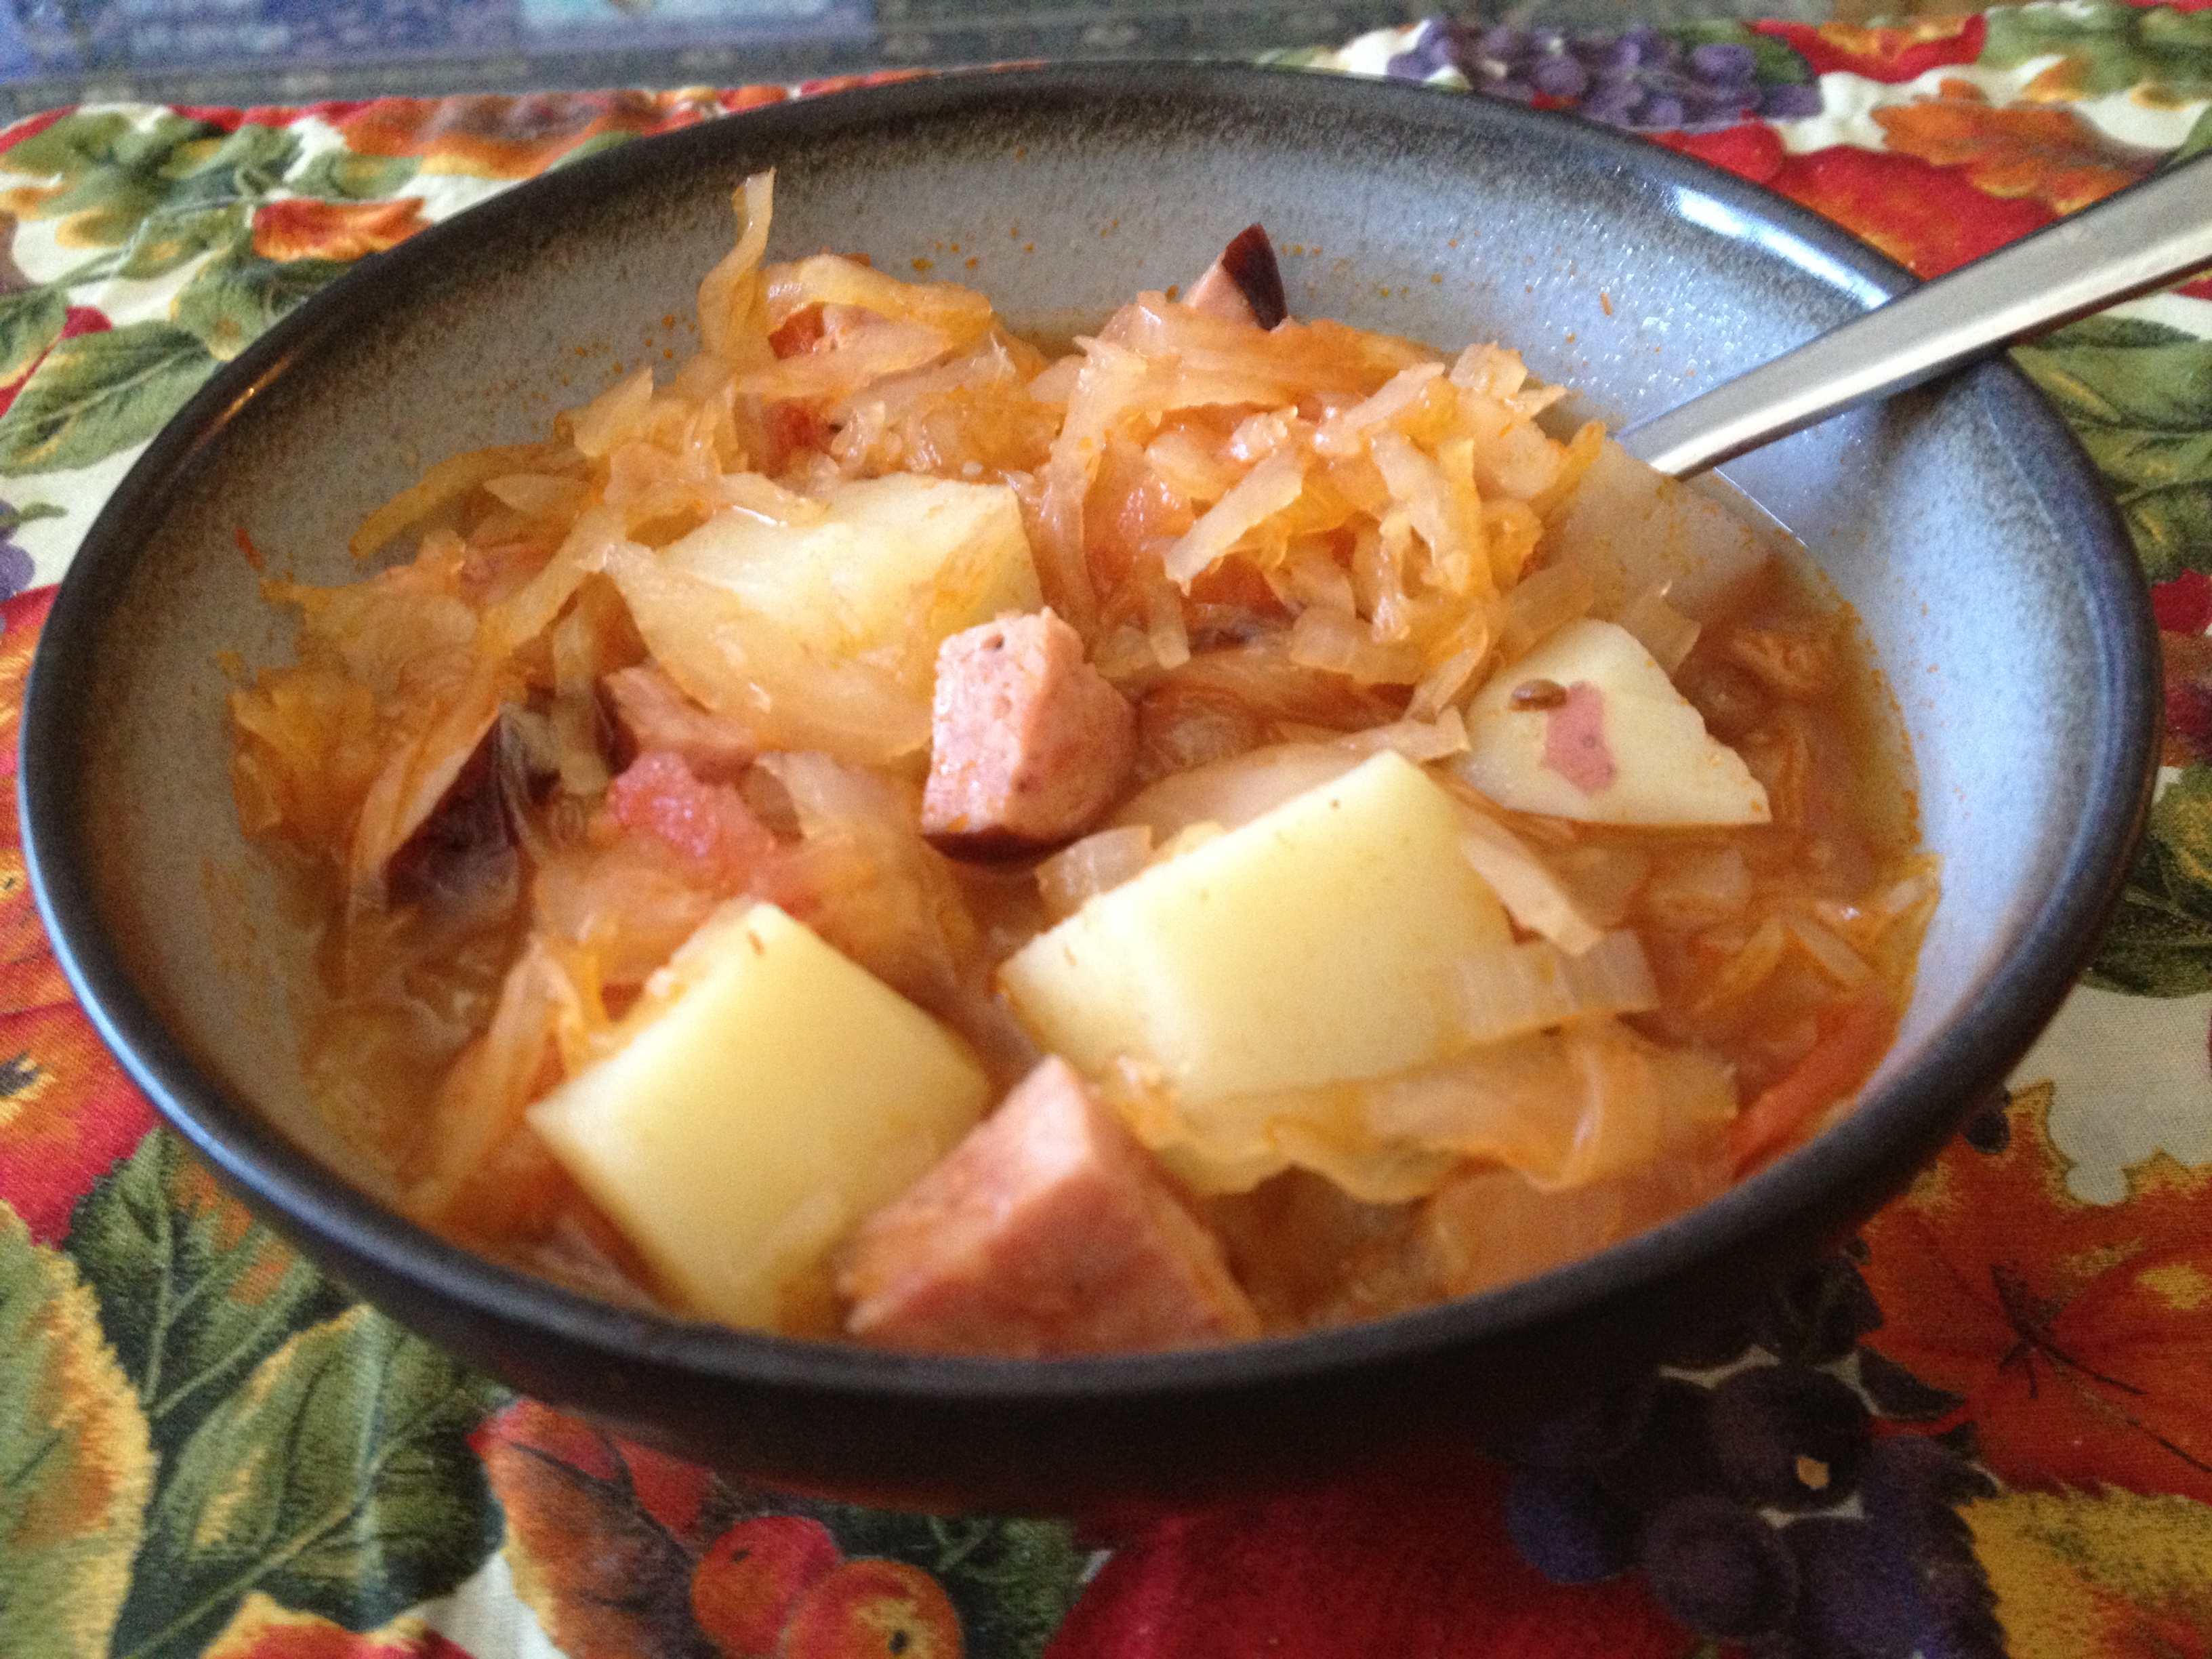
This soup is really easy to make and very delicious!! I’d never had anything like it!! Tart sauerkraut, yummy kielbasa, potatoes and onions-how can you go wrong?! This is the time to go to your local Polish shop and get the best kielbasa you can. While you can use the regular supermarket ones using a great kielbasa really makes such a huge difference. Don’t forget they freeze well so you can buy a lot and keep them for later too.
Since we got a big snow storm on Friday night/Saturday I made this for lunch on Saturday and it was perfect. What a delicious meal on a snowy day.
1/13/14 Note: I made this soup this past Saturday morning. The tomatoes at the store didn’t look very nice and I knew that I had a can of tomatoes in the cabinet at home. The result is a variation that I think I like more than the original. It makes more of a tomatoey broth.
- 7 cups water/sauerkraut liquid instead of the 8 cups below
- 15oz can crushed tomatoes and their liquid—omit both the plum tomatoes and tomato sauce below.

Sauerkraut Soup
Ingredients
- 1lb bag sauerkraut drained, liquid reserved
- 8 cups water/sauerkraut liquid
- 1lb kielbasa-the best quality you can find, cut into 1/4 inch rounds, then in quarters.
- 1/4 tbsp caraway seeds
- 1 tsp black peppercorns
- 1 bay leaf
- 2 plum tomatoes, seeds removed, chopped
- 1 80z can tomato sauce
- 1 small yellow onion, diced
- 2 cloves garlic, minced
- 1 lb red potatoes, peeled, cut into bite-sized pieces
Instructions
- Add enough water to the reserved sauerkraut liquid to equal 8 cups.
- Place the sauerkraut, water, kielbasa, caraway seeds, black peppercorns, bay leaf, tomatoes and tomato sauce into a large stock pot over medium-high heat. Bring to a boil then reduce to a simmer.
- In a small pan saute the onion and garlic until soft then add it to the soup pot.
- Place potato cubes in a pot and cover with water. Bring to a boil then, when just before cooked fully, drain and add to the soup pot.
- Return the soup to a boil then reduce to simmer for an hour.

Here’s the kielbasa I used-just over 1lb. If you have a little more or little less it’s fine.
Note: This soup freezes well so feel free to make extra and put it away for a later lunch or dinner.
My friend Michelle gave me her recipe and I’ve adapted it to this-enjoy!!
11 Feb 2013
by sparksfromthekitchen
in Freezer, Lunch, Main Dish, Side Dish, Thaw/Reheat & Serve
Tags: marinara, san marzano tomatoes, sauce, tomato
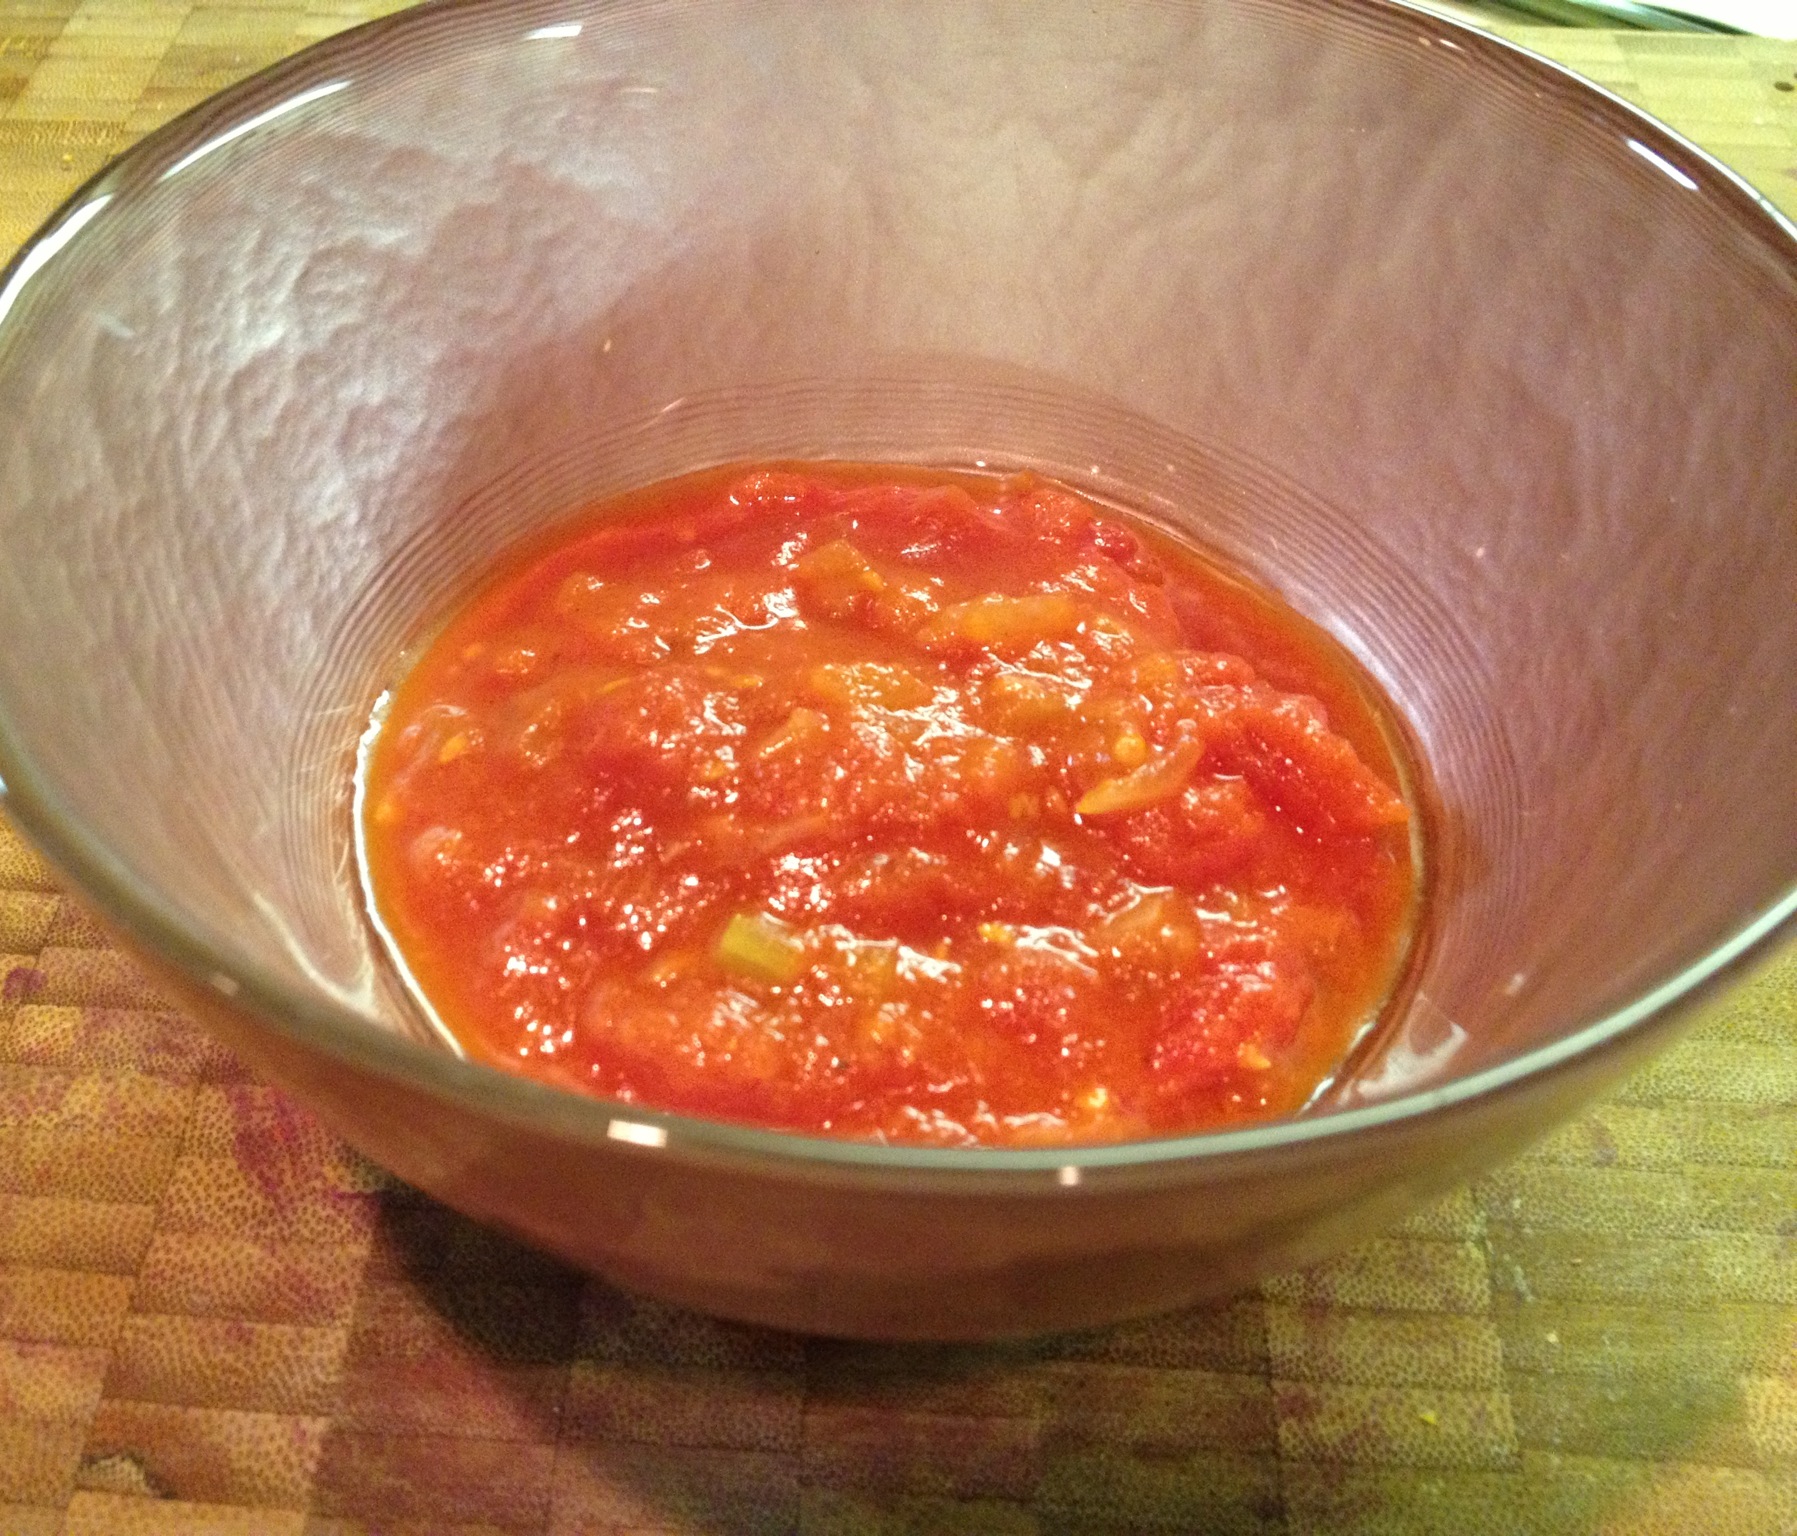
This is my go-to marinara sauce. I make it in large batches at a time and freeze a few ziplock bags and/or containers with about 3 cups or 1 quart capacity. It’s a great base sauce in which to add meat, veggies, herbs etc.. to make it different each time or it’s great on it’s own with pasta, in dishes like lasagna or my eggplant parmesan.
Many people put carrots in their marinara but I don’t. If you prefer to add it by all means do so. I also only use San Marzano tomatoes. Some argue that the taste is no better than other tomatoes but hey, it’s my sauce and I do taste a difference so I use them:) If you don’t want to you don’t have to but I ask you to try it at least once-and make sure you get the San Marzanos from Italy. Those famous cans with the white backgrounds and purple and/or red tomatoes on the outside aren’t from Italy-they’re from Jersey. Read the labels. Spend a little extra for the best quality that you can get.

Marinara Sauce
Ingredients
- 1/2 cup extra virgin olive oil
- 4 small yellow onions, finely chopped
- 6 medium sized garlic cloves
- 2 celery stalks, finely chopped
- 1 tbsp kosher salt
- 1 tsp freshly ground black pepper
- 4 28-32oz cans crushed San Marzano tomatoes (or peeled and crush with a potato masher)
- 4 bay leaves
Instructions
- In a large stock pot over medium heat add the olive oil. When it’s hot add the onion and garlic and saute until they’re translucent, about 10 minutes.
- Add the celery and saute until they’re soft, about another 10 minutes.
- Add the tomatoes, bay leaves and salt and pepper and stir to combine.
- Bring to a boil and then reduce to a simmer and cook, uncovered for between 1 and 3 hours.
If you’re going to package up the sauce for use at another time leave it out to cool.
Note: if you’re using peeled plum tomatoes you can crush them with the potato masher after you’ve added them to the pot. Crush as much or as little as you like.

01 Feb 2013
by sparksfromthekitchen
in Freezer, Lunch, Main Dish, Thaw/Reheat & Serve
For the Blogger’s Choice Swap (thanks for organizing the swap Sarah at http://www.tasteofhomecooking.blogspot.com )was given Christine’s Blog to look through and choose a recipie to make. I chose the burritos. While her recipe reminded me more of a soft taco (wrapped in a flatbread, not pressed or heated etc….) the premise was there for a good burrito that’s easy to make. I adapted the recipe a bit to my taste. I think the next time I make these I will add something for crunch as the texture inside was pretty uniform-perhaps red pepper strips. 
Spicy Bean and Rice Burrito
- 1 tbsp vegetable or canola oil
- 2 cloves garlic, minced
- 1 tsp chili powder
- 1 tsp chipotle chili powder
- 1 tsp cumin
- 1/2 tsp cayenne pepper
- 1/3 cup water
- 1 15 oz can black beans, drained and rinsed
- 1 15 oz can pinto beans, drained and rinsed
- 1 8oz canned corn, drained and rinsed (or 3 ears fresh corn, cooked and kernels cut from cob)
- 2 cups cooked white rice
- 1/4 cup salsa
- 6 burritos
- 4-8 ozs freshly grated cheddar, monterey jack and/or colby jack cheese (or any cheese you prefer)
- Fat free sour cream
- Avocado, sliced
Instructions:
- Heat the oil in a large skillet over medium-high heat. Add the next 5 ingredients through cayenne pepper. Cook them for 30-60 seconds until fragrant, stirring to combine with a spatula. Add drained and rinsed beans (shake off excess water to avoid adding to hot oil in pan). Stir and combine with spices. Add the water, bring to a simmer then cook for about 10 minutes, mashing slightly with the spatula. Add the corn and just heat through. Add the rice and salsa and stir to combine. Remove from heat.
- Microwave burritos for about 15 seconds to warm them up.
- Spoon a few tsp of bean/rice mixture onto the edge of one of the burritos, spoon in a bit of sour cream and spread across the burrito, then sprinkle desired amount of cheese.
- Starting at the end with the bean/rice mix carefully and gently fold the edge over the bean/rice mixture. Continue rolling carefully, tucking all of the filling in tightly as you go and folding the edges in.
- Heat on a grill pan or panini press to melt cheese. If you use the grill pan turn once.
- Serve with sliced avocado, additional sour cream or any other condiment you’d like.
This recipe makes enough filling for far more than 6 burritos. I suggest buying a 12 pack of large burritos and freezing some for a later date.

22 Jan 2013
by sparksfromthekitchen
in Lunch, Main Dish, Slow Cooker
Tags: onions, peppers, sausage
Sometimes you just want a nice big sandwich. I found the original recipe on Melissa’s great blog http://iwasborntocook.com/ in the Top Posts of 2012 post and I immediately printed it out. I adapted it a bit with the cheese and rolls. Slow cooker on Sunday? Yes. Sausage, onions and peppers on a roll? Yes. And I added the cheese. Super easy, super yummy. Would be great for football-watching days.

Sausage, Onions & Peppers in the Slow Cooker
- small amount of oil for browning
- 3lbs Italian Sausage (I used 2 lbs hot and 1 lb sweet but use any combo you’d like) cut into 1 inch pieces
- 3 bell peppers, cut into thin strips (I used 2 red and 1 green)
- 2 large yellow onions, sliced
- 5 garlic cloves, crushed
- 1 28oz can crushed tomatoes
- 1 tbsp italian seasoning
- 1 tbsp garlic powder
- 1/2 cup dry white wine
- sandwich rolls (mine were hot dog sized from Hot & Crusty). You’ll need substantial rolls to hold up to the sauce and contents.
- provolone cheese
Instructions
- In a large skillet heat a bit of the oil and brown the sausage on all sides. (This may have to be done in batches) Then place sausage in slow cooker.
- Add the rest of the ingredients to the slow cooker.
- Cook on low for at least 4 hours.
- Half rolls, place cheese on either one or both sides, and toast until the cheese melts. Spoon sausage mixture onto rolls and enjoy.
Note: my slow cooker is a 5qt and it was just about to the top of the insert so if you have a smaller cooker I’d make less.
18 Jan 2013
by sparksfromthekitchen
in Main Dish
Tags: chicken
I have 4 huge 3 ring binders at home that are filled with recipies that I’ve pulled out of magazines, off of the web, out of cookbooks etc.. for years. This recipe came from the Jan/Feb 2011 Cooking Light Magazine. It was really easy to make, is pretty darn healthy at only 270-/* calories per chicken breast and is SUPER tasty. The olives, tomatoes and feta make the pretty bland blank canvas of chicken breast really delicious-briny, salty, tomatoey. Yummy!
Sorry-this photo isn’t the best. I was starving by the time it was time to eat.

Couscous, Kalamata Olive, Tomato and Feta Cheese Stuffed Chicken
- 1/3 cup fat-free, lower-sodium chicken broth
- 1/4 cup uncooked whole-grain couscous
- 1/2 teaspoon salt, divided
- 1/2 teaspoon black pepper, divided
- 3 tablespoons chopped plum tomato
- 3 tablespoons kalamata olives, chopped
- 3 tablespoons crumbled feta cheese
- 2 tablespoons extra-virgin olive oil
- 2 teaspoons chopped fresh parsley
- 1 teaspoon grated lemon rind
- 1 minced garlic clove
- 4 (6-ounce) skinless, boneless chicken breast halves, 1/4 inch thick
- Cooking spray
Preparation
1. Bring broth to a boil in a small saucepan; remove from heat. Stir in couscous. Cover and let stand 4 minutes. Place couscous in a small bowl that is large enough to hold the couscous and other ingredients through garlic; fluff with a fork. Cool for 10 minutes. Add 1/4 teaspoon salt, 1/4 teaspoon pepper, and next 8 ingredients (through and including garlic); toss.
2. If chicken is not at the desired thickness place chicken between 2 sheets of plastic wrap; pound to 1/4-inch thickness. Divide couscous mixture evenly among breast halves; roll up jelly-roll fashion. Secure with wooden picks. Sprinkle chicken with 1/4 teaspoon salt and 1/4 teaspoon pepper.
3. Preheat oven to 400°.
4. Heat a large ovenproof skillet over medium-high heat. Coat pan with cooking spray. Add chicken to pan; cook for 6 minutes or until browned; turn chicken over. Bake at 400° for 5 minutes or until chicken is done.
Adapted from Cooking Light Jan/Feb 2011.
15 Jan 2013
by sparksfromthekitchen
in Appetizer, Freezer, Lunch, Main Dish, Soup, Thaw/Reheat & Serve
Tags: onion, soup
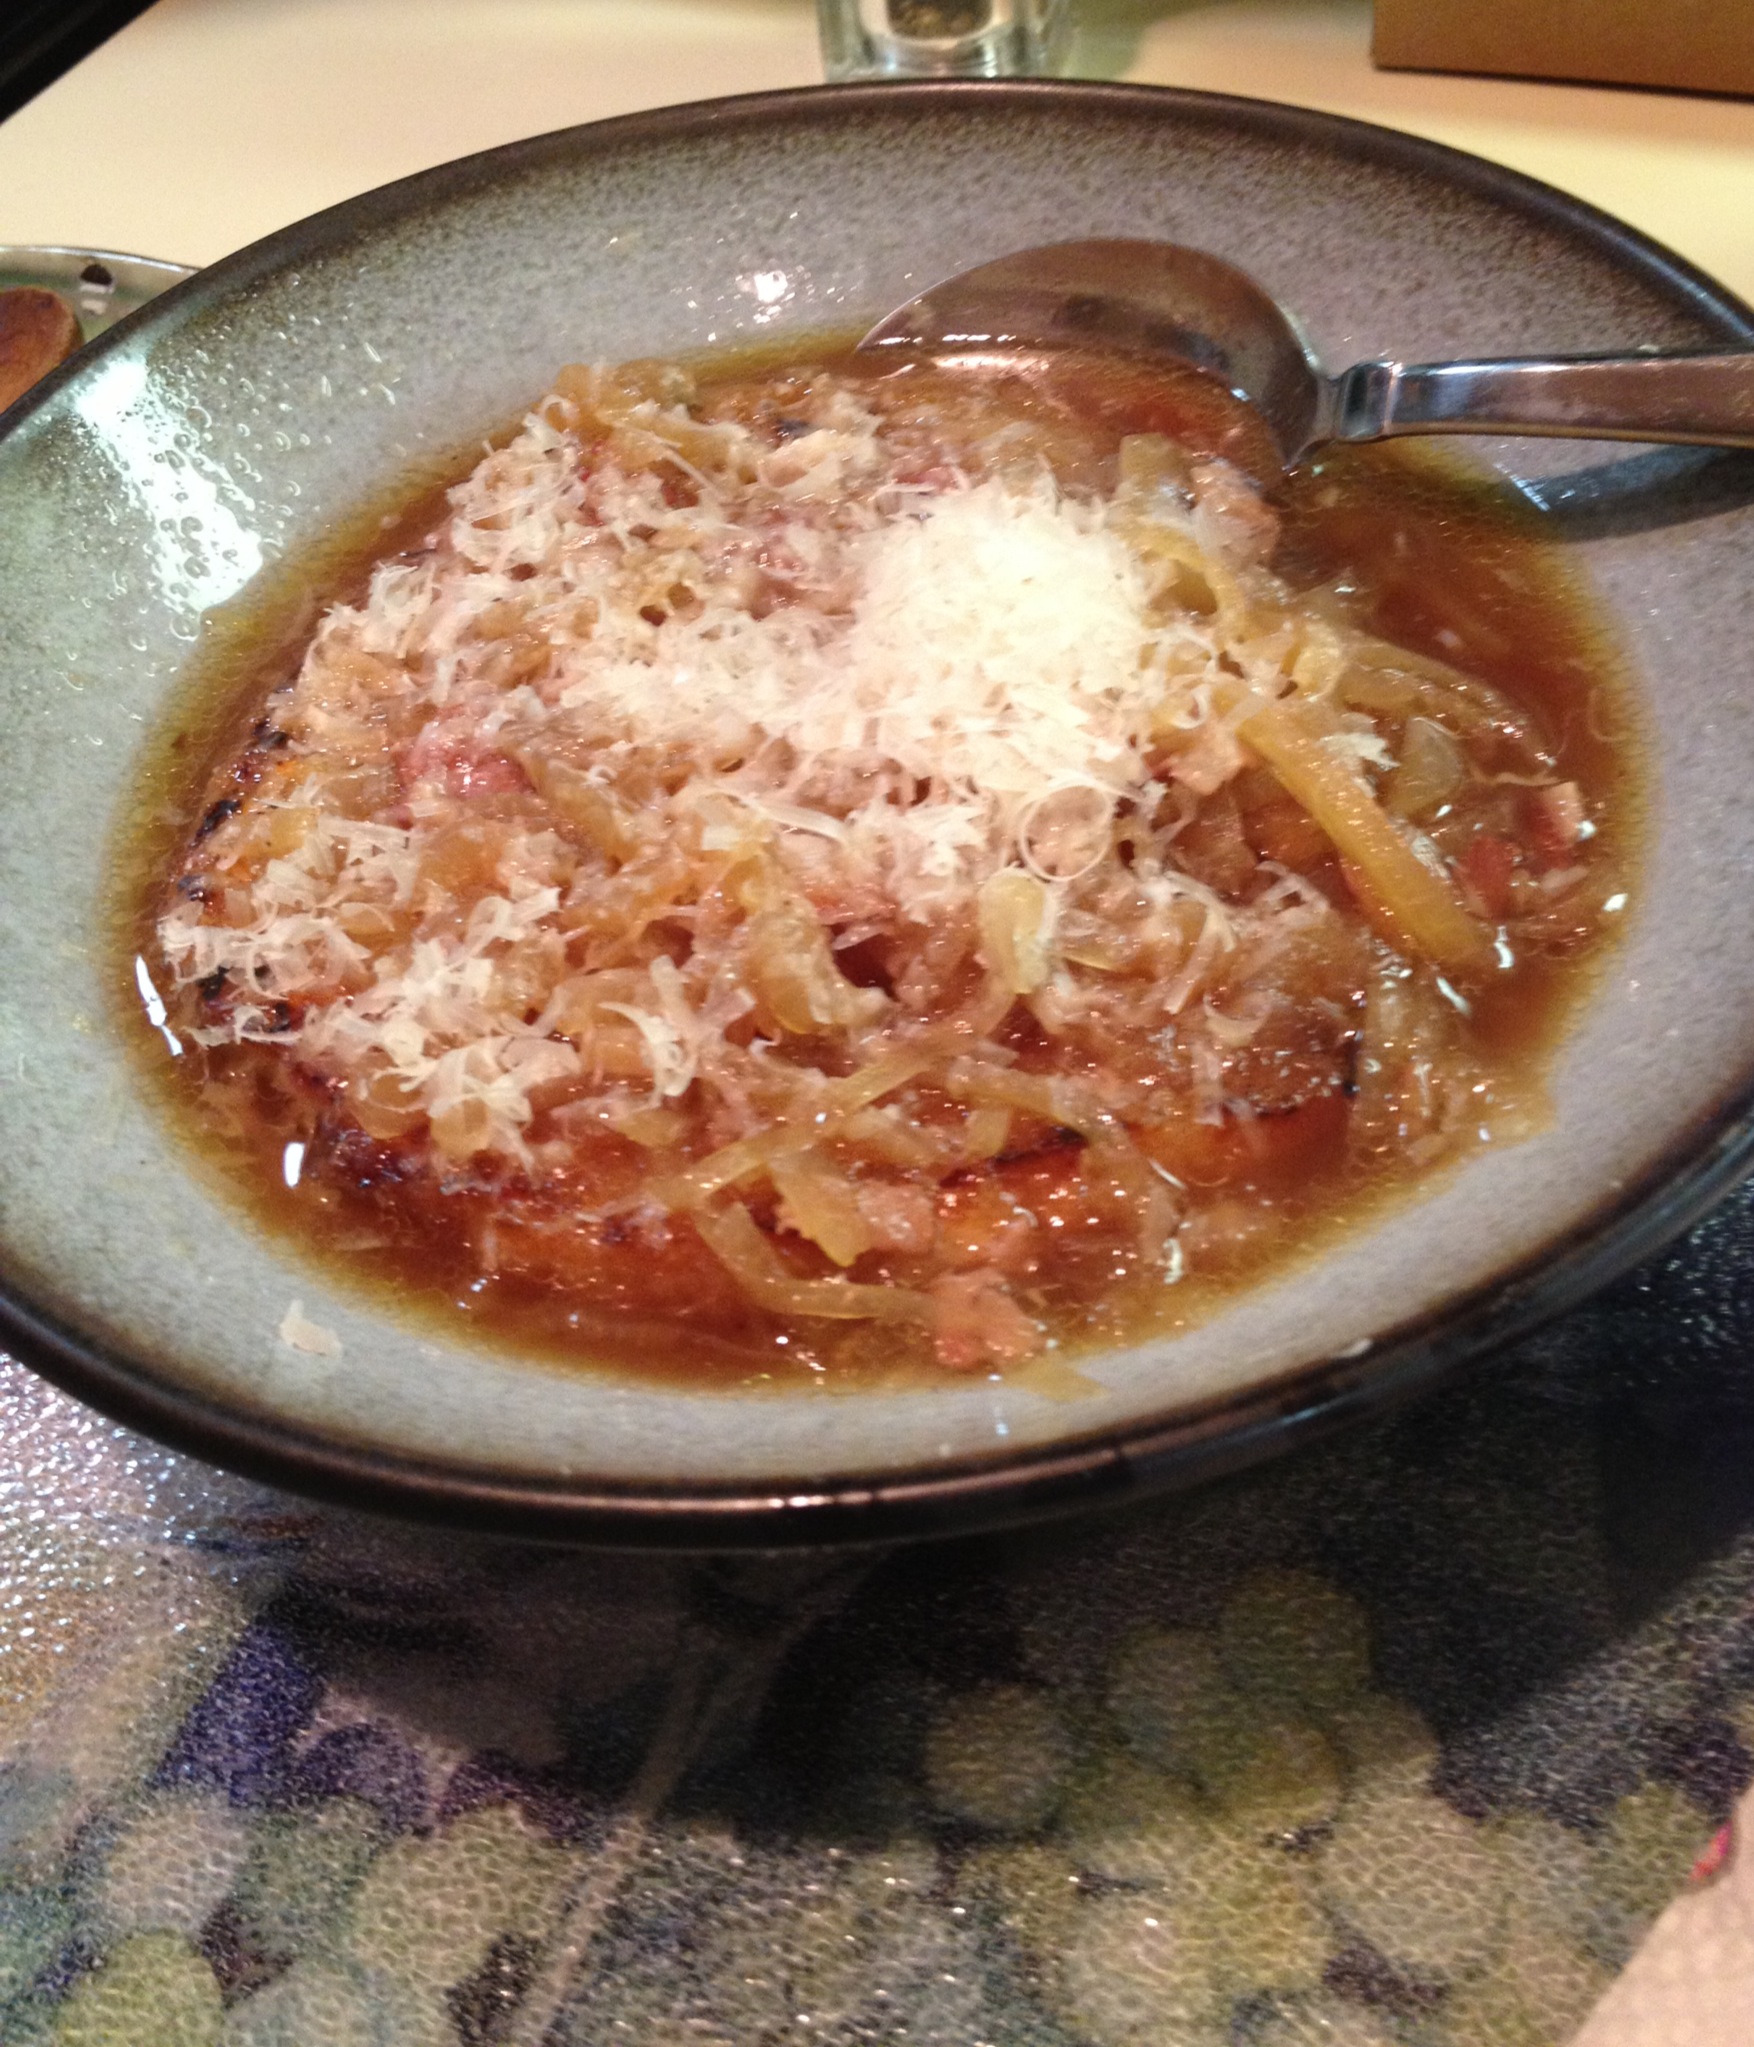
Ah onions. I love onions. And soup. I love soup. Onion soup is a marriage of 2 of my favorite things. This onion soup is so so so good. It’s similar to French Onion Soup but the addition of pancetta and parmesan (YUMMMYYYY!!!) give it that nice Tuscan flare and therefore, better than the French one. It’s so easy to make, it reheats well, freezes well and can be eaten for lunch, dinner, as an appetizer or whatever. So versatile. This recipe is a keeper!! If you look closely at the photo below you’ll see the broth, onions, parmsan cheese and just a bit of the crust of a garlic toasted bread that’s on the bottom of the bowl. Yes, really.

Zuppa di Cipolle di Toscano: Tuscan Onion Soup
Ingredients
- 6 tablespoons Extra Virgin Olive Oil
- 1/4 lb. pancetta diced
- 5 large yellow onions peeled and thinly sliced (mandolin 3/16”)
- 1/4 cup fresh lemon juice
- 5 1/2 cups hot beef broth fresh or low-sodium canned
- 1/2 cup dry red wine
- 2 rolls cut in half length-wise
- 1 garlic clove, minced
- 1 cup grated Parmigiano Reggiano cheese
- Fine sea salt to taste
- Grinding coarse black pepper
Directions
- In a large soup pot heat 4 tablespoons of the oil over medium high heat, add the pancetta and cook for 2 minutes. Stir in the onions, cover the pot and cook slowly for about 15 minutes, stirring often. When the onions are limp add the lemon juice and allow it to evaporate.
- Pour in the broth and wine. Stir the mixture. Cover the pot and simmer for 30 minutes. Add salt and pepper to taste. Keep the soup warm while you fry the bread.
- Heat the remaining olive oil in a sauté pan, add minced garlic and brown the bread on both sides. Place a slice in each of 4 individual soup bowls. Pour the soup over the bread and divide and sprinkle the cheese over the top.
Adapted from Maryann Esposito via PBS Food.
Previous Older Entries Next Newer Entries