It’s time for the next installment of What’s Baking?. This time around the theme is pumpkin or squash (appropo, no?).
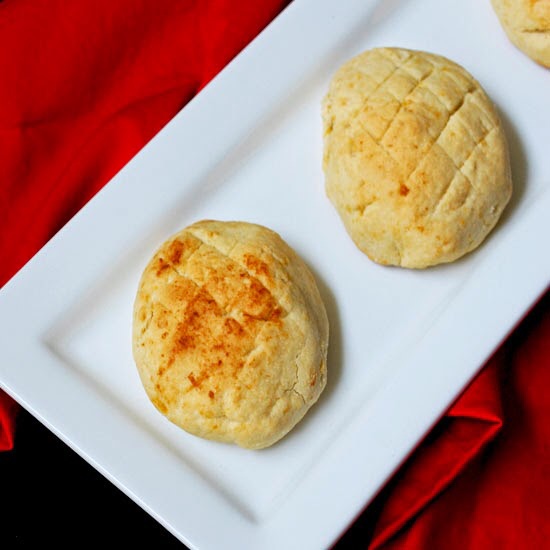
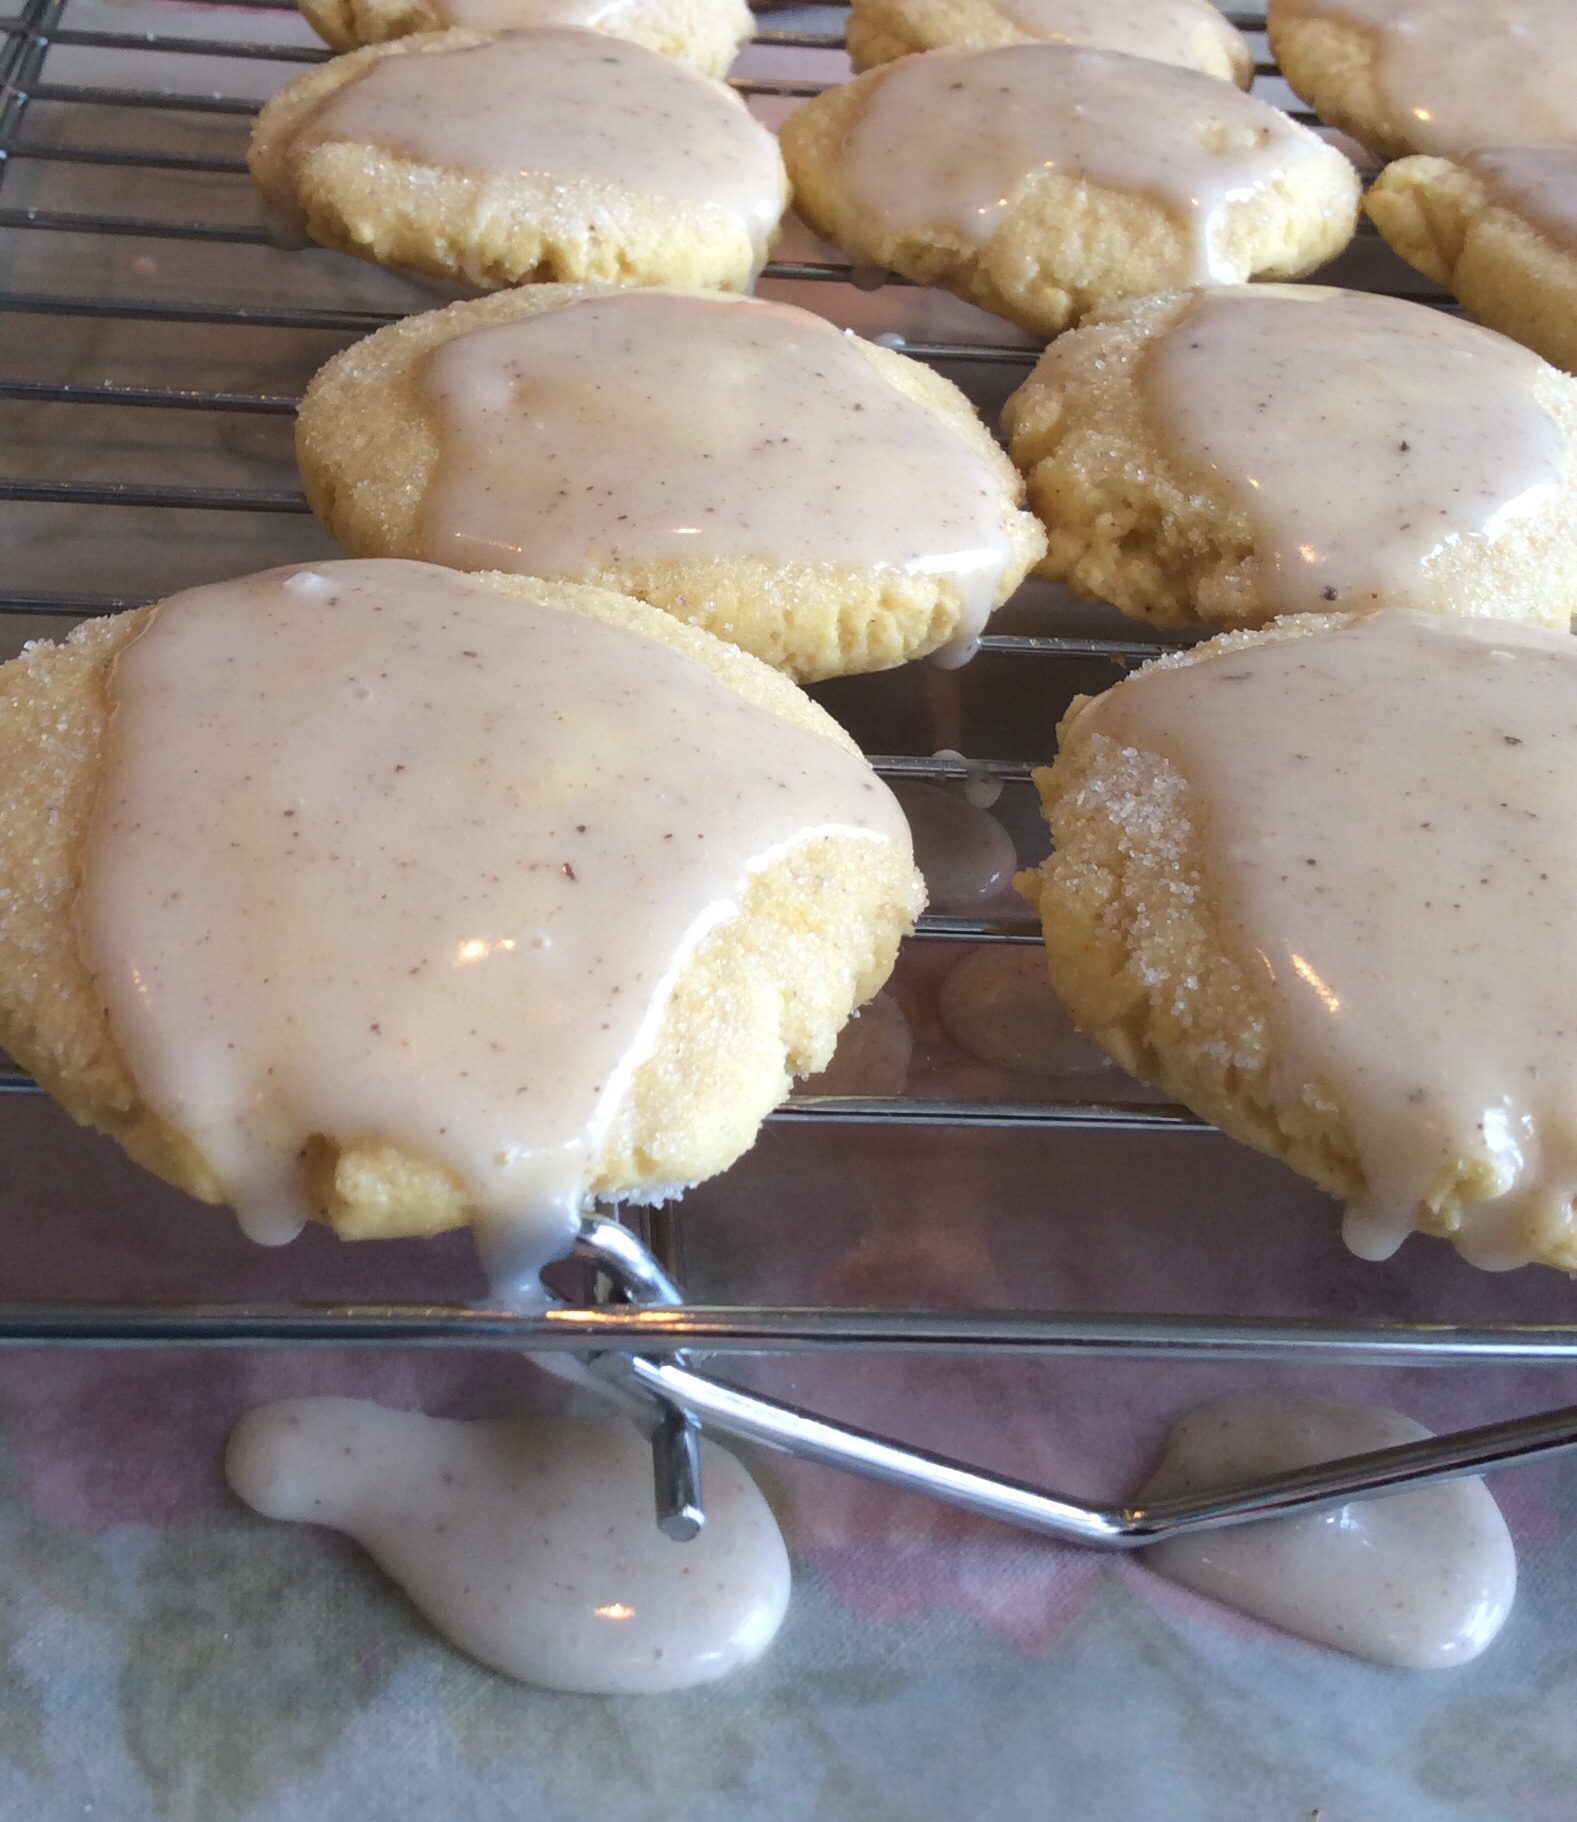
I love these sugar cookies!! They’re pillowy soft and so chewy and delicious. A hint of pumpkin, a hint of spice and sugar all rolled together with a thin layer of spiced glaze.
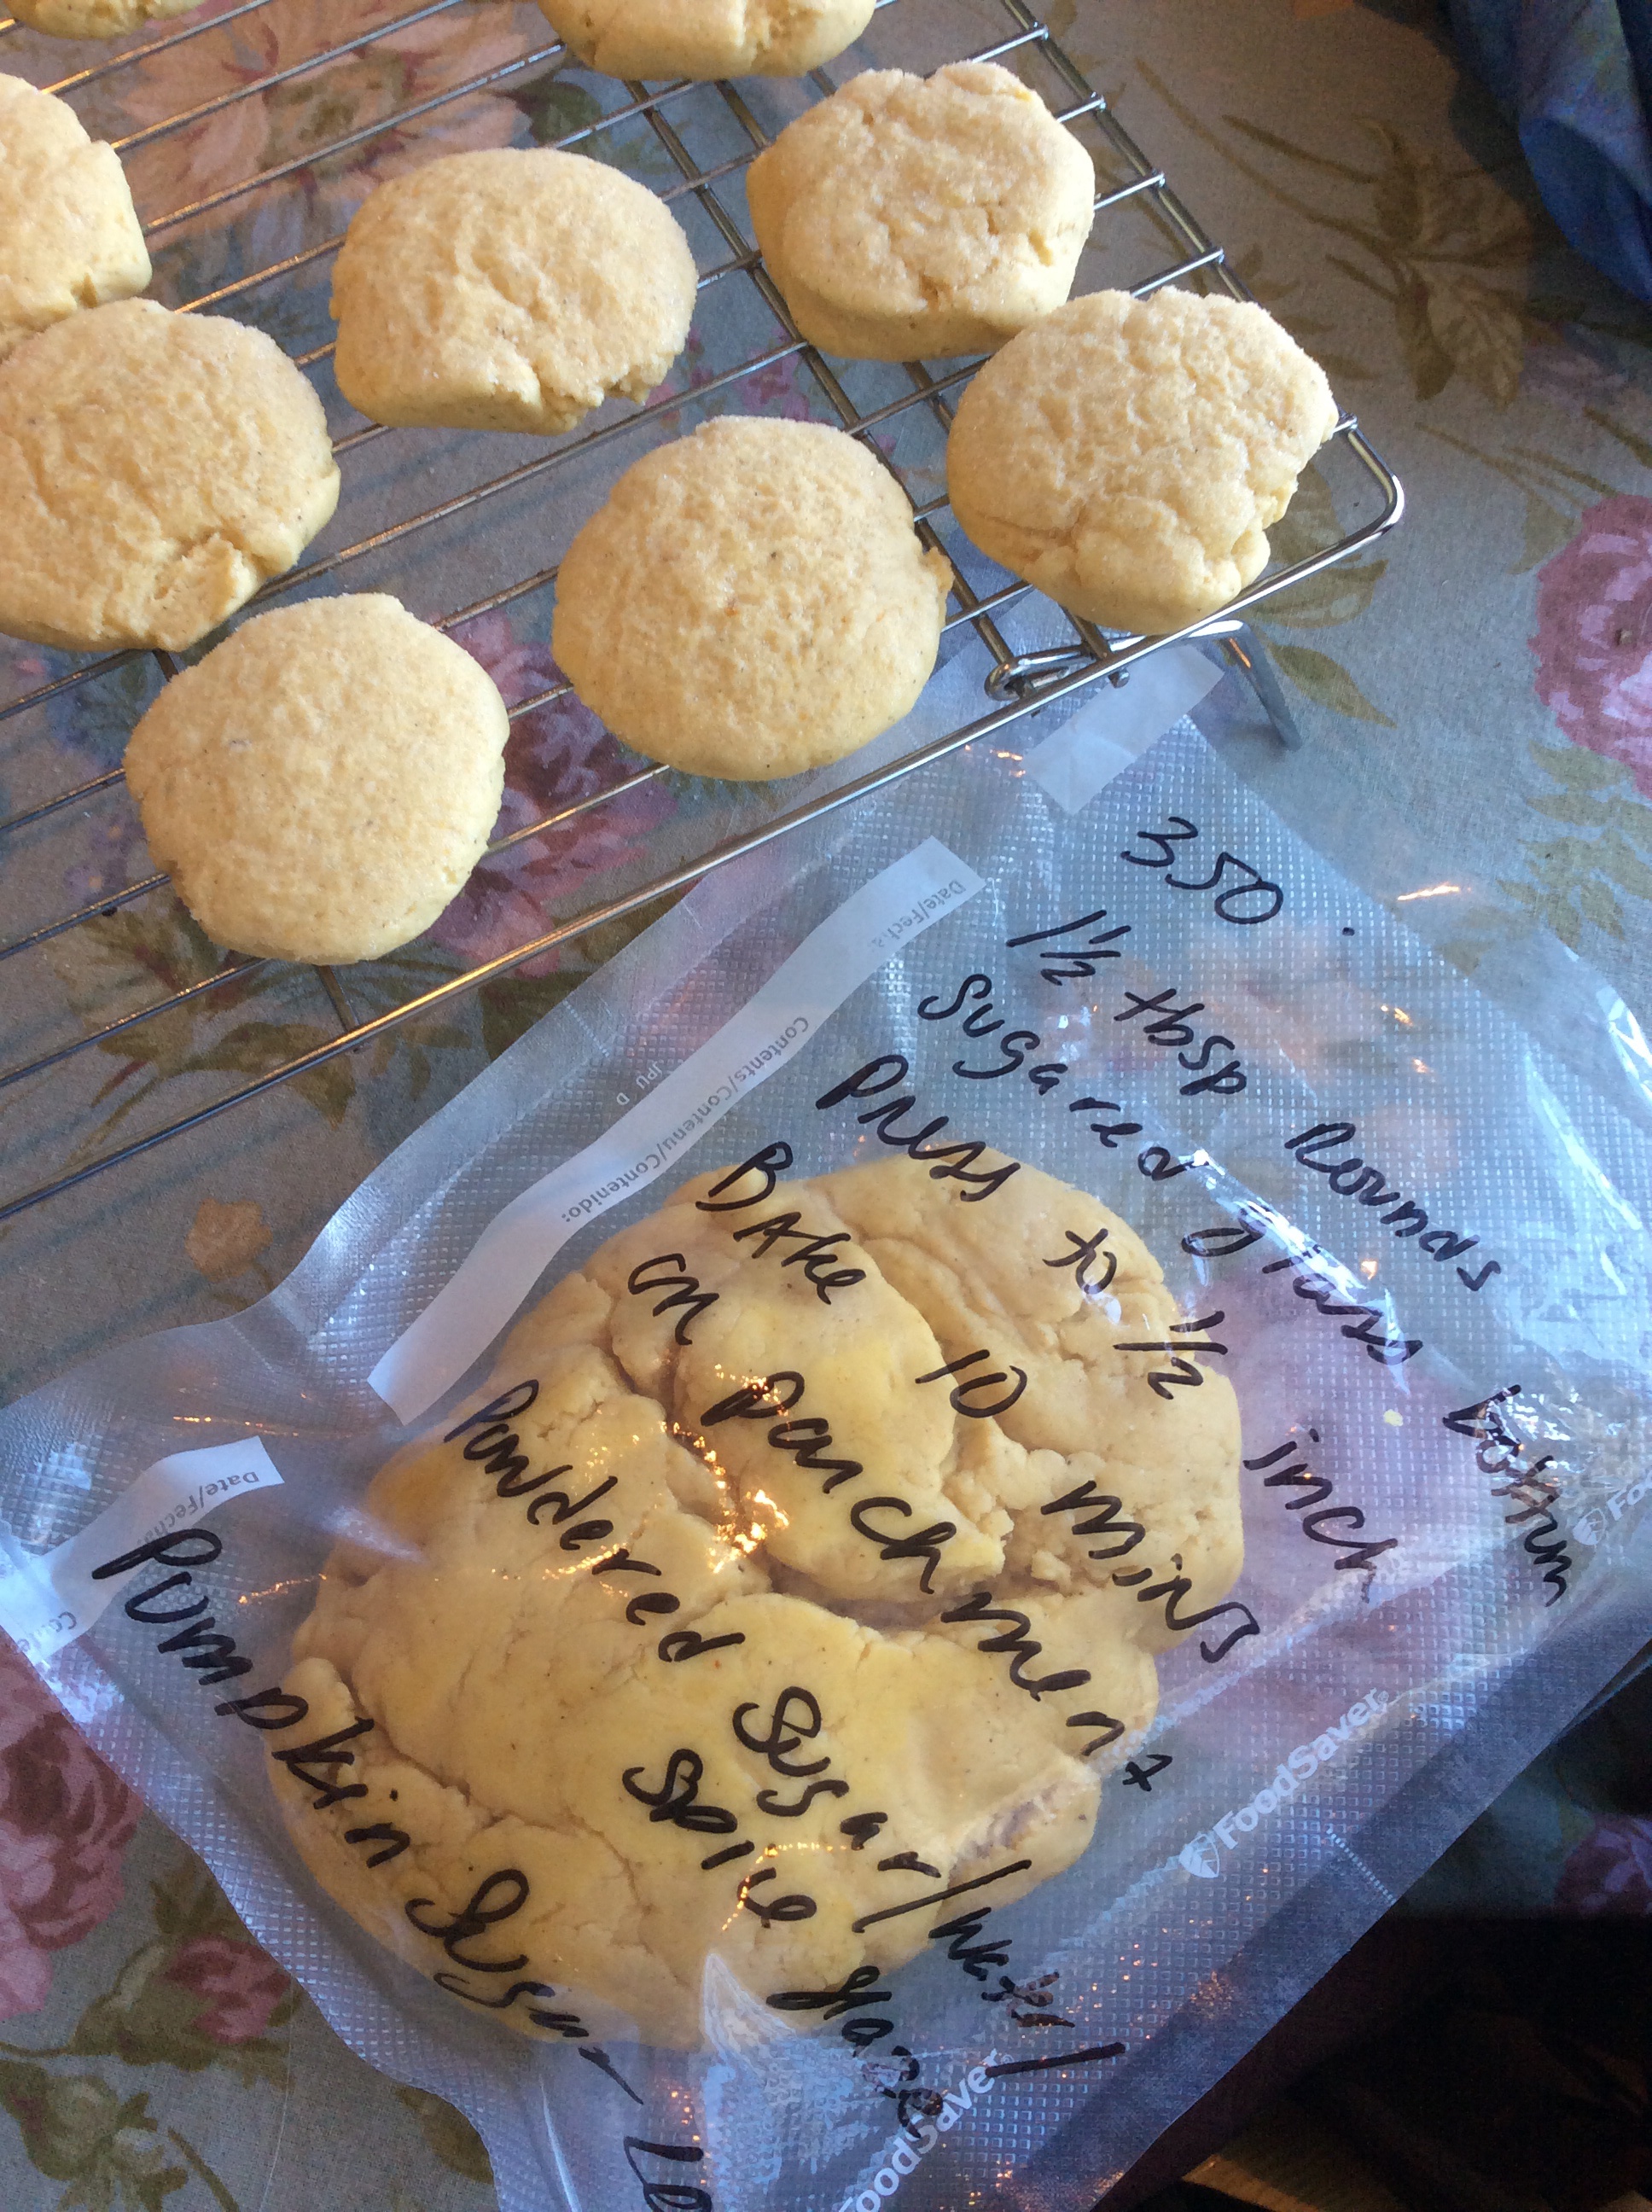
They were very easy to make and have stayed perfect in an airtight container for a few days. I froze half of the dough so that I can make them again soon.
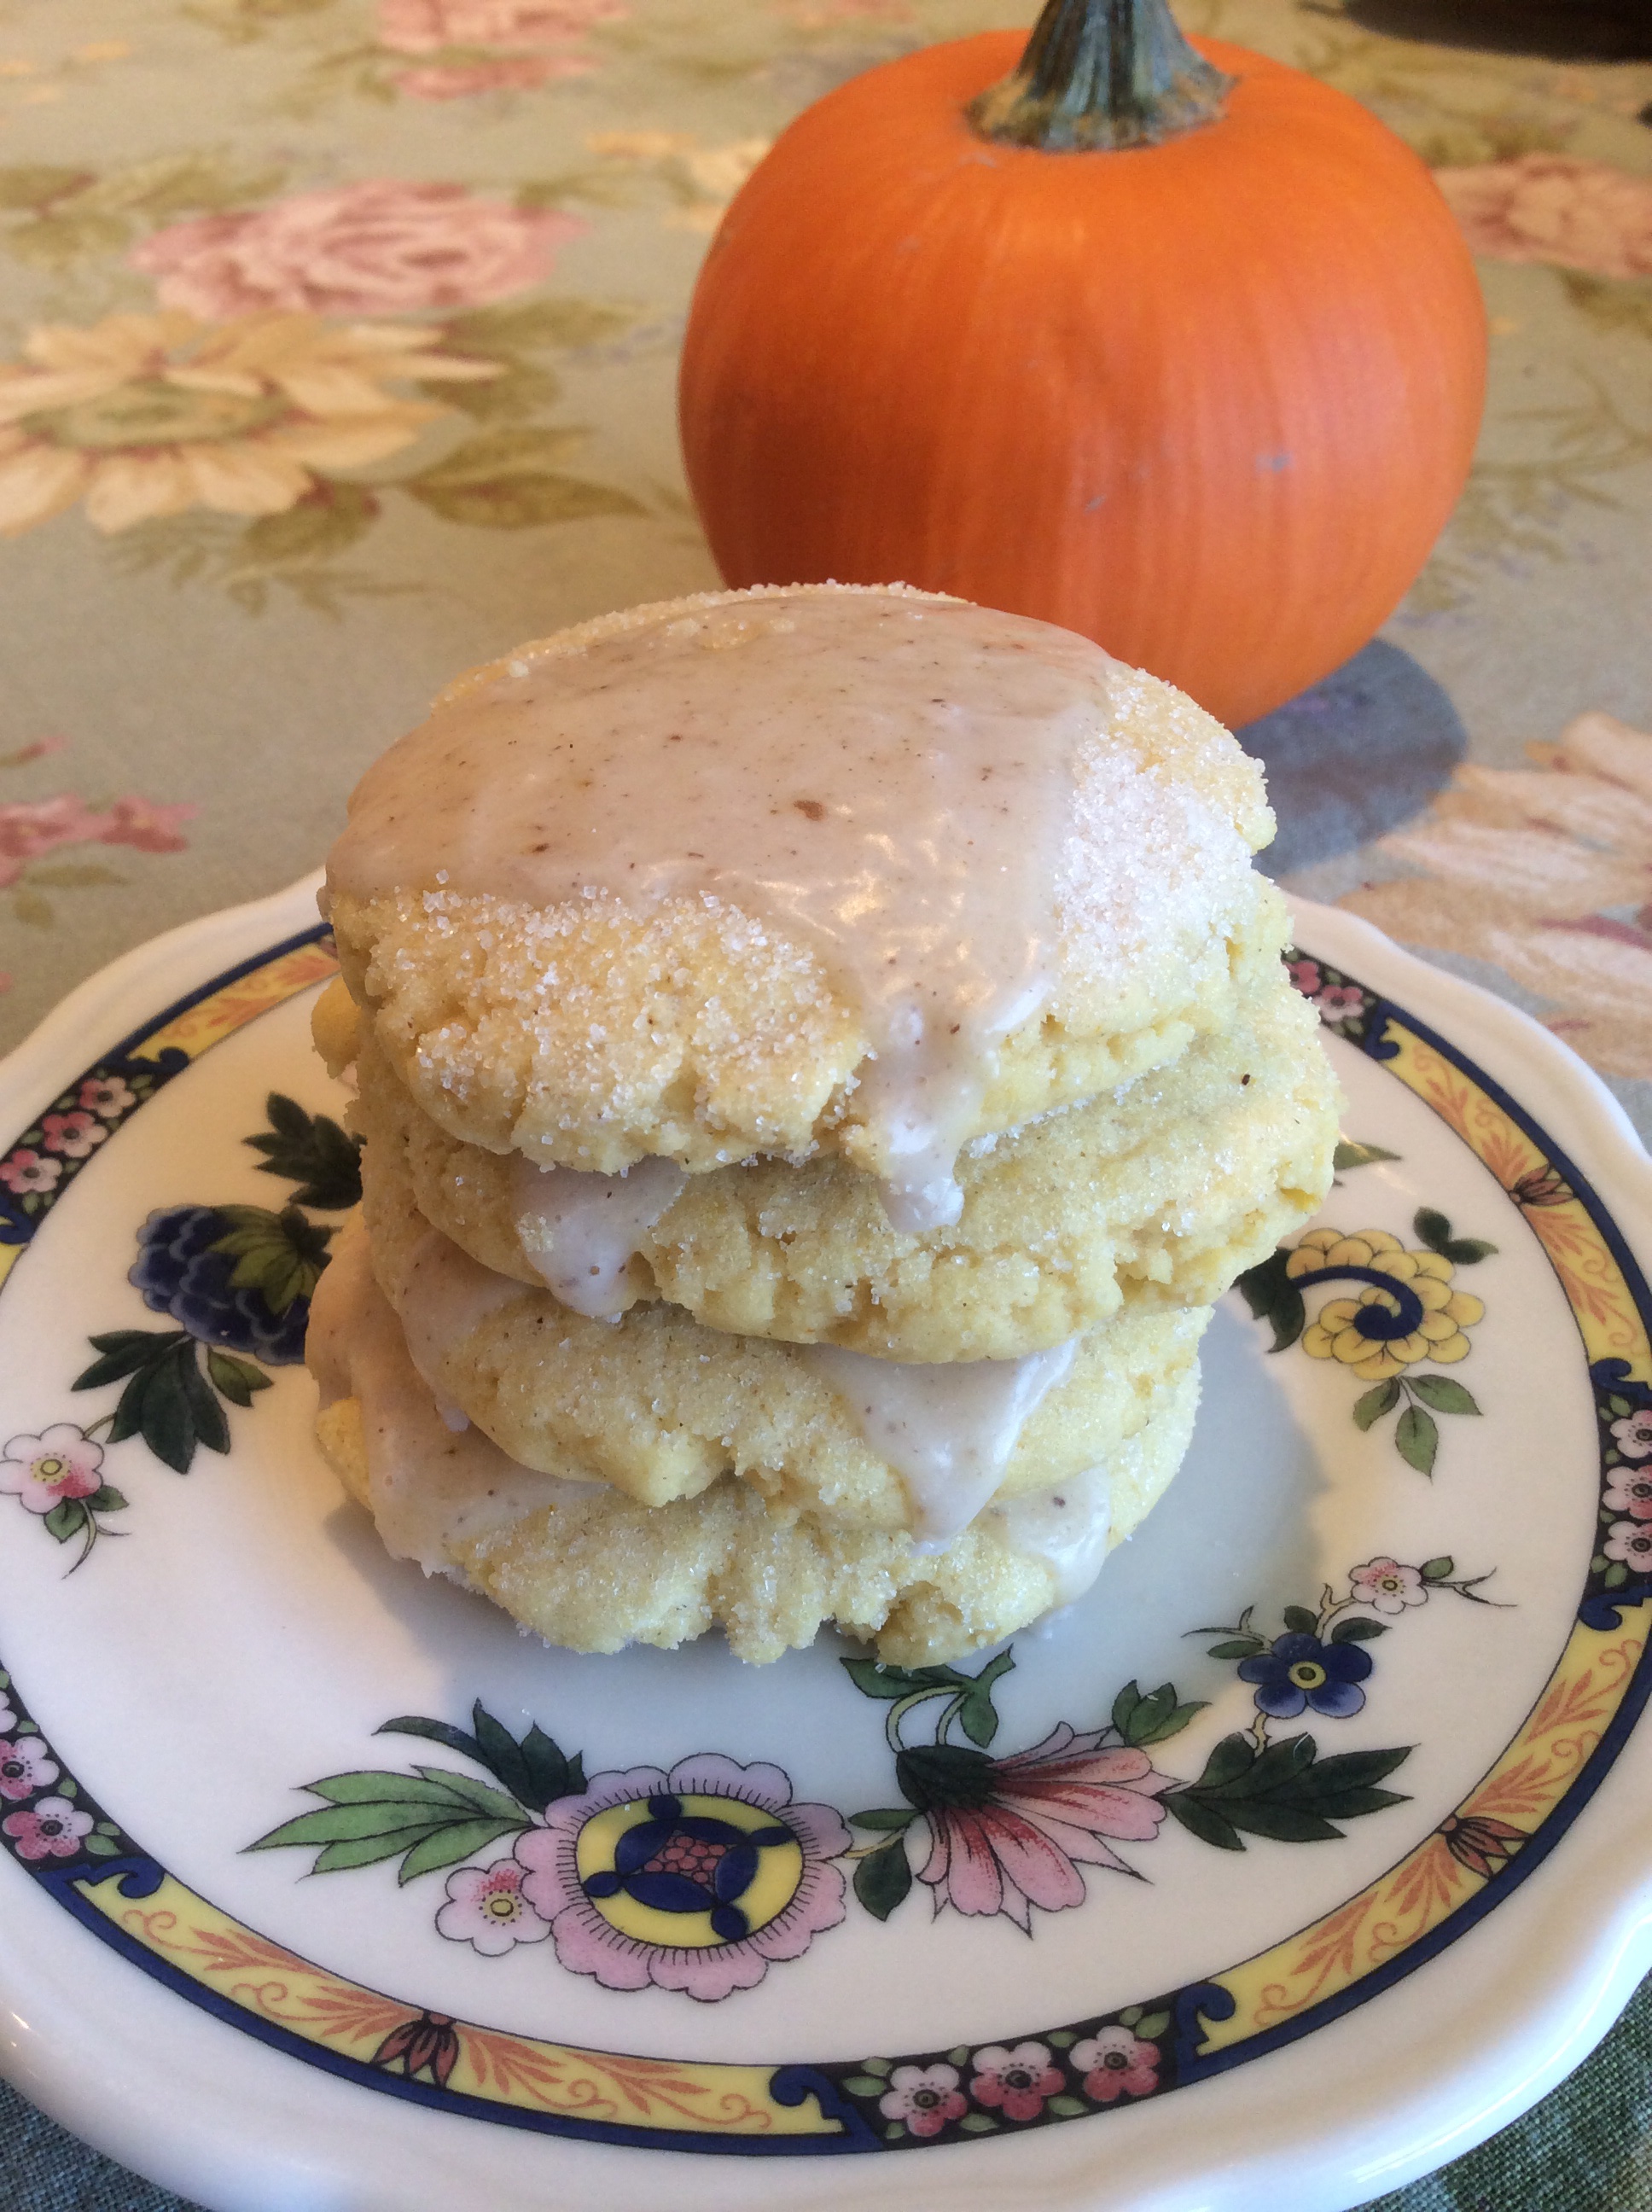
Pumpkin Sugar Cookies with Spiced Glaze
Ingredients:
Cookie:
- 1/2 cup unsalted butter, at room temperature
- 1/2 cup canola oil
- 1/2 cup pumpkin puree
- 1 cup granulated sugar, plus 1/2 cup more for topping
- 1/2 cup confectioners sugar
- 1/2 tsp vanilla extract
- 2 large eggs, at room temperature
- 4 cups AP flour
- 1/4 tsp baking soda
- 1/4 tsp cream of tartar
- 1/2 tsp salt
- 1 tsp pumpkin pie spice
Glaze:
- 3 cups confectioners sugar
- 4 tbsp almond coconut milk
- 1/4 tsp pumpkin pie spice
Instructions:
- Pre-heat oven to 350F.
- Prepare cookie shee(s) with parchment paper.
- In a large bowl put the butter, oil, pumpkin, and eggs. Mix until well combined and smooth.
- In a small bowl combine the flour, baking soda, cream of tartar, salt and pumpkin pie spice. Whisk well to combine and break up any lumps.
- Add 1/4 of the dry ingredients to the wet. Mix to combine, scraping down any on the sides of the bowl. Repeat until everything’s combined.
- Spoon large 1 tbsp mounds of the dough onto the prepared cookie sheet, 2 inches apart.
- Place the additional 1/2 cup sugar on a deep plate.
- Using the bottom of a glass dipped in the sugar, flatten each cookie round to 1/2 inch, dipping the glass into the sugar before each cookie.
- Bake for 8-10 minutes. They will not brown.
- Cool on baking sheets for a few minutes then transfer to cooling racks with waxed paper or foil underneath.
- Mix the glaze. Spoon about 1 tsp over each cookie.
- Allow glaze to harden.
Adapted from wishesndishes.com